Essential Tools and Materials for Vinyl Cutting Projects
Here are some essential tools and materials you’ll need for vinyl cutting projects:
1. Vinyl Cutting Machine
This is the core tool you’ll need for vinyl cutting. There are different types of machines, such as electronic cutters (e.g., , Silhouette) and manual cutters (e.g., X-Acto knife, cutting mat).
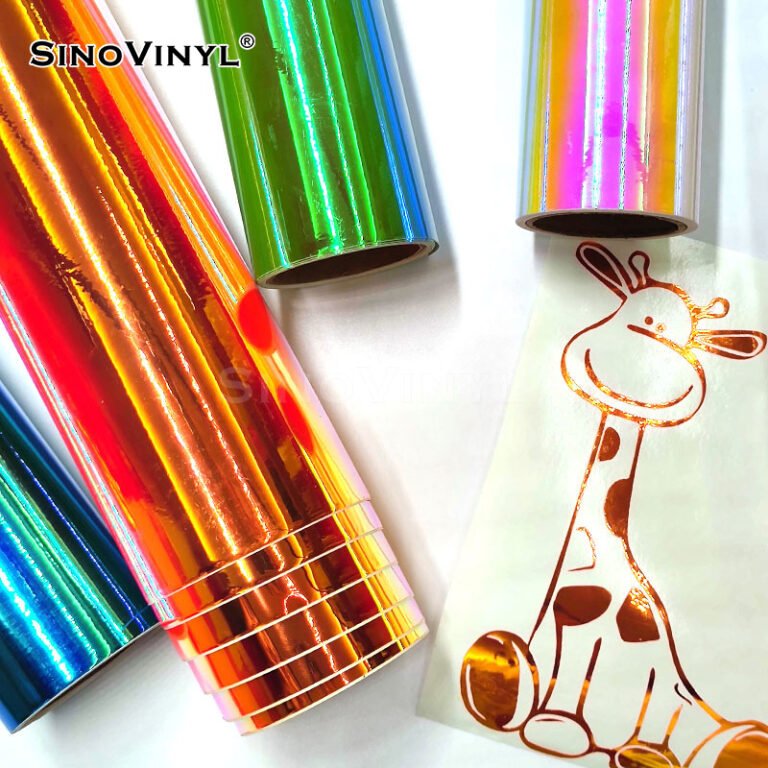
2. Vinyl Sheets/Rolls
Choose high-quality adhesive vinyl sheets or rolls in various colors and finishes (glossy, matte, metallic) to match your project requirements.
3. Transfer Tape
Also known as application tape, it’s used to transfer the vinyl design from the backing paper to the final surface.
4. Weeding Tools
These tools help remove the excess vinyl from the design after cutting. Common tools include weeding hooks, tweezers, and dental picks.
5. Cutting Mat
A cutting mat is essential for protecting your work surface and ensuring clean cuts during the vinyl cutting process.
6. Scissors and Utility Knife
For cutting vinyl sheets or trimming excess material.
7. Design Software
Depending on your cutting machine, you’ll need compatible design software to create or import your designs. Examples include Design Space, Silhouette Studio, and Adobe Illustrator.
8. Computer or Mobile Device
Your cutting machine may require a computer or mobile device to communicate and control the cutting process.
9. Scraper or Squeegee
Used to smooth out vinyl and ensure proper adhesion to the surface.
10. Ruler or Measuring Tape
For precise measurements and alignment of your designs.
11. Heat Press (Optional)
If you plan to work with heat transfer vinyl (HTV), a heat press will help bond the vinyl to fabric or other heat-resistant materials.
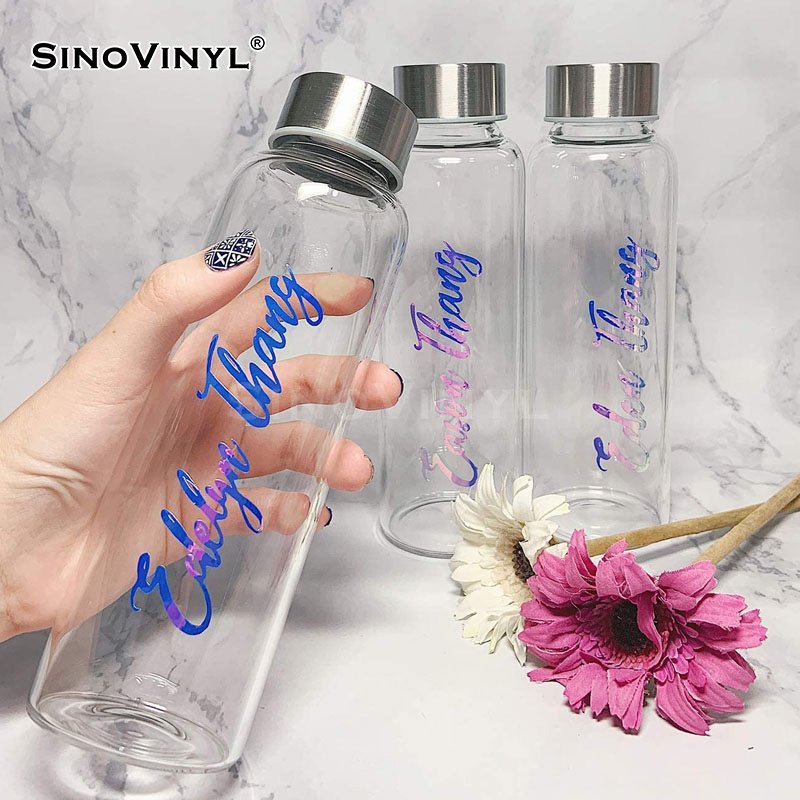
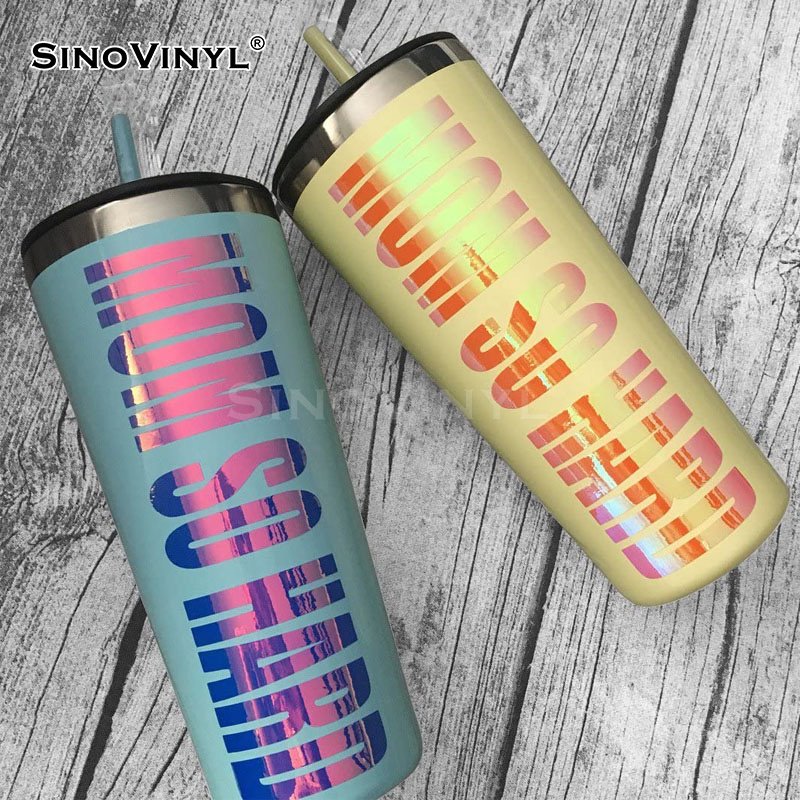
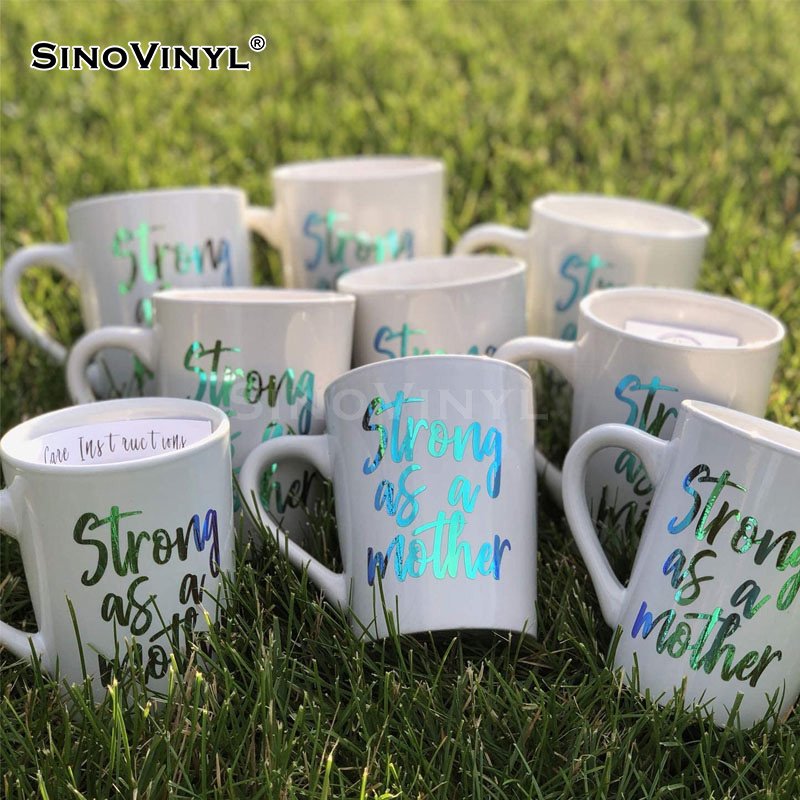
12. Blank Items to Personalize
Whether it’s t-shirts, mugs, notebooks, or home decor items, have some blank surfaces ready for personalization.
13. Rubbing Alcohol or Vinyl Cleaner
For prepping the surface before applying vinyl, ensuring a clean and smooth adhesion.
14. Cardstock or Test Material
Use this for test cuts to ensure your settings are correct before cutting your final vinyl.
15. Storage Solutions
Keep your vinyl sheets and tools organized and protected with storage containers and vinyl rolls holders.
Remember to follow the manufacturer’s guidelines for your specific vinyl cutting machine and materials. Having these essential tools and materials on hand will make your vinyl cutting projects more efficient and enjoyable.
Step-by-Step Tutorial: How to Cut Vinyl for Beginners
Vinyl cutting is a fun and rewarding DIY activity that allows you to personalize various items and add a unique touch to your projects. Whether you want to create custom stickers, decals, or home decor, here’s a step-by-step guide to get your start:
Materials Needed
1. Vinyl cutting machine (e.g., , Silhouette, or other vinyl cutter)
2. Vinyl sheets or rolls in the color of your choice
3. Cutting mat (specific to your vinyl cutter)
4. Weeding tools (tweezers or a weeding hook)
5. Transfer tape or transfer paper
6. Scissors
Step 1: Choose and Prepare Your Design
– Start by selecting or creating the design you want to cut. You can use software like Design Space or Silhouette Studio to design your artwork.
– Resize the design according to the item you want to personalize. Ensure it fits within the cutting dimensions of your vinyl cutter.
Step 2: Load the Vinyl into the Machine
– Open your vinyl cutter and load the vinyl sheet or roll onto the cutting mat. Make sure it is smooth and without any wrinkles or bubbles.
– Align the edges of the vinyl with the mat’s grid lines to ensure proper positioning.
Step 3: Set Up the Cutting Settings
– In your vinyl cutter’s software, select the type of vinyl you’re using and adjust the cutting settings accordingly. The software will recommend settings based on the vinyl type, but you can make adjustments if needed.
Step 4: Send the Design to the Machine
– Connect your computer or device to the vinyl cutter using a USB cable or Bluetooth, depending on the machine model.
– Click “Send” or “Cut” in the software to start the cutting process. The vinyl cutter will follow the design’s outline and cut the vinyl accordingly.
Step 5: Weed the Vinyl
– Once the cutting is complete, carefully remove the cutting mat from the vinyl cutter.
– Gently peel away the excess vinyl (the parts you don’t need) using weeding tools. Take your time to avoid damaging the intricate parts of the design.
Step 6: Apply Transfer Tape
– Cut a piece of transfer tape or transfer paper slightly larger than your vinyl design.
– Peel the backing off the transfer tape and carefully place it over the vinyl design. Use a scraper or credit card to ensure the transfer tape adheres well to the vinyl.
Step 7: Transfer the Design to Your Project
– Prepare the surface of the item you want to personalize. Ensure it’s clean and dry.
– Position the vinyl design with the transfer tape onto the surface and press it down firmly.
– Use the scraper or credit card to smooth out any bubbles and ensure the vinyl adheres well to the item.
Step 8: Peel OffT the ransfer Tape
– Slowly and carefully peel off the transfer tape, leaving the vinyl design on the surface.
– If any part of the vinyl lifts with the transfer tape, press it back down and use the scraper to smooth it out again.
Congratulations! You’ve successfully cut and applied vinyl to personalize your item. With practice, you’ll improve your skills and create even more impressive vinyl projects. Enjoy the process of transforming ordinary items into personalized masterpieces with vinyl cutting!


You May Interest
Websites
https://sinoadhesivevinyl.com/
https://www.sinovinyl.com/products/graphic-cutting-vinyl/
Blogs
https://sinoadhesivevinyl.com/vinyl-roll-self-adhesive/


