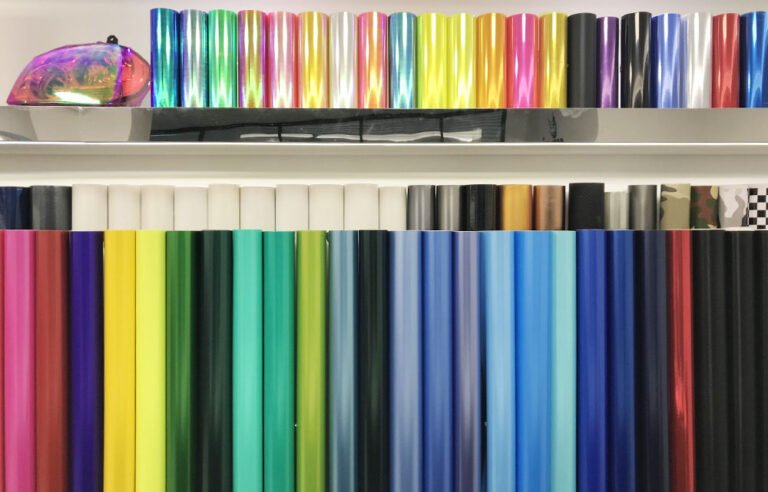
A detailed guide on how to cut HTV
Here’s a detailed guide on how to cut Heat Transfer Vinyl (HTV) with a vinyl cutting machine and apply it to t-shirts using a heat press:
Materials Needed
1. Heat Transfer Vinyl (HTV): Choose the color and type of HTV you want to use for your design.
2. T-shirt: Ensure it’s clean and free of wrinkles.
3. Vinyl Cutting Machine: Set up and ready to use.
4. Weeding Tool: Used to remove excess vinyl.
5. Heat Press: Preheat it according to the instructions for your specific type of HTV and fabric.
6. Teflon Sheet or Parchment Paper: To protect the vinyl and t-shirt during pressing.
7. Design Software: Create or import your design into the software compatible with your vinyl cutting machine.
8. Transfer Tape (Optional): Helps with aligning and applying multi-piece designs.


Step-by-Step Instructions
1. Design Creation and Cutting
Create or Import Design:
– Using design software, create or import the design you want to cut. Make sure it’s appropriately sized for your t-shirt.
Mirror the Design:
– Flip the design horizontally. This is crucial for HTV because it’s applied face-down, and this ensures the design faces the correct way when transferred.
Load HTV into the Cutting Machine:
– Feed the HTV into the vinyl cutter with the shiny side down (carrier sheet facing up).
Adjust Settings:
– Set the machine to the appropriate settings for cutting HTV. This may include blade depth, speed, and pressure. Refer to your machine’s manual for specific recommendations.
Cut the Design:
– Initiate the cutting process. The machine will follow the design’s contours.
Weed the Design:
– Use a weeding tool to carefully remove the excess vinyl (the parts you don’t want in the final design). This leaves only your intended design on the carrier sheet.
2. Preparing the T-shirt
Preheat the Heat Press:
– Preheat the heat press to the recommended temperature for your specific HTV and fabric.
Position the T-shirt:
– Smooth out any wrinkles and place the t-shirt onto the heat press, ensuring it’s centered and flat.
3. Applying the HTV
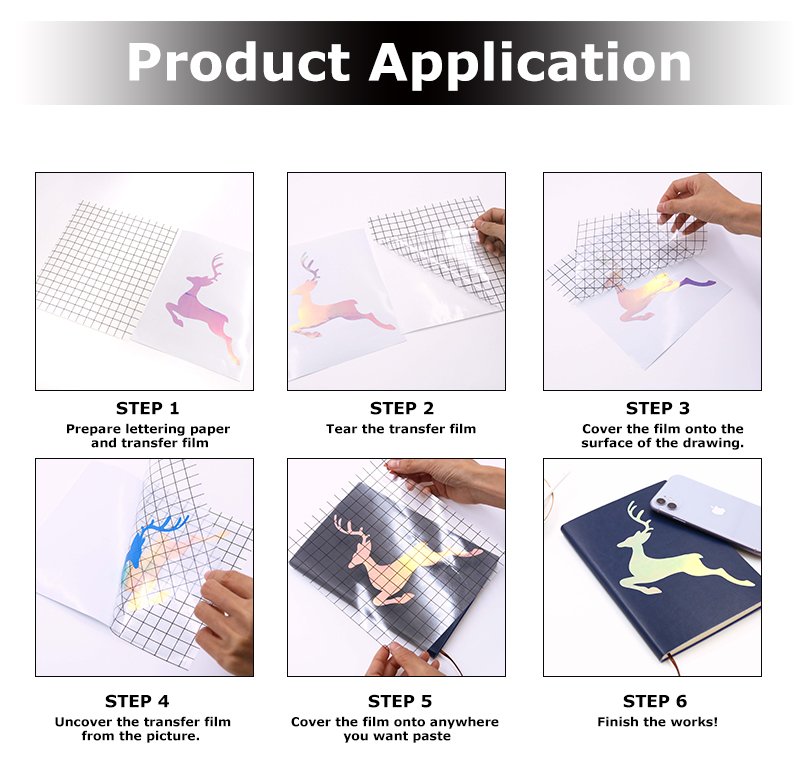
Position the Design:
– Place the weeded HTV design on the t-shirt, with the carrier sheet facing up. Adjust its position to your desired location.
Cover with Protective Sheet:
– Place a Teflon sheet or parchment paper over the design to protect both the vinyl and the t-shirt from direct heat.
Press with Heat Press:
– Close the heat press and apply pressure according to the manufacturer’s recommendations. Press for the recommended duration.
Allow to Cool:
– Once the pressing time is complete, open the heat press and carefully peel off the carrier sheet. Allow the design to cool.
4. Finished Product
Inspect the Design:
– Ensure the HTV has adhered properly. If any areas are not adhered, reapply the heat press for a few more seconds.
Care Instructions:
– Provide care instructions to the recipient, such as washing inside out, avoiding high heat in the dryer, and not ironing directly on the design.
That’s it! You’ve successfully cut and applied HTV to a t-shirt using a vinyl cutting machine and a heat press. Remember to practice on scrap fabric and follow manufacturer instructions for both your vinyl and heat press for best results.

