Inspiring DIY Ideas Using Textured Self-Adhesive Vinyl
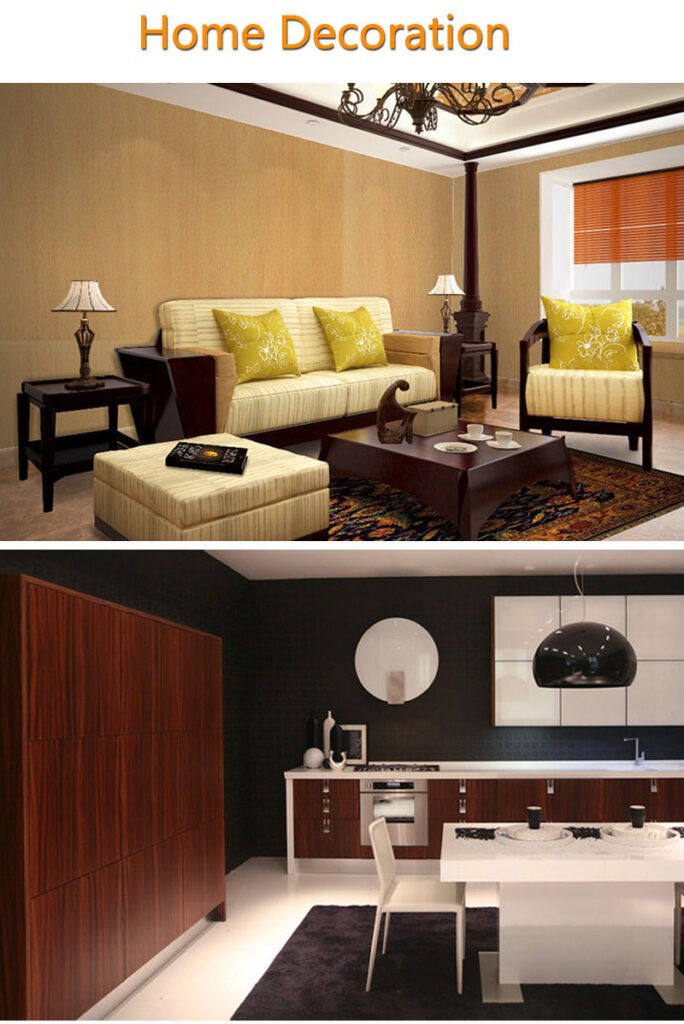
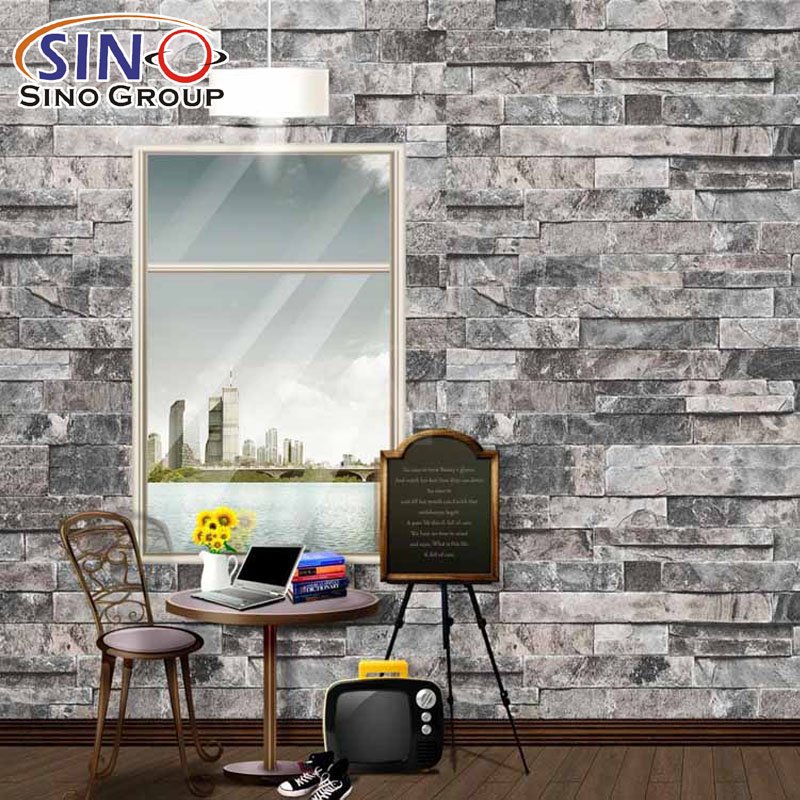
1. Textured Accent Wall
Create a statement wall by applying textured self-adhesive vinyl in a bold pattern or texture. It can instantly transform the look and feel of a room.
2. Furniture Makeover
Give your old furniture a fresh look by covering it with textured self-adhesive vinyl. Wrap the surface of a coffee table, sideboard, or even a dresser to add a unique texture and update its appearance.
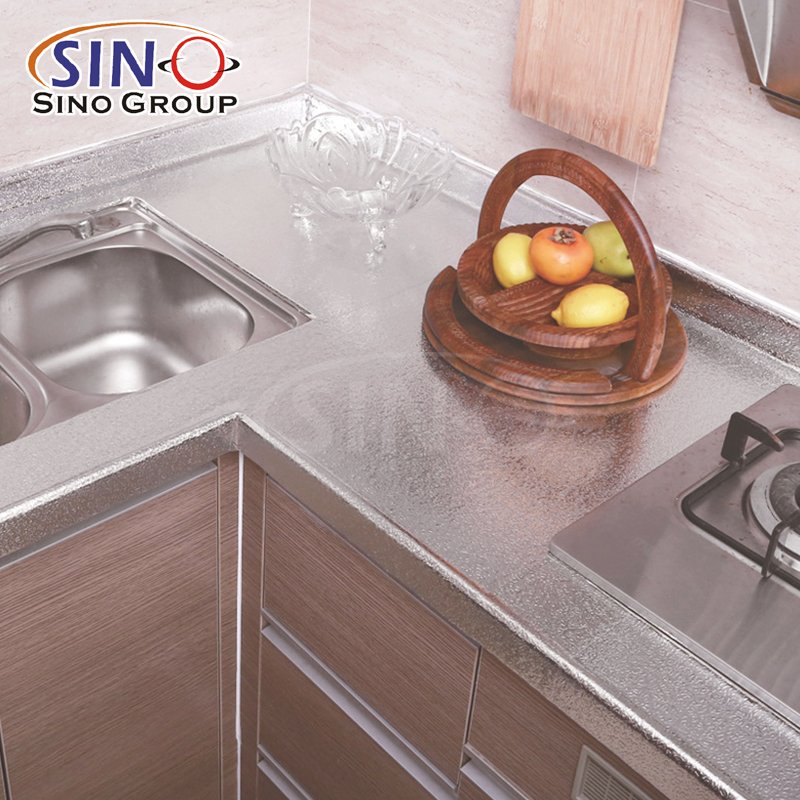
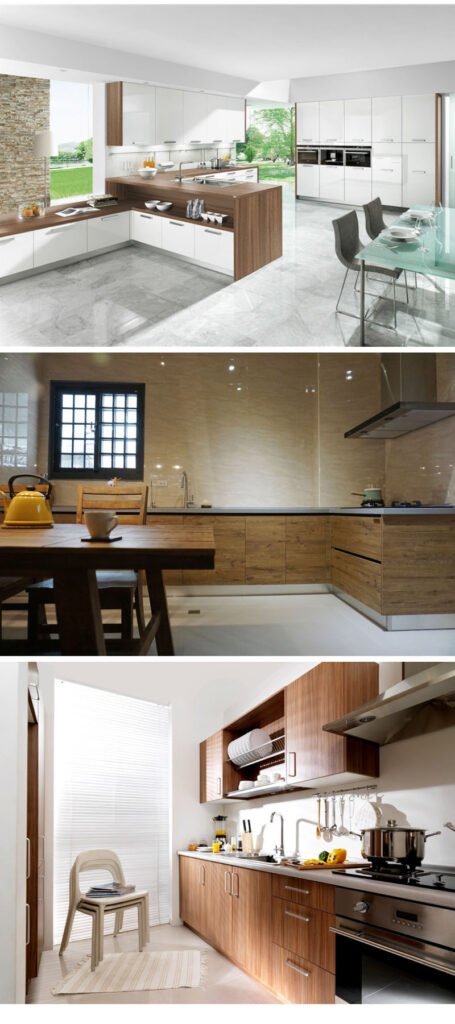
3. Backsplash Upgrade
Use textured self-adhesive vinyl to enhance your kitchen or bathroom backsplash. It’s a cost-effective way to add a touch of style and protect the walls from splashes and stains.
4. Creative Decals
Cut out shapes or designs from textured self-adhesive vinyl to create custom decals. Apply them to walls, furniture, or even accessories like laptops and phone cases for a personalized touch.
5. Staircase Revamp
Give your staircase a makeover by applying strips of textured self-adhesive vinyl to the risers. Choose a complementary color or pattern to add visual interest and depth to your stairs.
6. Temporary Wall Art
Cut out intricate patterns or shapes from textured self-adhesive vinyl and apply them to your walls as temporary wall art. It’s a great way to experiment with different designs without committing to permanent changes.
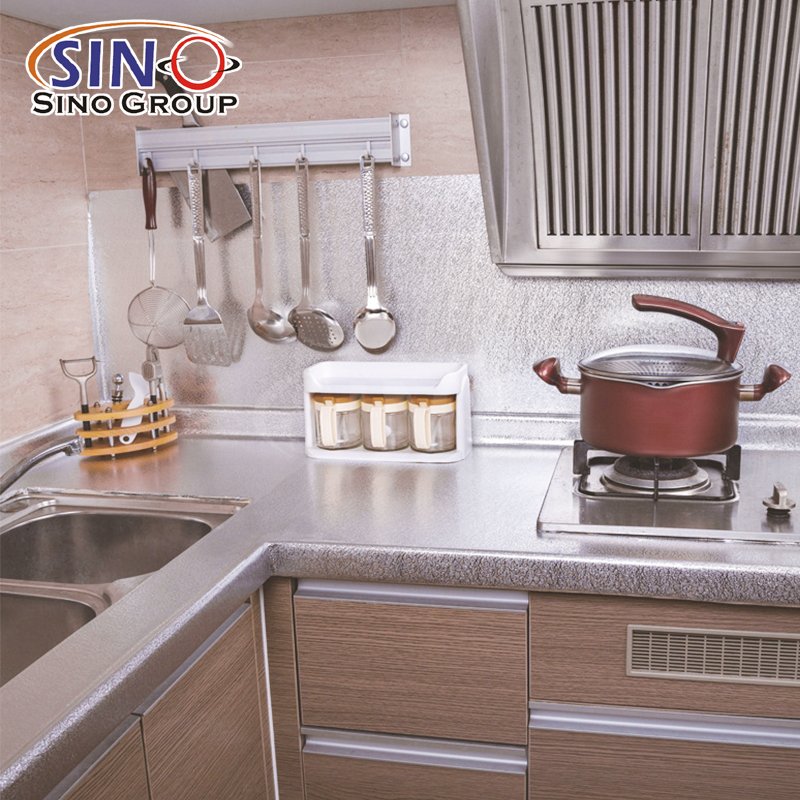
7. Cabinet Refacing
Update your kitchen or bathroom cabinets by covering the fronts with textured self-adhesive vinyl. It can give them a modern and stylish look while saving you the cost of replacing them.
8. Decorative Planters
Add texture to plain planters by wrapping them with textured self-adhesive vinyl. It can instantly elevate the look of your indoor or outdoor plants and make a unique statement.
9. Faux Headboard
Create a faux headboard by applying textured self-adhesive vinyl directly to the wall behind your bed. Choose a textured pattern that mimics the look of fabric or wood for a cozy and stylish effect.
10. Customized Laptop or Tablet Skin
Personalize your laptop or tablet by cutting out a piece of textured self-adhesive vinyl in the desired shape and applying it to the back. It’s a fun way to showcase your style and protect your device.
Remember to follow proper application techniques and ensure the textured self-adhesive vinyl is compatible with the surface you’re working on. Enjoy your DIY projects!


How to Properly Clean and Maintain Textured Self-Adhesive Vinyl Surfaces
Proper cleaning and maintenance are essential to keep your textured self-adhesive vinyl surfaces looking pristine and prolong their lifespan. Here are some guidelines to help you clean and maintain textured self-adhesive vinyl surfaces effectively:
1. Gather the necessary supplies
You will need a soft cloth or sponge, mild detergent or vinyl cleaner, warm water, and a non-abrasive brush.
2. Remove loose dirt and debris
Start by using a soft cloth or vacuum cleaner with a soft brush attachment to remove any loose dirt, dust, or debris from the surface.
3. Prepare a cleaning solution
Mix a small amount of mild detergent with warm water in a bucket or spray bottle. Alternatively, you can use a specifically formulated vinyl cleaner following the manufacturer’s instructions.
4. Test in an inconspicuous area
Before applying the cleaning solution to the entire surface, test it in a small, inconspicuous area to ensure it doesn’t cause any damage or discoloration.
5. Clean the textured self-adhesive vinyl
Dip a soft cloth or sponge into the cleaning solution and gently wipe the textured surface. Avoid using excessive water or soaking the vinyl as it may seep beneath the adhesive.
6. Remove stubborn stains
For stubborn stains or grime, use a non-abrasive brush or sponge to gently scrub the affected area. Avoid using harsh scrub brushes or abrasive cleaners that can damage the texture or finish of the vinyl.
7. Rinse with clean water
Once you have cleaned the surface, rinse it thoroughly with clean water to remove any residue or cleaning solution.
8. Dry the surface
Use a clean, dry cloth to pat the surface dry. Avoid air-drying as it may leave water spots.
9. Avoid harsh chemicals and abrasives
Do not use abrasive cleaners, bleach, ammonia, or harsh chemicals on textured self-adhesive vinyl surfaces as they can damage the texture or discolor the vinyl.
10. Preventive measures
To maintain the beauty of your textured self-adhesive vinyl surfaces, take preventive measures such as using doormats to minimize dirt and grit, using furniture pads to prevent scratches, and avoiding dragging heavy objects across the surface.
Remember to consult the manufacturer’s instructions for specific cleaning recommendations for your particular textured self-adhesive vinyl product, as different manufacturers may have specific guidelines or restrictions.


Using Textured Self-Adhesive Vinyl to Refresh Furniture and Cabinets
Textured self-adhesive vinyl can be a game-changer when it comes to refreshing furniture and cabinets. Here’s how it can transform these surfaces:
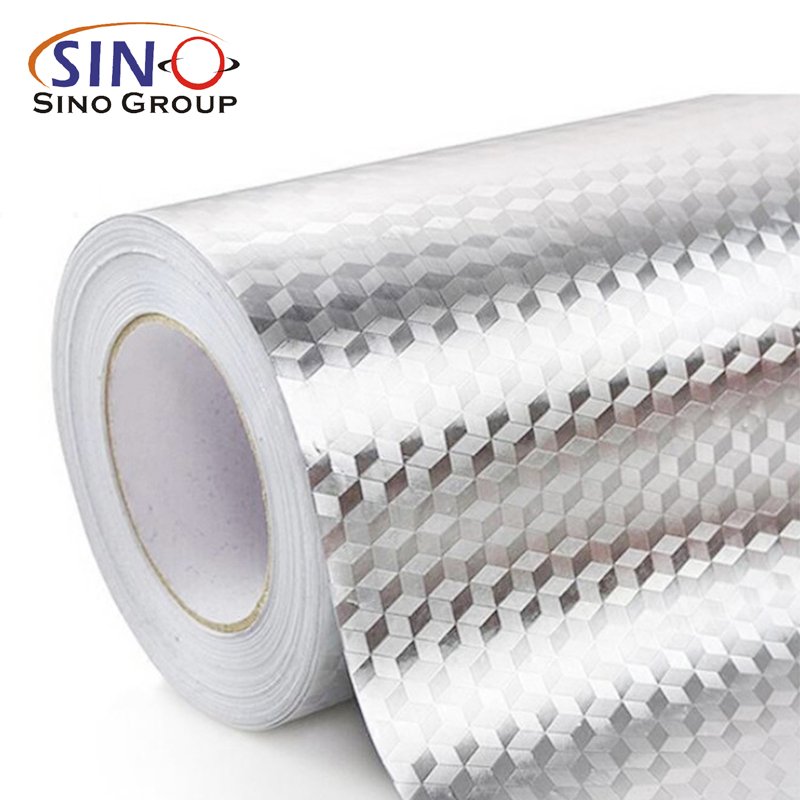
1. Easy Application
Textured self-adhesive vinyl is designed to be user-friendly and can be easily applied to various surfaces, including furniture and cabinets. Its adhesive backing allows for a smooth and secure application.
2. Surface Enhancement
Whether your furniture or cabinets have scratches, dents, or an outdated appearance, textured self-adhesive vinyl can provide a fresh and stylish update. The textured surface helps to camouflage imperfections and adds a new layer of visual interest.
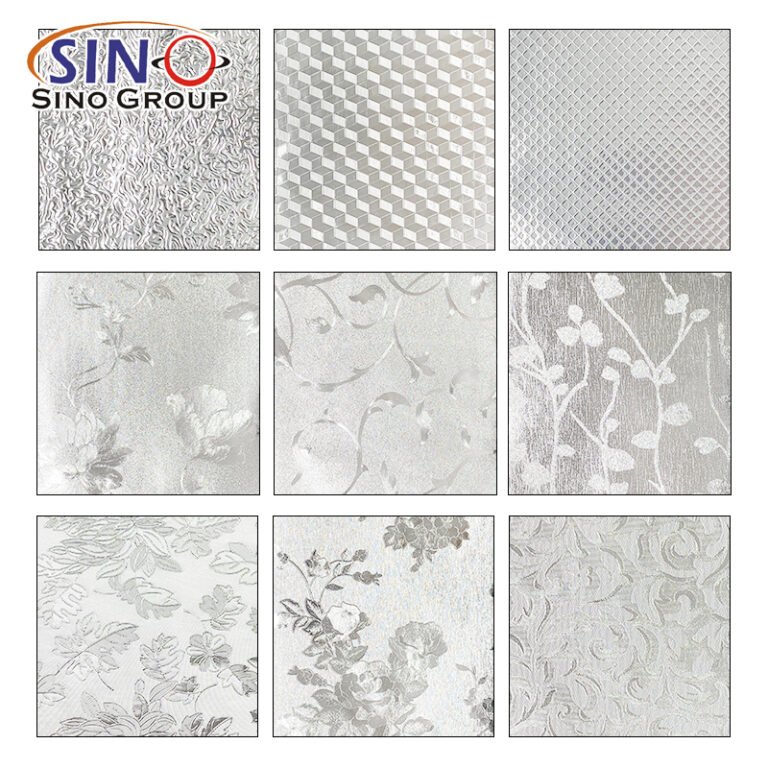
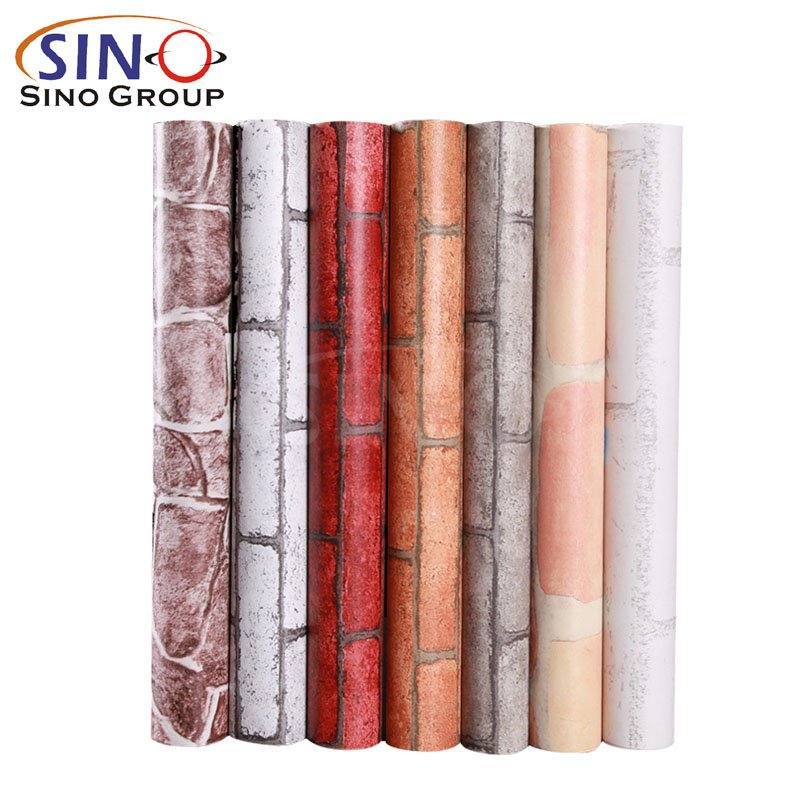
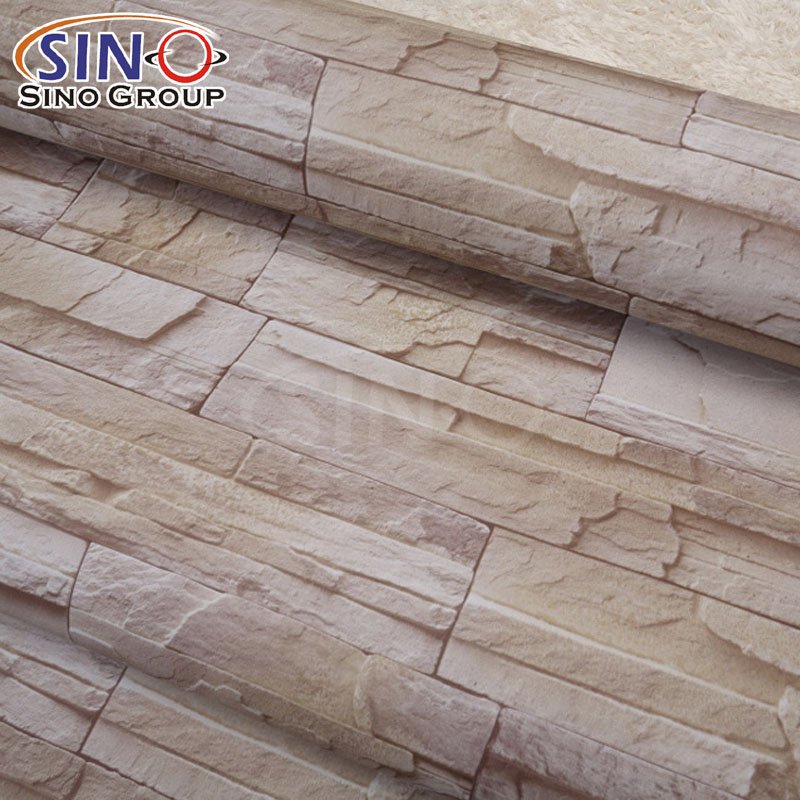
3. Variety of Designs
Textured self-adhesive vinyl comes in a wide range of designs, patterns, and textures, offering endless possibilities for customization. From woodgrain and stone textures to modern geometric patterns, you can find a design that suits your personal style and complements your existing decor.
4. Cost-Effective Solution
Instead of investing in brand new furniture or cabinets, textured self-adhesive vinyl provides a cost-effective alternative. It allows you to achieve a refreshed look without breaking the bank, making it an ideal choice for budget-conscious individuals.
5. Durability and Protection
Textured self-adhesive vinyl not only enhances the appearance of furniture and cabinets but also adds a layer of protection. It helps guard against scratches, moisture, and daily wear and tear, extending the lifespan of your furniture and cabinets.
6. Easy Maintenance
One of the benefits of textured self-adhesive vinyl is its low maintenance requirements. It is resistant to stains and can be easily cleaned with a damp cloth or mild cleaning solution, making it a practical choice for furniture and cabinets.
7. Temporary or Permanent Solution
Depending on your preference, textured self-adhesive vinyl can be used as a temporary or permanent solution. If you enjoy changing your decor frequently, it can be easily removed without leaving any residue or damage. However, if you wish to keep the new look for an extended period, the vinyl is designed to be long-lasting.
Overall, textured self-adhesive vinyl offers a versatile and transformative solution to refresh furniture and cabinets. With its easy application, wide variety of designs, durability, and cost-effectiveness, it provides a DIY-friendly option to update and revitalize your living space.

Transforming Outdoor Spaces with Textured Self-Adhesive Vinyl
Transforming outdoor spaces with textured self-adhesive vinyl can be a creative and cost-effective way to enhance the aesthetics and functionality of your outdoor areas. Here are the steps to follow:
1. Assess the Outdoor Space
Start by evaluating the area you want to transform. Consider the size, layout, and specific elements such as walls, fences, or furniture that you want to cover or enhance with textured self-adhesive vinyl.
2. Choose the Right Type of Vinyl
Select a textured self-adhesive vinyl that is suitable for outdoor use and can withstand weather conditions such as rain, sunlight, and temperature changes. Look for vinyl designed specifically for outdoor applications, as they are more durable and UV-resistant.
3. Clean and Prepare the Surface
Ensure that the surface you will be applying the vinyl to is clean, dry, and free from any dirt, dust, or debris. Use a mild detergent and water to clean the surface thoroughly. If necessary, sand or repair any damaged areas before proceeding.
4. Measure and Cut the Vinyl
Measure the dimensions of the area you want to cover and cut the textured self-adhesive vinyl accordingly. Leave a small overlap on each side for a seamless and professional look.
5. Peel and Stick
Start applying the vinyl from one corner or edge, peeling off the backing gradually as you press the adhesive side onto the surface. Smooth out any air bubbles or wrinkles using a squeegee or a clean cloth. Take your time and work methodically to ensure a smooth and even application.
6. Trim and Finish
Once you have applied the vinyl to the desired area, trim off any excess material using a sharp utility knife or scissors. Pay attention to details and edges, ensuring a clean and precise finish.
7. Add Finishing Touches
Consider adding complementary decorative elements to enhance the overall look of the transformed outdoor space. This could include outdoor rugs, potted plants, or outdoor furniture that complements the texture and design of the vinyl.
8. Maintenance and Care
Follow the manufacturer’s guidelines for cleaning and maintenance to ensure the longevity of the textured self-adhesive vinyl. Generally, outdoor vinyl surfaces can be cleaned with a mild detergent and water, and occasional resealing may be required for added protection.
Remember to prioritize safety when working with outdoor spaces. If you are unsure about any specific steps or techniques, consult the manufacturer’s instructions or seek professional assistance to ensure a successful transformation of your outdoor area using textured self-adhesive vinyl.
(Click the picture to learn more)
Final Words
In conclusion, diving into the world of textured self-adhesive vinyl opens up a realm of creative possibilities to elevate your DIY projects. Whether you’re revamping your living space, adding a unique touch to furniture, or transforming outdoor areas, textured self-adhesive vinyl offers a versatile and affordable solution. With its wide range of designs, textures, and easy installation process, you can unleash your imagination and achieve stunning results. Embrace the opportunity to explore this innovative material and let your DIY projects shine with the beauty and charm of textured self-adhesive vinyl. Get ready to elevate your creativity and make your spaces truly remarkable. So, dive in and embark on a journey of self-expression and design transformation with textured self-adhesive vinyl. The only limit is your imagination.


