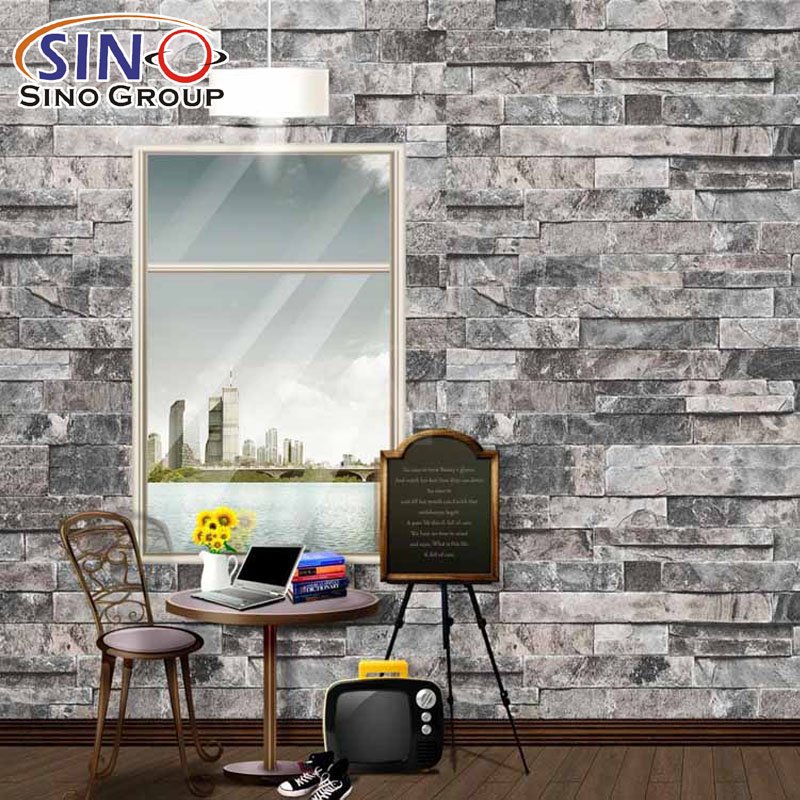
Step-by-Step Guide: Applying Self-Adhesive Vinyl Sheets on Walls
Here’s a step-by-step guide on applying self-adhesive vinyl sheets on walls:
Step 1: Gather Your Materials
- Self-adhesive vinyl sheets
- Measuring tape
- Utility knife or scissors
- Squeegee or credit card
- Level
- Cleaning supplies (e.g., mild soap, water, and a cloth)
Step 2: Prepare the Wall Surface
- Ensure the wall is clean, dry, and free from dust or debris.
- If needed, wipe the wall surface with a mild soap and water solution, and let it dry completely.
Step 3: Measure and Cut the Vinyl Sheets
- Measure the dimensions of the wall or area where you want to apply the vinyl sheet.
- Using the measurements, mark and cut the vinyl sheet to fit the desired area. Leave a slight overlap for adjustments during installation.
Step 4: Peel off the Backing
- Peel off a small portion of the backing paper from the top corner of the vinyl sheet. Be careful not to touch the adhesive side.
Step 5: Position and Smooth the Vinyl Sheet
- Align the top corner of the vinyl sheet with the corresponding top corner of the wall.
- Slowly and evenly press the adhesive side of the vinyl sheet onto the wall, starting from the top and working your way down.
- Use a squeegee or credit card to smooth out any air bubbles or wrinkles as you go.
Step 6: Repeat the Process
- Continue peeling off the backing paper and applying the vinyl sheet section by section, ensuring each section is properly aligned and smooth.
- Use a level to ensure the vinyl sheet is straight and aligned with the wall.
Step 7: Trim Excess Vinyl
- Once the entire vinyl sheet is applied, use a utility knife or scissors to carefully trim any excess material along the edges or corners for a clean finish.
Step 8: Finalize and Smooth
- After trimming, go over the entire vinyl sheet once again with a squeegee or credit card to ensure it adheres securely to the wall.
- Smooth out any remaining air bubbles or wrinkles.
Step 9: Allow the Vinyl to Set
- Give the vinyl sheet some time to set and adhere properly to the wall surface. Follow the manufacturer’s instructions for recommended drying or setting time.
Congratulations! You’ve successfully applied self-adhesive vinyl sheets on your wall. Enjoy your transformed space! Remember to consult the specific instructions provided by the manufacturer of the vinyl sheets you are using for any additional guidance.
Revamping Furniture with Self-Adhesive Vinyl Sheets: Tips and Techniques
1. Clean and Prepare the Surface
Before applying the vinyl sheets, ensure that the furniture surface is clean and free of dust, dirt, and any existing finishes. Use a mild detergent and water to clean the surface thoroughly. Allow it to dry completely before proceeding.
2. Measure and Cut Precisely
Measure the dimensions of the furniture piece accurately to ensure the vinyl sheet covers the surface properly. Use a measuring tape and mark the measurements on the vinyl sheet. Cut the sheet with sharp scissors or a utility knife along the marked lines for a precise fit.
3. Start with Small and Flat Surfaces
If you’re new to working with self-adhesive vinyl sheets, it’s best to start with smaller, flat surfaces such as tabletops or drawer fronts. This will allow you to practice your technique and gain confidence before moving on to larger or more intricate furniture pieces.
4. Use a Squeegee or Credit Card
When applying the vinyl sheet, use a squeegee or a credit card to smooth out any air bubbles or wrinkles. Start from the center and gradually work your way towards the edges, pressing firmly to ensure a smooth and even application.
5. Heat and Stretch for Curved Surfaces
For furniture with curved surfaces or edges, you may need to apply heat to the vinyl sheet to make it more pliable. Use a heat gun or hairdryer on a low setting to warm up the vinyl, making it easier to stretch and conform to the curves. Be careful not to overheat or damage the vinyl.
6. Trim Excess Vinyl
Once the vinyl sheet is applied, trim any excess material using a sharp knife or scissors. Take your time and make precise cuts along the edges for a neat and clean finish.
7. Pay Attention to Details
Don’t overlook the smaller details like corners, edges, or handles. Use a craft knife or small scissors to carefully cut around these areas, ensuring a seamless and professional-looking result.
8. Experiment with Patterns and Textures
Self-adhesive vinyl sheets come in a variety of patterns, colors, and textures. Don’t be afraid to get creative and experiment with different combinations to achieve the desired look for your furniture. Consider mixing and matching different patterns or using textured vinyl sheets for added visual interest.
9. Apply a Protective Finish
To enhance the durability and longevity of your revamped furniture, consider applying a protective finish over the vinyl sheets. This can help guard against scratches, stains, and wear over time. Choose a clear polyurethane or varnish suitable for the type of furniture and follow the manufacturer’s instructions for application.
10. Take Your Time and Have Patience
Revamping furniture with self-adhesive vinyl sheets requires patience and attention to detail. Take your time during each step of the process, ensuring proper measurements, alignment, and smooth application. Rushing can lead to mistakes or unsatisfactory results, so be patient and enjoy the creative process.
Remember, practice makes perfect, so don’t hesitate to try out your techniques on smaller pieces or scraps of vinyl before tackling larger furniture projects.


Self-Adhesive Vinyl Sheets for Flooring: A Practical and Stylish Solution
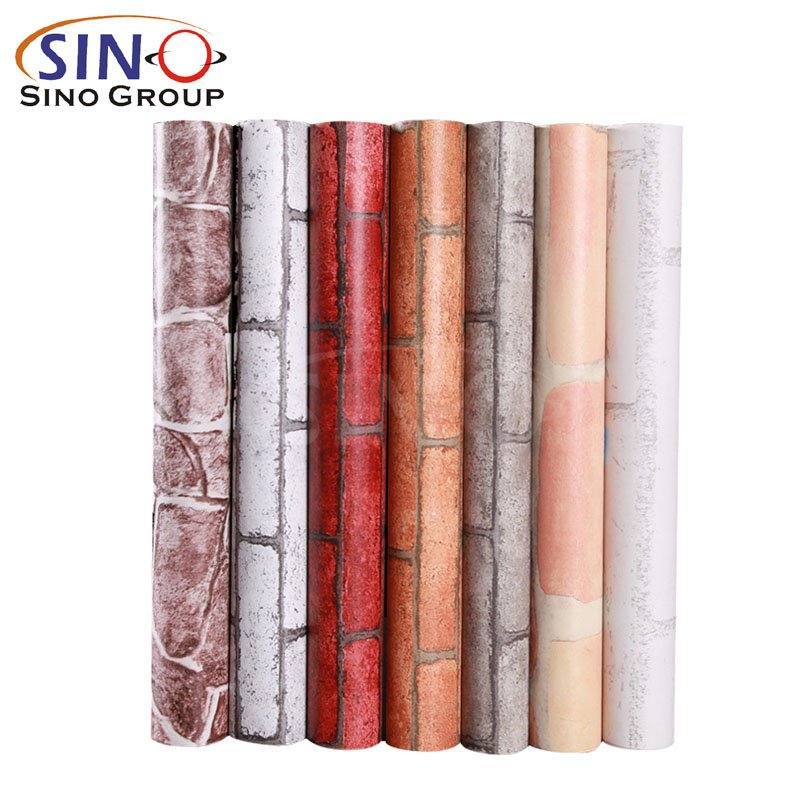
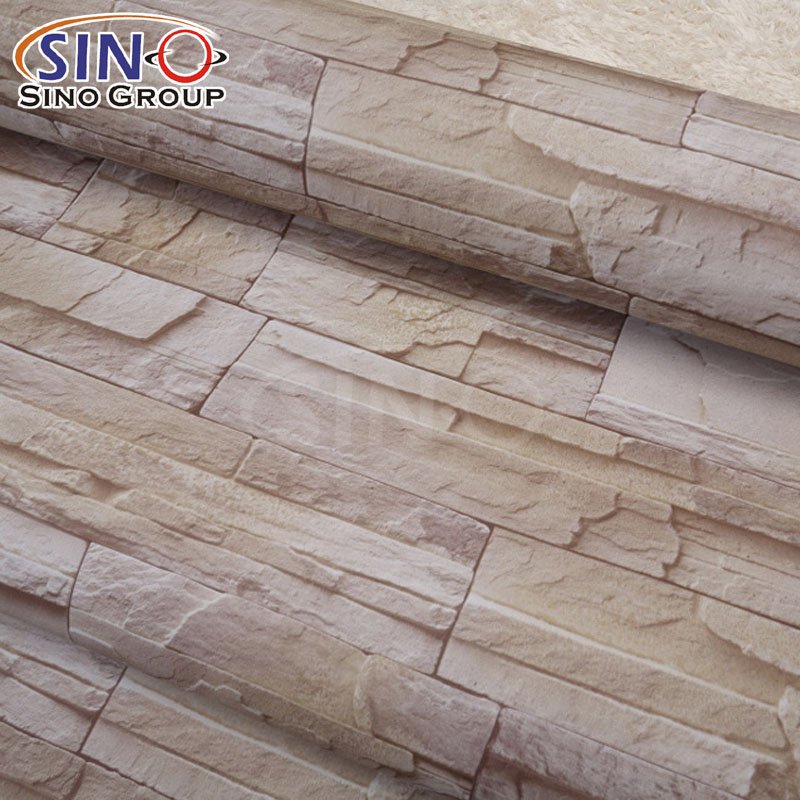
Self-adhesive vinyl sheets for flooring offer a practical and stylish solution for homeowners and DIY enthusiasts. These sheets are designed to mimic the appearance of various flooring materials, such as hardwood, tile, or stone, while providing the convenience and affordability of vinyl.
One of the key advantages of self-adhesive vinyl sheets for flooring is their ease of installation. Unlike traditional flooring options that may require professional assistance or specialized tools, these sheets are designed for simple and straightforward installation. The adhesive backing on the sheets allows them to be easily applied to a clean and smooth surface, such as existing flooring or subflooring.
Additionally, self-adhesive vinyl sheets for flooring come in a wide range of designs, colors, and patterns, offering endless possibilities for creating a personalized and unique look in any space. Whether you prefer a rustic wood look, a sleek and modern tile appearance, or a vibrant pattern, there is a vinyl sheet available to suit your style and design preferences.

Outdoor Applications: Using Self-Adhesive Vinyl Sheets for Signs and Graphics
When it comes to outdoor applications, self-adhesive vinyl sheets offer a versatile and durable solution for creating signs and graphics. Here are a few examples of how you can utilize self-adhesive vinyl sheets for outdoor purposes:
1. Business Signage
Design eye-catching signs for your storefront or office using self-adhesive vinyl sheets. Create professional-looking logos, business names, and contact information to attract customers.
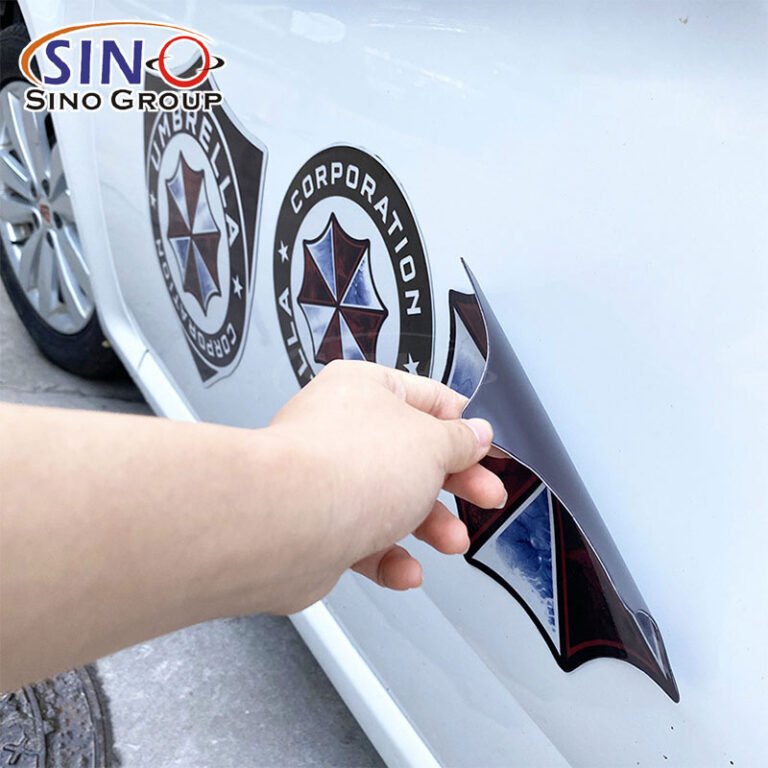
2. Vehicle Decals
Transform your vehicle into a mobile billboard by applying self-adhesive vinyl sheets as decals. Whether you have a car, truck, or van, you can showcase your business logo, contact details, or promotional messages.
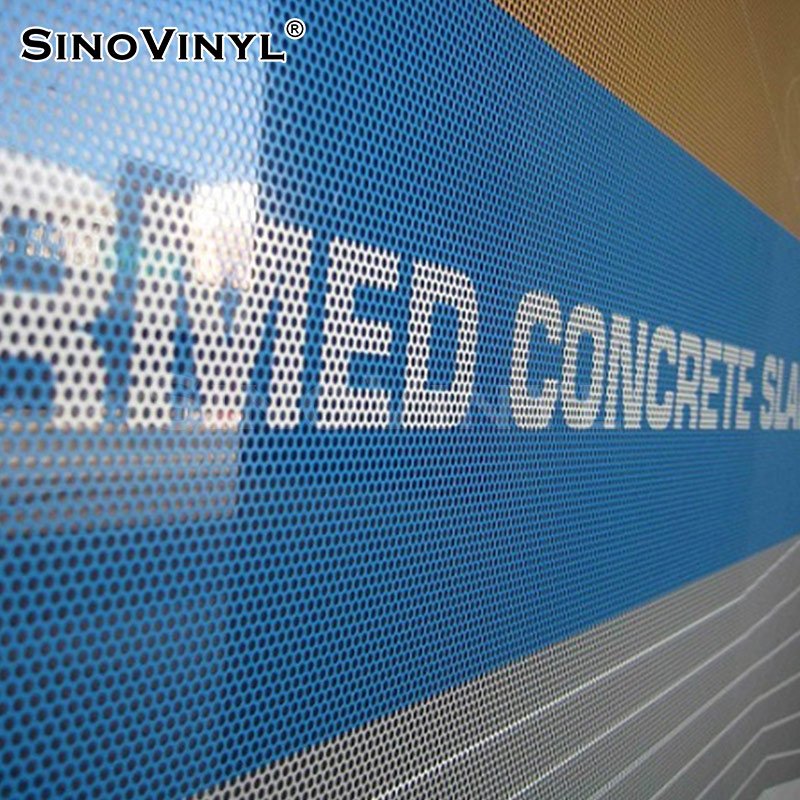
3. Window Graphics
Enhance the visual appeal of your storefront or office windows with self-adhesive vinyl sheets. Display special offers, store hours, or decorative designs to grab attention and entice customers.
4. Outdoor Banners
Make a statement with outdoor banners made from self-adhesive vinyl sheets. Whether for events, promotions, or informational purposes, vinyl banners are weather-resistant and can withstand outdoor conditions.
5. Real Estate Signage
Create professional and eye-catching real estate signs using self-adhesive vinyl sheets. Display property listings, contact information, and directional signs to guide potential buyers.
6. Construction Site Signage
Use self-adhesive vinyl sheets to create safety signs, project information boards, or warning signs at construction sites. These durable vinyl sheets can withstand the elements and provide essential communication.
7. Wayfinding Signs
Help visitors navigate outdoor spaces with clear and informative wayfinding signs made from self-adhesive vinyl sheets. Guide people to parking areas, entrances, restrooms, and other important locations.
8. Event Signage
Whether it’s a festival, conference, or outdoor gathering, self-adhesive vinyl sheets can be used to create event signage. From directional signs to sponsor recognition banners, vinyl sheets offer versatility and durability.
9. Sports Field Graphics
Enhance the visual appeal of sports fields and stadiums with self-adhesive vinyl graphics. Display team logos, sponsor advertisements, or motivational messages to create an immersive experience.
10.Garden and Yard Decor
Add a personal touch to your outdoor space by using self-adhesive vinyl sheets to create custom garden signs, decorative planters, or vibrant yard graphics.
Remember to ensure proper surface preparation and installation techniques to maximize the longevity and effectiveness of self-adhesive vinyl sheets in outdoor applications.


Final Words
In conclusion, self-adhesive vinyl sheets prove to be the ultimate DIY solution for transforming every surface in your home or business. From walls to furniture, these versatile sheets offer endless possibilities for creativity and customization. With their easy application and affordability, anyone can revamp their space with minimal effort and cost. Whether you’re a seasoned crafter or a novice DIY enthusiast, self-adhesive vinyl sheets empower you to unleash your creativity and achieve stunning makeovers. So, why settle for ordinary when you can elevate your decor with self-adhesive vinyl sheets? Embrace this remarkable DIY solution and unlock a world of endless design possibilities that will leave a lasting impression. Get ready to embark on your next project and see the transformative power of self-adhesive vinyl sheets firsthand.


