Exploring Different Types and Finishes of Self-Adhesive Vinyl Rolls
When it comes to self-adhesive vinyl rolls, there is a wide range of types and finishes available, each with its own unique characteristics and applications. Here are some popular options:
1. Matte Finish
Matte self-adhesive vinyl rolls offer a non-shiny, flat surface. They are ideal for projects where you want a subtle and understated look, such as creating wall decals or adding labels to products.
2. Glossy Finish
Glossy self-adhesive vinyl rolls provide a smooth, reflective surface that enhances color vibrancy and gives a polished appearance. They are commonly used for creating vibrant graphics, signage, or adding a shiny finish to various surfaces.
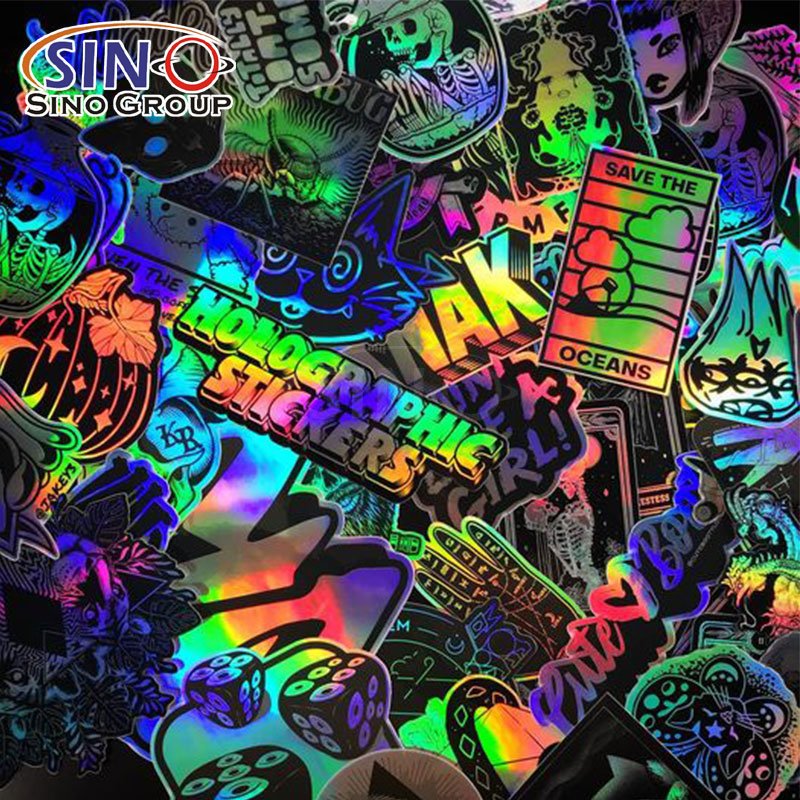
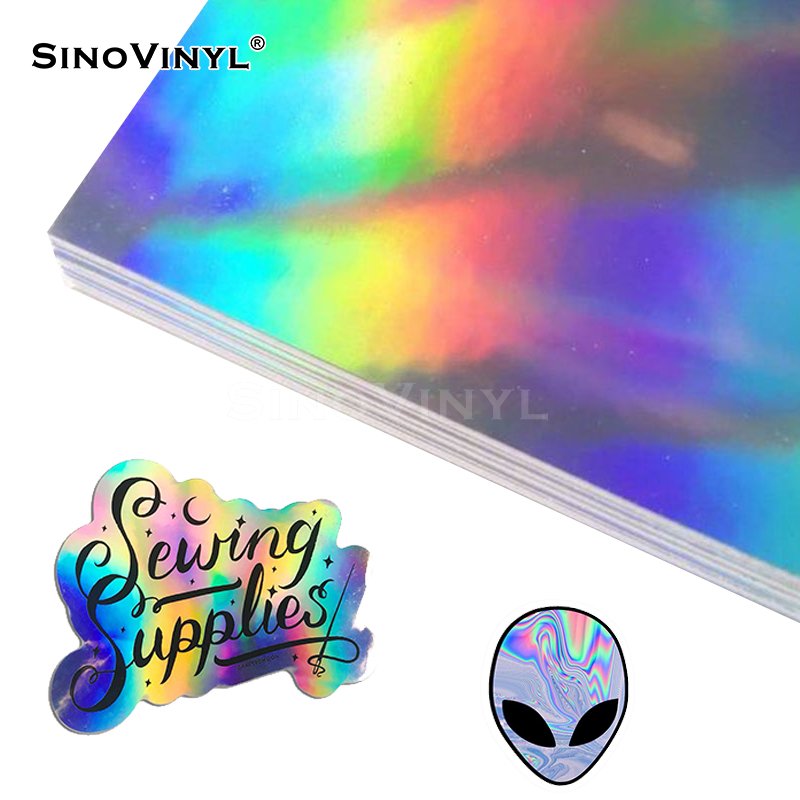
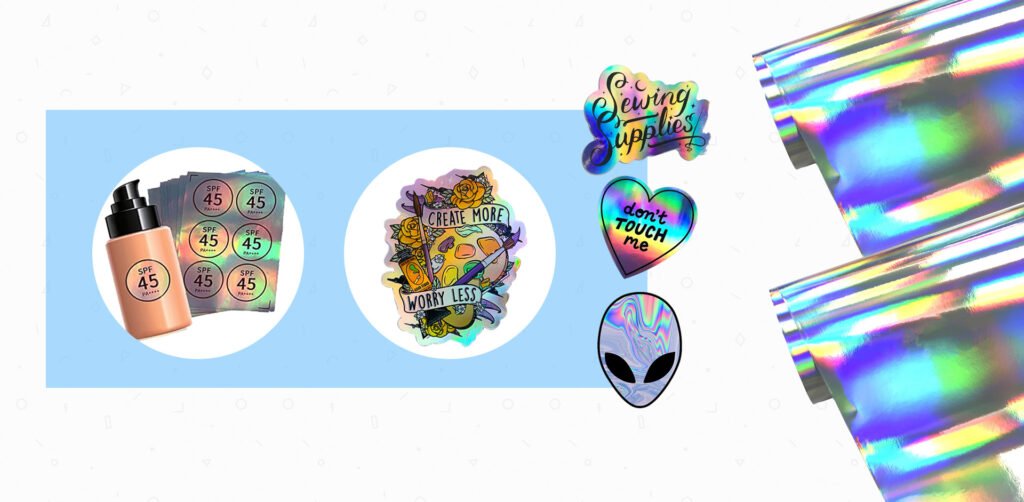
3. Metallic Finish
Metallic self-adhesive vinyl rolls add a touch of elegance and sophistication to projects. They have a shimmering, reflective surface that simulates the appearance of metal. They are often used for creating eye-catching decals, lettering, or accent details.
4. Transparent/Clear Finish
Transparent or clear self-adhesive vinyl rolls are see-through, allowing the underlying surface to show through. They are ideal for applications where you want to preserve the original background or create a subtle effect, such as glass decals or window stickers.
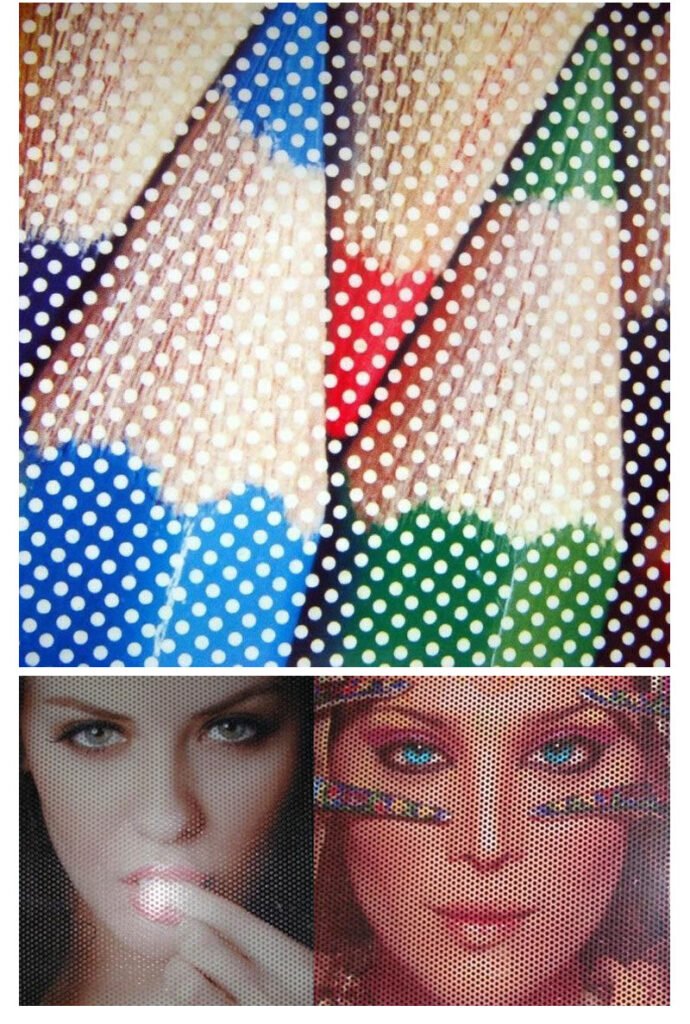
5. Patterned Finish
Patterned self-adhesive vinyl rolls come in a variety of designs, ranging from geometric patterns to floral motifs. They offer a ready-made decorative element and are perfect for adding a stylish touch to walls, furniture, or other surfaces.
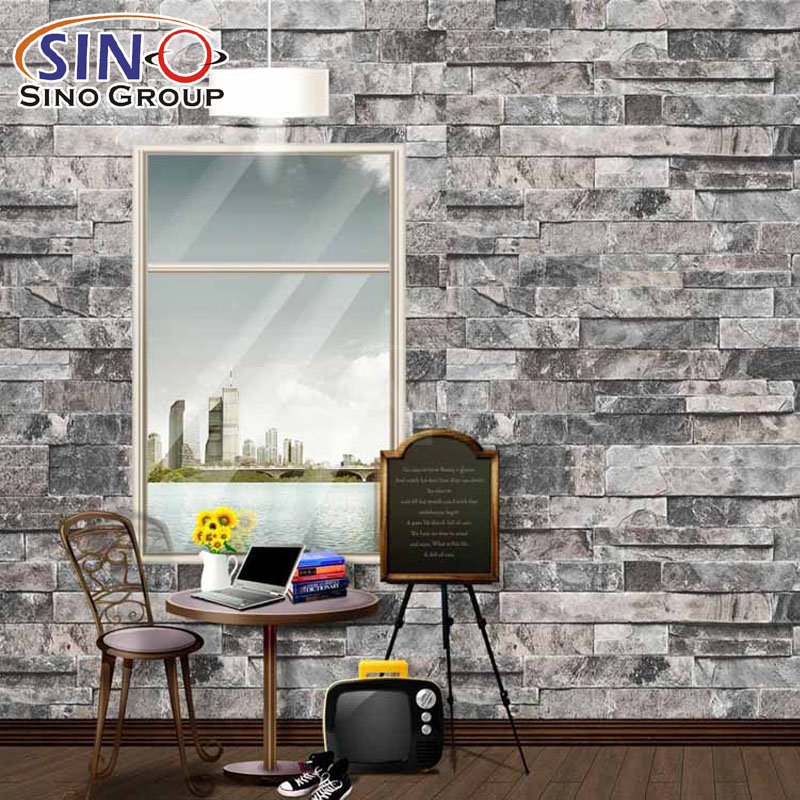
6. Textured Finish
Textured self-adhesive vinyl rolls provide a tactile feel and visual interest. They can mimic various textures like wood grain, leather, or fabric, allowing you to create a realistic look without the actual material.
7. Chalkboard Finish
Chalkboard self-adhesive vinyl rolls have a surface that mimics a traditional chalkboard. They are great for creating writable surfaces, making them suitable for educational or organizational purposes.
8. Dry Erase Finish
Dry erase self-adhesive vinyl rolls have a smooth surface that can be written on with dry erase markers and easily wiped clean. They are ideal for creating whiteboards or interactive surfaces.
These are just a few examples of the different types and finishes available in self-adhesive vinyl rolls. Each type offers unique possibilities for creative projects and can help you achieve the desired aesthetic and functionality in transforming your space.


DIY Furniture Makeovers with Self-Adhesive Vinyl Rolls
DIY furniture makeovers with self-adhesive vinyl rolls offer a fantastic opportunity to breathe new life into old, outdated, or worn-out furniture pieces. With the versatility and ease of use that self-adhesive vinyl rolls provide, you can transform your furniture into stylish and personalized creations.
First, assess the condition of the furniture and determine if any repairs or sanding are necessary before applying the vinyl. Once you have a clean and smooth surface, the fun can begin. Self-adhesive vinyl rolls come in a wide variety of colors, patterns, and textures, allowing you to unleash your creativity and match your personal style.
Whether you want to give a modern twist to a vintage piece or add a pop of color to a plain table, self-adhesive vinyl rolls offer endless possibilities. You can cover an entire surface or create intricate designs by cutting the vinyl into shapes and patterns. It’s like having your own custom upholstery or decal-making workshop at your fingertips.
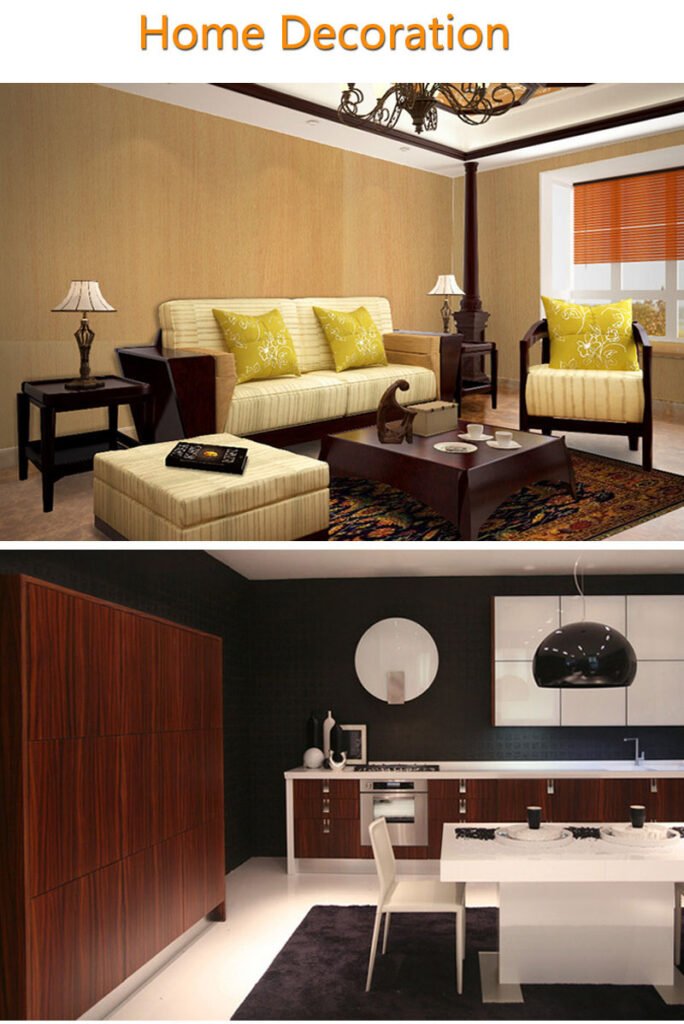

Transforming Walls and Surfaces with Self-Adhesive Vinyl Rolls
Self-adhesive vinyl rolls have the remarkable ability to transform walls and surfaces in various ways. Here are a few ways in which they can work their magic:
1. Instant Makeover
Self-adhesive vinyl rolls offer a quick and easy solution to give walls and surfaces a fresh, new look. Whether you want to change the color, pattern, or texture of a wall, these rolls provide an instant makeover without the need for extensive painting or remodeling.
2. Wallpaper Alternative
Self-adhesive vinyl rolls are a popular alternative to traditional wallpaper. They come in a wide range of patterns, colors, and designs, allowing you to achieve the desired aesthetic for your space. With self-adhesive backing, they are easy to install and remove without causing damage to the underlying surface.
3. Customization and Personalization
Self-adhesive vinyl rolls provide an opportunity for customization and personalization. You can create unique designs, patterns, or even cut out shapes and letters to create custom wall decals or murals. This allows you to express your creativity and tailor your space to your preferences.
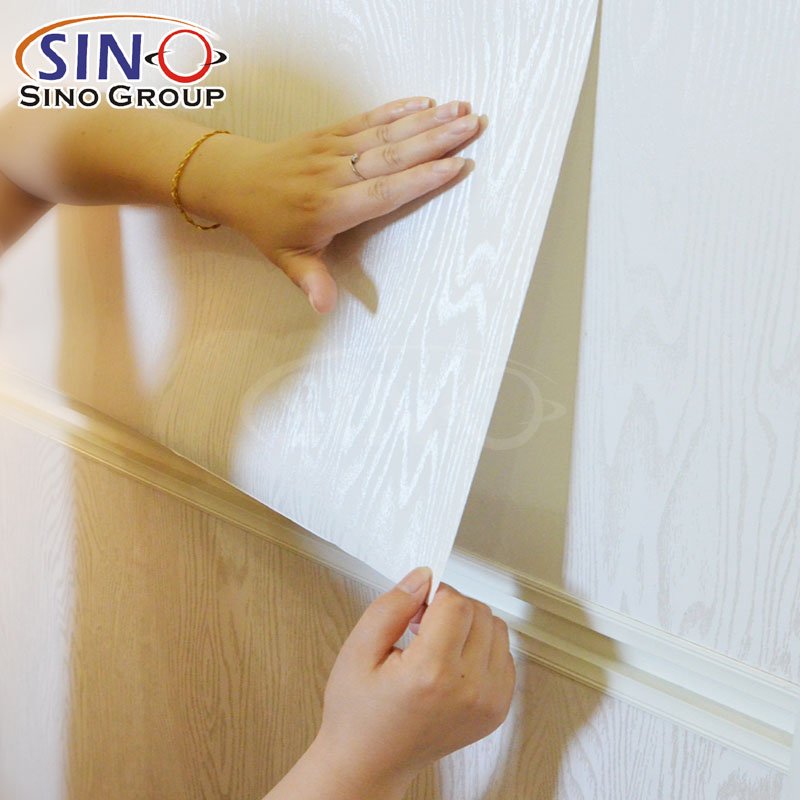
4. Textured Finishes
Some self-adhesive vinyl rolls offer textured finishes, such as faux brick, wood grain, or metallic effects. These textured options can add depth and visual interest to a wall or surface, giving it a realistic and unique appearance without the need for actual materials.
5. Covering Imperfections
Self-adhesive vinyl rolls are a great solution for covering up imperfections on walls or surfaces. If you have cracked walls, uneven surfaces, or unsightly stains, applying a self-adhesive vinyl roll can effectively conceal these flaws and provide a smooth, clean finish.
6. Temporary Transformations
Self-adhesive vinyl rolls offer a temporary transformation option. If you’re in a rental space or simply want to experiment with different styles, these rolls can be easily removed without causing damage to the surface. This makes them ideal for creating temporary accent walls or seasonal decor changes.
7. Easy Maintenance
Self-adhesive vinyl rolls are known for their durability and easy maintenance. They are resistant to moisture, making them suitable for use in bathrooms and kitchens. Cleaning them is as simple as wiping with a damp cloth, ensuring they retain their aesthetic appeal over time.
Overall, self-adhesive vinyl rolls provide a versatile and accessible way to transform walls and surfaces. Whether you’re looking to add a pop of color, create a feature wall, or completely revamp a space, these rolls offer endless possibilities for personalization and style.


Customizing Accessories and Gadgets with Self-Adhesive Vinyl Rolls
Customizing accessories and gadgets with self-adhesive vinyl rolls is a fun and creative way to add a personal touch and revamp your belongings. Here’s a step-by-step guide on how to do it:
1. Choose the Right Vinyl Roll
Select a self-adhesive vinyl roll that suits your project. Consider factors such as color, finish, and durability. Matte, glossy, or metallic finishes are popular options.
2. Prepare Your Accessories/Gadgets
Clean the surface of the accessory or gadget thoroughly to remove any dirt, dust, or oils. This ensures better adhesion of the vinyl.
3. Measure and Cut
Measure the dimensions of the area you want to cover with the vinyl. Use a ruler or measuring tape to ensure accuracy. Then, cut the vinyl sheet accordingly, leaving some extra material for adjustments.
4. Peel and Stick
Slowly peel off the backing paper from the self-adhesive vinyl roll, exposing the adhesive side. Align the vinyl with the desired area on your accessory or gadget, and gently press it down. Start from one edge and gradually work your way across, smoothing out any air bubbles or wrinkles.
5. Trim and Finish
Use a craft knife or scissors to trim any excess vinyl along the edges for a clean and precise look. Take your time and be careful during this step to avoid damaging the surface or cutting too close to the design.
6. Apply Heat (Optional)
If your vinyl roll is heat-activated, you can use a heat gun or hairdryer on low heat to activate the adhesive further. Apply heat evenly across the vinyl, making sure not to overheat or melt it.
7. Finishing Touches
Once the vinyl is securely in place, use a soft cloth or squeegee to smooth out any remaining air bubbles or creases.
8. Cure and Set
Allow the vinyl to cure and set for the recommended time mentioned by the manufacturer. This ensures maximum adhesion and longevity of the customization.
Remember, practice makes perfect, so start with simple designs and gradually work your way up to more intricate ones. Feel free to experiment with different patterns, colors, and combinations to achieve a look that reflects your personal style.
Note: It’s essential to check the manufacturer’s instructions for specific guidance on application techniques and compatibility with different surfaces and materials.

Final Words
In conclusion, the transformative power of self-adhesive vinyl rolls is truly magical when it comes to revamping and personalizing your space. With their versatility, ease of use, and endless design possibilities, these vinyl rolls offer a creative playground for DIY enthusiasts and interior design enthusiasts alike. Whether you’re looking to breathe new life into furniture, refresh your walls, or add a unique touch to accessories and gadgets, self-adhesive vinyl rolls are your secret weapon. Embrace the freedom to explore various colors, finishes, and patterns, and let your imagination run wild. Transform your space into a reflection of your personality and style, and witness the enchanting impact that self-adhesive vinyl rolls can have on your surroundings. Step into a world where magic meets creativity, and unlock the full potential of your space with the captivating allure of self-adhesive vinyl rolls.


