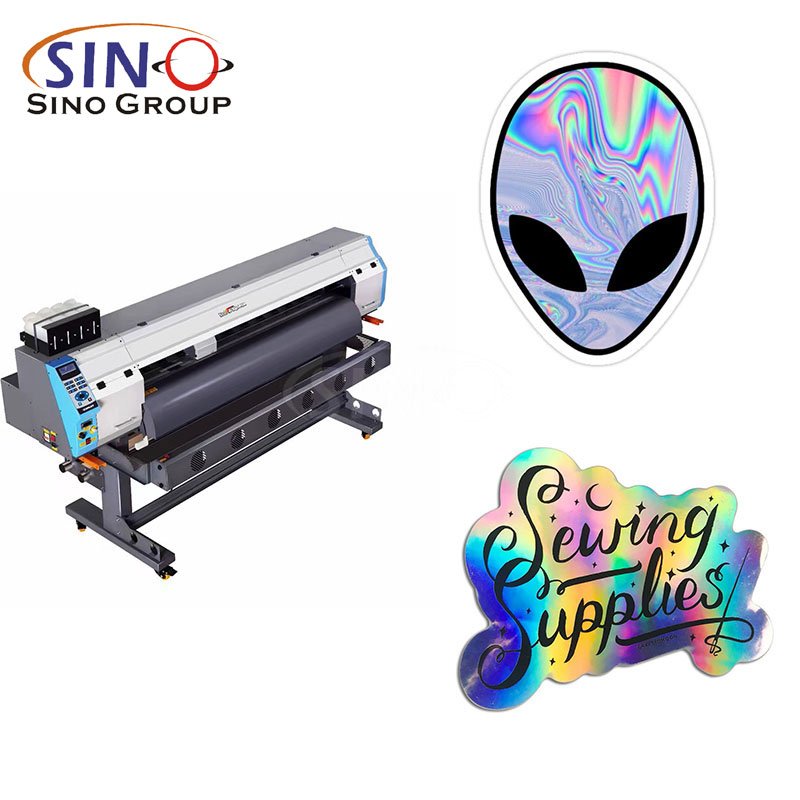
Customizing Personal Items with Self-Adhesive Vinyl Kiss-Cut Sticker Sheets
Customizing personal items with self-adhesive vinyl kiss-cut sticker sheets is a fun and creative way to add a personal touch to your belongings. Here’s a step-by-step guide on how to do it:
1. Choose your personal item
Select the item you want to customize. It could be a water bottle, laptop, phone case, notebook, or any other item with a smooth surface that can adhere to stickers.
2. Gather your materials
You’ll need self-adhesive vinyl kiss-cut sticker sheets, scissors or a craft knife, a cutting mat (optional), and a clean cloth for surface preparation.
3. Clean and prepare the surface
Before applying the stickers, make sure the surface of your item is clean and dry. Wipe it down with a clean cloth to remove any dirt, dust, or residue.
4. Plan your design
Decide on the design you want to create with the sticker sheet. You can either cut out individual stickers or use the sheet as a whole to cover a larger area.
5. Cut out the stickers
If you’re creating individual stickers, carefully cut them out from the sheet using scissors or a craft knife. If you have a cutting mat, it can provide a stable surface for cutting.
6. Peel off the backing
Once you have your stickers cut out, gently peel off the backing paper from the kiss-cut stickers, exposing the adhesive side.
7. Apply the stickers
Carefully place the stickers onto your personal item, aligning them as desired. Start from one edge and press down firmly, smoothing out any air bubbles or wrinkles as you go.
8. Secure and seal
Once all the stickers are applied, press them down firmly again to ensure a good adhesion. If there are any edges or corners that aren’t sticking properly, use a credit card or your fingers to press them down.
9. Optional
Apply a protective layer: If you want to protect the stickers from wear and tear, you can apply a clear, waterproof sealant or a layer of clear vinyl laminate over the stickers. This will help them last longer and resist fading or peeling.
10. Let it dry and enjoy
Allow the stickers and any protective layer to dry completely according to the manufacturer’s instructions. Once dry, your customized personal item is ready to use and showcase your unique style.
Remember, the longevity of the stickers will depend on the quality of the self-adhesive vinyl kiss-cut sticker sheets used and how well you prepare the surface and apply the stickers. Enjoy the process of customizing your personal items and let your creativity shine!


Customizing Personal Items with Self-Adhesive Vinyl Kiss-Cut Sticker Sheets
Customizing personal items with self-adhesive vinyl kiss-cut sticker sheets opens up a world of creativity and personal expression. Whether it’s a phone case, laptop, water bottle, notebook, or even a plain wall, these versatile sticker sheets offer endless possibilities for adding a unique touch.
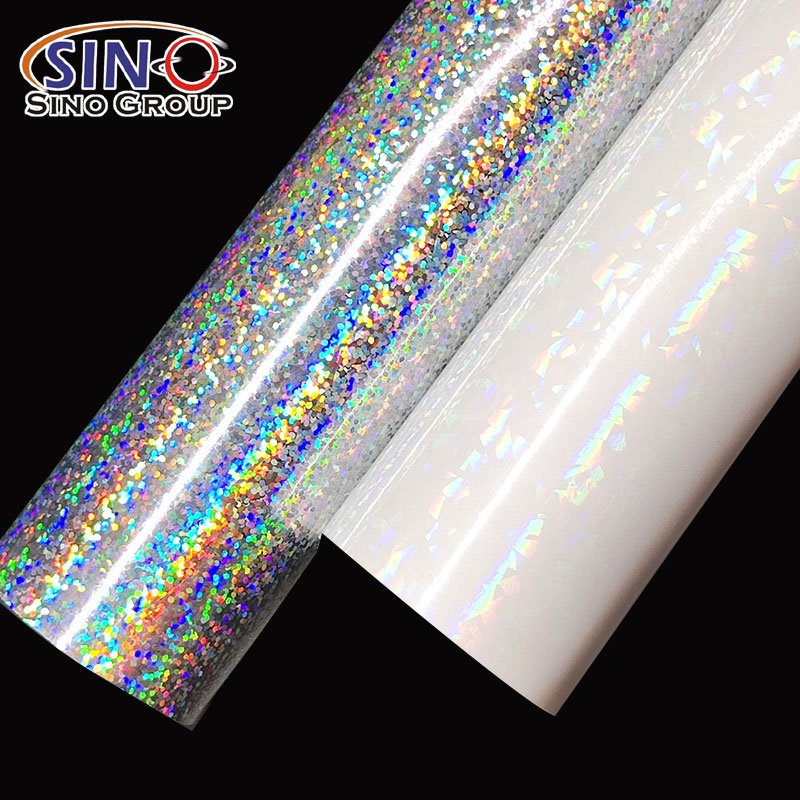
With self-adhesive vinyl kiss-cut sticker sheets, you have the freedom to design and create your own custom stickers. You can choose from a wide range of colors, patterns, and shapes to suit your style and preferences. The precision kiss-cutting technique ensures that each sticker is neatly cut and easy to peel off, making the customization process hassle-free.
Personalizing your items with these stickers allows you to showcase your personality, interests, and passions. Whether you’re a fan of a particular TV show, a lover of nature, or an avid gamer, you can find or create stickers that represent your unique identity. You can mix and match different stickers, create collages, or even design your own artwork to make your items truly one-of-a-kind.

DIY Crafts Made Easy with Self-Adhesive Vinyl Kiss-Cut Sticker Sheets
DIY Crafts Made Easy with Self-Adhesive Vinyl Kiss-Cut Sticker Sheets opens up a world of creative possibilities for craft enthusiasts. These versatile sticker sheets offer a convenient and hassle-free way to add unique designs and personalization to various craft projects.
With self-adhesive vinyl kiss-cut sticker sheets, you can effortlessly enhance your crafts without the need for complicated tools or extensive artistic skills. Whether you’re a beginner or an experienced crafter, these sticker sheets make it easy to achieve professional-looking results.

Using Self-Adhesive Vinyl Kiss-Cut Sticker Sheets for Party Decorations
Here are some examples of how to use self-adhesive vinyl kiss-cut sticker sheets for party decorations:
1. Personalized Party Favors
Create custom party favors by sticking self-adhesive vinyl kiss-cut stickers onto small gift items like mini bottles, favor boxes, or party bags. Add names, dates, or fun designs to make them memorable for your guests.
2. Themed Drinkware
Jazz up plain glassware or plastic cups by applying self-adhesive vinyl kiss-cut stickers in designs that match your party theme. From elegant monograms to playful patterns, these stickers can instantly transform ordinary drinkware into eye-catching party accessories.
3. Wall Decals and Banners
Use self-adhesive vinyl kiss-cut sticker sheets to create wall decals or banners to enhance your party venue. Whether it’s a large “Happy Birthday” sign, a personalized welcome message, or themed wall decorations, these stickers provide an easy and removable solution for adding festive flair.
4. Customized Balloons
Take your balloon decorations to the next level by applying self-adhesive vinyl kiss-cut stickers to the surface. Create patterns, write messages, or add decorative elements to balloons for a personalized touch. Just make sure to carefully apply the stickers to avoid damaging the balloons.
5. Table Decorations
Make your party tables pop with self-adhesive vinyl kiss-cut stickers. Use them to create unique place cards, table numbers, or decorative accents. You can also apply them to glass or acrylic table covers to add a touch of elegance or match your party theme.
6. Party Backdrops
Design a stunning party backdrop using self-adhesive vinyl kiss-cut sticker sheets. Cut out various shapes, letters, or patterns from the sheets and stick them onto a large backdrop surface, such as a foam board or a fabric backdrop. This creates a visually appealing focal point for photos and adds a personalized touch to your party.
7. Themed Labels and Tags
Use self-adhesive vinyl kiss-cut stickers to create themed labels and tags for your party. From labeling food and beverage stations to tagging party game prizes, these stickers add a professional and cohesive look to your event.
Remember to use high-quality self-adhesive vinyl kiss-cut sticker sheets and ensure they are safely applied to the desired surfaces. With a bit of creativity, these stickers can elevate your party decorations and make them truly memorable.
Creating Unique Gifts with Self-Adhesive Vinyl Kiss-Cut Sticker Sheets
1. Personalized Water Bottles
Design and cut out custom stickers using self-adhesive vinyl kiss-cut sticker sheets to decorate water bottles. You can add names, initials, or unique designs that reflect the recipient’s interests or hobbies.
2. Customized Laptop Decals
Create one-of-a-kind laptop decals by cutting out intricate designs or patterns from self-adhesive vinyl kiss-cut sticker sheets. Personalize the decals with the recipient’s favorite colors or themes to make their laptop stand out.
3. Decorative Glassware
Transform plain glassware into personalized gifts by applying self-adhesive vinyl kiss-cut stickers. Consider creating monograms, quotes, or decorative elements that match the recipient’s style or home decor.
4. DIY Phone Cases
Cut out self-adhesive vinyl kiss-cut stickers in various shapes and designs to create custom phone cases. The stickers can be layered or arranged creatively to achieve a unique and personalized look.
5. Customized Journals or Notebooks
Add a personal touch to journals or notebooks by using self-adhesive vinyl kiss-cut sticker sheets. Cut out words, phrases, or decorative elements to create custom covers that inspire and reflect the recipient’s personality.
6. Personalized Wine Glasses
Design and apply self-adhesive vinyl kiss-cut stickers to wine glasses to create personalized drinkware. You can include the recipient’s name, favorite quotes, or stylish designs that match their taste.
7. Customized Gift Boxes
Use self-adhesive vinyl kiss-cut stickers to decorate gift boxes. Cut out shapes, patterns, or even the recipient’s name to make the packaging extra special and tailored to their interests.
8. Unique Wall Art
Create eye-catching wall art using self-adhesive vinyl kiss-cut stickers. Cut out shapes, words, or intricate designs and arrange them on a canvas or framed board to create a personalized and visually appealing piece of art.
Remember, the possibilities are endless when it comes to creating unique gifts with self-adhesive vinyl kiss-cut sticker sheets. Let your creativity flow and tailor each gift to suit the recipient’s preferences and style.

(Click the picture to learn more)
Final Words
In conclusion, self-adhesive vinyl kiss-cut sticker sheets open up a world of endless possibilities for craft enthusiasts and DIY lovers alike. From personalized gifts to home decor and beyond, these versatile sheets empower you to unleash your creativity and bring your imaginative ideas to life. Whether you’re adding a personal touch to everyday items or diving into intricate projects, the ease of application and durability of self-adhesive vinyl kiss-cut stickers make them an ideal choice. So, get crafty and explore the boundless potential of self-adhesive vinyl kiss-cut sticker sheets today. Let your imagination soar and create something truly unique and remarkable that showcases your style and creativity. The only limit is your imagination when it comes to these remarkable crafting tools.


