
Creating Stunning Wall Decals with Self-Adhesive Vinyl Inkjet
Creating stunning wall decals with self-adhesive vinyl inkjet opens up a world of creative possibilities for transforming your living or workspaces. Wall decals are removable adhesive designs or graphics that can be applied directly to walls, giving them an instant makeover. Here’s an explanation of how to create stunning wall decals using self-adhesive vinyl inkjet:
1. Designing the Decal
Start by conceptualizing your design. Whether it’s a quote, a pattern, or an intricate illustration, use design software or online tools to create the desired look. Consider the dimensions and proportions of the wall space where you plan to apply the decal.
2. Choosing the Vinyl
Select self-adhesive vinyl specifically designed for inkjet printing. Look for high-quality vinyl that is compatible with your inkjet printer. Consider the color, finish (matte or glossy), and durability of the vinyl based on your intended use.
3. Preparing the Vinyl
Trim the self-adhesive vinyl to the appropriate size based on your design. Ensure the vinyl is clean and free from dust or debris by wiping it with a lint-free cloth. This step is crucial to achieve a smooth application.
4. Printing the Design
Load the trimmed vinyl into your inkjet printer and adjust the printer settings according to the manufacturer’s instructions. For optimal results, choose the highest print quality setting and ensure the printer is calibrated correctly. Print your design onto the vinyl, making sure to let it dry completely before proceeding.
5. Cutting the Decal
If your design requires intricate shapes or patterns, consider using a vinyl cutter or craft knife to carefully cut along the desired lines. This step is optional but can enhance the precision and professional appearance of the decal.
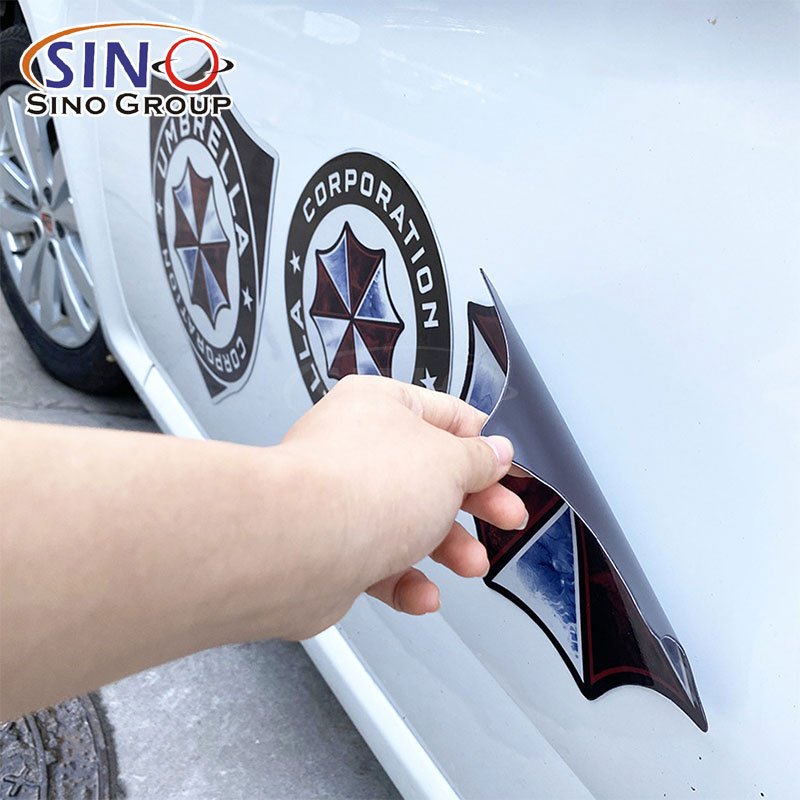
6. Applying the Decal
Clean the wall surface where you plan to apply the decal, ensuring it is dry and free from any dirt or grease. Carefully peel off the backing paper from the self-adhesive vinyl decal, starting from one corner. Align the decal with the desired position on the wall and slowly press it onto the surface, smoothing out any air bubbles or wrinkles as you go.
7. Finishing Touches
Once the decal is applied, use a squeegee or a clean cloth to firmly press and smooth out the decal, ensuring it adheres well to the wall surface. Pay attention to any edges or intricate details to ensure they are securely affixed.
8. Enjoying the Result
Step back and admire your stunning wall decal creation. Self-adhesive vinyl inkjet decals can instantly transform a room, adding a personalized touch, a splash of color, or a unique design element to your space. Plus, they can be easily removed or replaced without damaging the walls, allowing for endless creativity and flexibility.
Remember, practice makes perfect, so don’t be afraid to experiment with different designs, colors, and textures to create truly captivating wall decals using self-adhesive vinyl inkjet.


Personalizing Everyday Items with Self-Adhesive Vinyl Inkjet
Personalizing everyday items with self-adhesive vinyl inkjet opens up a world of creative possibilities. This technique allows you to transform ordinary objects into unique and customized pieces that reflect your personal style and preferences. By printing your designs onto self-adhesive vinyl using an inkjet printer, you can easily apply them to a wide range of surfaces, such as mugs, water bottles, laptops, phone cases, notebooks, and more.
The beauty of personalizing everyday items with self-adhesive vinyl inkjet is that it allows you to express your creativity and customize objects to suit your taste. Whether you want to add a monogram, a favorite quote, a vibrant pattern, or a photo, the possibilities are endless. It’s a fantastic way to create one-of-a-kind gifts, promote your brand, or simply make your belongings stand out from the crowd.
Remember to consider the durability of your vinyl and its compatibility with different surfaces. Some vinyl options are more resistant to water, heat, or wear and tear, ensuring that your designs remain intact even with everyday use.
With self-adhesive vinyl inkjet, personalizing everyday items becomes an enjoyable and accessible artistic endeavor that allows you to add a personal touch to your belongings and showcase your creativity.

Exploring Self-Adhesive Vinyl Inkjet for Customized Signage
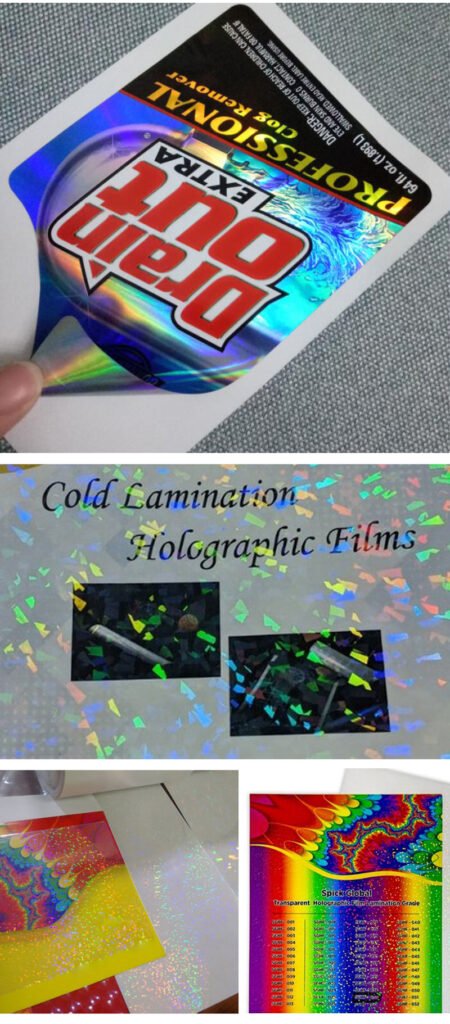
Self-adhesive vinyl inkjet is a versatile material that is commonly used for creating customized signage. It offers a cost-effective and efficient way to produce professional-looking signs with personalized designs. Here’s an explanation of self-adhesive vinyl inkjet for customized signage:
1. Material
Self-adhesive vinyl is a thin and flexible plastic material with an adhesive backing. It is specifically designed to be compatible with inkjet printers, allowing you to print your desired designs directly onto the vinyl.
2. Versatility
Self-adhesive vinyl inkjet is available in various finishes, including matte, glossy, and clear. It can be used on different surfaces such as walls, windows, vehicles, and more, making it ideal for a wide range of signage applications.
3. Customization
One of the key advantages of self-adhesive vinyl inkjet is its ability to be fully customized. You can create signs with personalized text, graphics, logos, and images, tailoring them to your specific branding or messaging needs.
4. Easy Application
Self-adhesive vinyl inkjet is designed for easy installation. The adhesive backing allows you to simply peel off the backing paper and stick the vinyl onto the desired surface. It eliminates the need for complex installation processes, making it accessible to both professionals and DIY enthusiasts.
5. Durability
Self-adhesive vinyl inkjet is typically durable and weather-resistant, ensuring that your customized signage remains vibrant and intact even when exposed to outdoor elements. It can withstand UV rays, moisture, and general wear and tear, maintaining its quality for an extended period.
6. Cost-Effective
Compared to other signage options, self-adhesive vinyl inkjet is generally more affordable. It provides a cost-effective solution for small businesses, entrepreneurs, or individuals who want to create customized signs without breaking the bank.
7. Removal and Reusability
Self-adhesive vinyl inkjet is designed to be removable without leaving behind any residue or damaging the underlying surface. This feature is particularly useful if you need to update or change your signage periodically. Additionally, some types of self-adhesive vinyl inkjet can be repositioned and reused, allowing for flexibility in design and placement.
Overall, self-adhesive vinyl inkjet is a versatile and practical option for customized signage. Its ease of use, customization possibilities, durability, and cost-effectiveness make it a popular choice for businesses, events, promotions, and personal projects. Whether you need temporary or long-term signage, self-adhesive vinyl inkjet provides a reliable solution for creating eye-catching and personalized signs.


Taking Your Craft Projects to the Next Level with Self-Adhesive Vinyl Inkjet
Self-adhesive vinyl inkjet opens up a world of possibilities for craft enthusiasts, allowing them to elevate their projects to new heights. By incorporating self-adhesive vinyl inkjet into your craft repertoire, you can unleash your creativity and achieve professional-looking results with ease.
1. Customization
Self-adhesive vinyl inkjet empowers you to personalize your craft projects like never before. Whether you’re working on scrapbooking, card making, or DIY home decor, you can create custom designs, patterns, or even intricate lettering that reflects your unique style and vision.
2. Versatility
Self-adhesive vinyl inkjet can be applied to various surfaces, expanding the range of craft projects you can undertake. From glassware and ceramics to wood, metal, and plastic, the adhesive properties of the vinyl make it easy to adhere to different materials, transforming them into eye-catching masterpieces.
3. Precision and Detail
With the high-resolution capabilities of inkjet printers, self-adhesive vinyl allows for intricate and detailed designs to be accurately reproduced. Whether you’re creating intricate patterns or intricate lettering, the precision of the inkjet printing process ensures that every detail shines through.
4. Easy Application
Self-adhesive vinyl inkjet is designed for user-friendly application. Simply print your design onto the vinyl using an inkjet printer, and then cut it out to the desired shape. The adhesive backing makes it easy to apply the vinyl to your chosen surface, and you can easily reposition or remove it if needed.
5. Durability
Self-adhesive vinyl inkjet is known for its durability, making it ideal for craft projects that require long-lasting results. The vinyl is resistant to fading, peeling, and water damage, ensuring that your creations can withstand the test of time.
6. Professional Finish
By incorporating self-adhesive vinyl inkjet into your craft projects, you can achieve a polished and professional finish that rivals commercially produced items. The vibrant colors, sharp details, and clean edges of the vinyl prints give your crafts a high-quality appearance that will impress friends, family, or potential customers.
Whether you’re a seasoned crafter or just starting out, self-adhesive vinyl inkjet opens up a whole new realm of creative possibilities. It allows you to take your craft projects to the next level by providing customization, versatility, precision, durability, and a professional finish. So, dive into the world of self-adhesive vinyl inkjet and watch your craft projects come to life in vibrant and extraordinary ways.


Final Words
In conclusion, the artistic revolution sparked by self-adhesive vinyl inkjet is transforming the way we approach creativity and craftsmanship. The versatility of this medium empowers artists, crafters, and DIY enthusiasts to unleash their imagination and bring their visions to life. Whether it’s adding personalized touches to home decor, creating stunning signage, or embellishing craft projects with intricate designs, self-adhesive vinyl inkjet offers limitless possibilities. By understanding the basics, exploring different techniques, and harnessing the power of this revolutionary medium, you can elevate your artistic endeavors to new heights. Embrace the vibrant colors, precision, and durability of self-adhesive vinyl inkjet, and embark on a journey of artistic expression that knows no bounds. Let your creativity soar and be part of this exciting artistic revolution.


