Get Crafty with Self-Adhesive Vinyl Craft Sticker Rolls: Tips and Ideas

Get Crafty with Self-Adhesive Vinyl Craft Sticker Rolls: Tips and Ideas

Sino Group is a professional adhesive vinyl film manufacturer and wholesale supplier, kindly get factory price of: graphic cutting vinyl, diy craft vinyl, vinyl transfer tape, self adhesive vinyl film, printing vinyl, adhesive vinyl materials

Share This Post

Personalizing Home Décor with Self-Adhesive Vinyl Craft Sticker Rolls

Personalizing home décor with self-adhesive vinyl craft sticker rolls is a fantastic way to add a unique touch and express your creativity throughout your living space. These versatile sticker rolls provide endless possibilities for transforming ordinary items into personalized and visually appealing pieces.

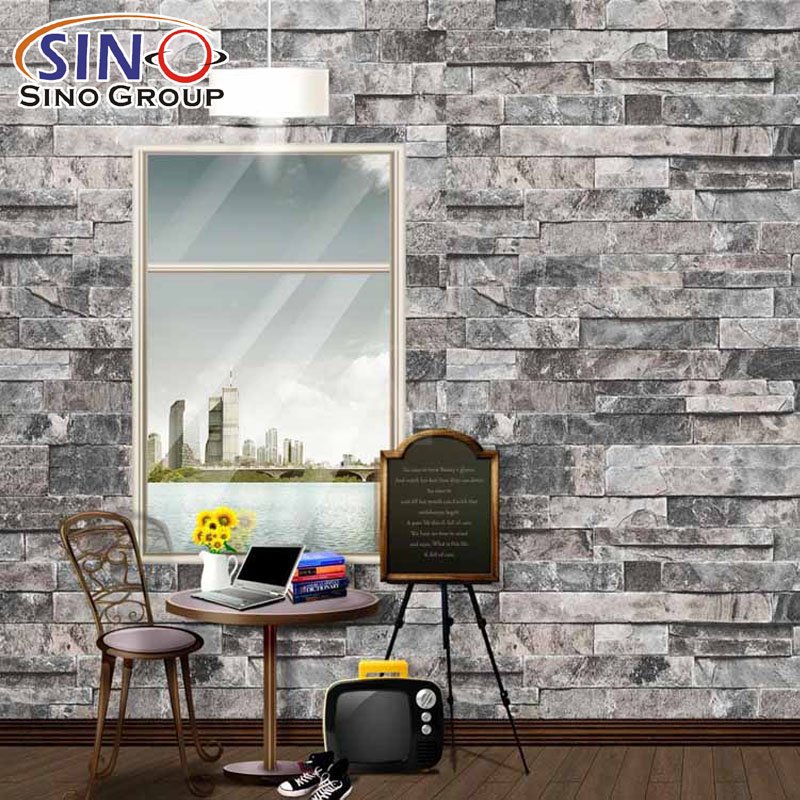
One popular application of self-adhesive vinyl craft sticker rolls is wall decals. With a wide range of colors, patterns, and designs available, you can easily create customized wall art, quotes, or intricate patterns to suit your style and taste. Whether you want to add a whimsical touch to a nursery, create a focal point in your living room, or bring inspiration to your home office, self-adhesive vinyl craft sticker rolls offer a convenient and temporary solution that won’t damage your walls.

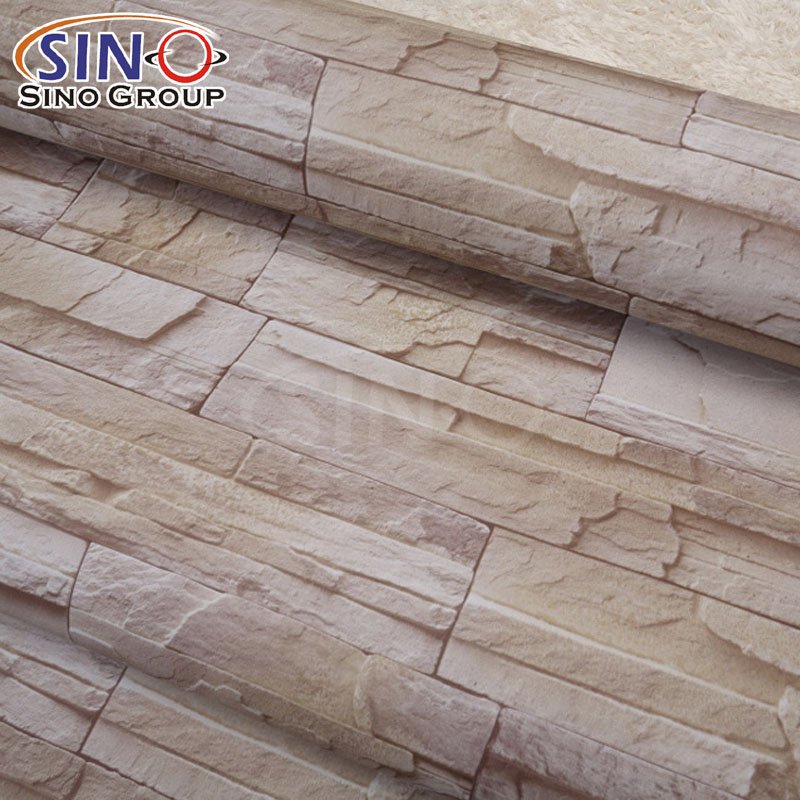
Additionally, self-adhesive vinyl craft sticker rolls can be used to personalize furniture. Whether you have a plain coffee table, a lackluster dresser, or a simple bookshelf, these sticker rolls can help you give them a fresh and stylish makeover. You can create unique patterns, designs, or even mimic the appearance of popular materials like marble or wood grain. The self-adhesive nature of the vinyl makes it easy to apply and remove, allowing you to change your design whenever you desire.

Customizing Accessories: How to Upgrade Items with Self-Adhesive Vinyl Craft Sticker Rolls

Here’s a guide on how to upgrade items with self-adhesive vinyl craft sticker rolls or customize accessories:

1. Choose the Right Item or Accessory

Select an item or accessory that you want to upgrade or customize. It could be a phone case, laptop cover, water bottle, tote bag, or any other suitable surface.

2. Clean and Prep the Surface

Ensure that the surface of the item is clean and free from any dust, dirt, or oils. Use a mild soap and water solution or rubbing alcohol to wipe down the surface and let it dry completely.

3. Select the Vinyl Sticker Rolls

Choose self-adhesive vinyl sticker rolls that match your desired design or pattern. Consider the color, style, and size of the stickers according to the item or accessory you are customizing.

4. Plan Your Design

Before applying the stickers, plan out the design you want to create. You can sketch it out on paper or use digital design tools to visualize the placement and arrangement of the stickers.

5. Measure and Cut

Measure the dimensions of the surface area you want to cover with the vinyl stickers. Use a ruler or measuring tape to ensure precise cutting of the sticker rolls to fit the desired area.

6. Peel and Stick

Carefully peel off the backing of the self-adhesive vinyl sticker rolls, starting from one corner. Align the sticker with the desired location on the item or accessory, and gradually apply it, smoothing out any air bubbles or wrinkles as you go.

7. Trim Excess Vinyl

If necessary, trim any excess vinyl sticker material using a craft knife or scissors to achieve a clean and polished look.

8. Heat and Seal (Optional)

If you want to increase the longevity and durability of the stickers, consider using a heat source like a heat gun or hairdryer on a low setting to warm up the vinyl. Gently apply heat to the surface, which will help the adhesive bond more securely.

9. Finishing Touches

Once the stickers are applied and sealed (if applicable), inspect the item or accessory for any loose edges or imperfections. Use a small amount of clear adhesive or sealant, if needed, to secure any loose edges or protect the stickers from wear and tear.

10. Enjoy and Showcase

Allow the adhesive to set and cure according to the manufacturer’s instructions. Once fully dried, your upgraded item or customized accessory is ready to be showcased and enjoyed!

Remember to always follow the manufacturer’s guidelines for the specific vinyl sticker rolls you are using and experiment with different designs and combinations to personalize your items or accessories to your liking.

Step-by-Step Tutorial: Decorating a Journal Cover with Self-Adhesive Vinyl Craft Sticker Rolls

Here’s a step-by-step tutorial on decorating a journal cover with self-adhesive vinyl craft sticker rolls:

Materials Needed

  1. Journal with a smooth cover
  2. Self-adhesive vinyl craft sticker rolls in various colors and designs
  3. Scissors
  4. Pencil
  5. Craft knife or precision cutter (optional)
  6. Ruler (optional)

Step 1: Prepare Your Workspace

Find a clean and well-lit area to work on your journal cover. Make sure the surface is smooth and free from any dust or debris that may interfere with the adhesion of the vinyl stickers.

Step 2: Plan Your Design

Take a moment to visualize your desired design. You can sketch it on a piece of paper or lightly outline it directly on the journal cover using a pencil. This will serve as a guide when applying the vinyl stickers.

Step 3: Cut Out the Vinyl Stickers

Using scissors or a craft knife, carefully cut out the desired shapes and designs from the self-adhesive vinyl craft sticker rolls. You can create various shapes, letters, or decorative elements that align with your planned design.

Step 4: Peel and Stick

Start by peeling the backing off one vinyl sticker. Align it with your design and carefully press it onto the journal cover, starting from one edge and working your way towards the other. Smooth out any air bubbles or wrinkles using your fingers or a small tool, ensuring the sticker adheres firmly to the cover.

Step 5: Layer and Combine

Continue peeling and sticking the vinyl stickers, layering them as desired to create depth and visual interest. Experiment with different colors and designs to achieve the desired effect. Don’t be afraid to overlap stickers or mix and match patterns.

Step 6: Trim Excess Vinyl (Optional)

If necessary, use scissors or a craft knife to trim any excess vinyl that extends beyond the edges of the journal cover. This step will give your design a clean and finished look.

Step 7: Finishing Touches

Once you’re satisfied with the placement and arrangement of the vinyl stickers, take a final look at your design. Make any adjustments if needed. Use a clean cloth or your fingers to gently press down on the stickers, ensuring they are securely attached to the journal cover.

Step 8: Enjoy Your Customized Journal!

Allow the stickers to set for a few minutes before handling or using your journal. Now you have a beautifully decorated journal cover that reflects your personal style and creativity.

Note: Depending on the type of self-adhesive vinyl craft sticker rolls you’re using, the removal process may vary. Some stickers may be repositionable, while others may adhere permanently. Always refer to the manufacturer’s instructions for best practices and tips on using their specific product.

Remember, this tutorial is a basic guideline, and you can adapt and modify the steps to suit your preferences and creativity. Have fun decorating your journal cover with self-adhesive vinyl craft sticker rolls!

Final Words

In conclusion, self-adhesive vinyl craft sticker rolls are a fantastic tool for unleashing your creativity and adding a personalized touch to your craft projects. With the tips and ideas shared in this blog post, you now have a wealth of inspiration to explore. Whether you’re embellishing journals, transforming home decor, or creating unique gifts, the versatility of self-adhesive vinyl craft sticker rolls knows no bounds. Remember to experiment, combine colors and designs, and let your imagination run wild. The possibilities are endless, and the results are sure to impress. So go ahead, get crafty, and let self-adhesive vinyl craft sticker rolls be your artistic companion on this creative journey!

Professional Adhesive Vinyl Material Supplier

  1. Leading manufacturer in China
  2. 10+ years experience produced adhesive vinyls
  3. Over 30+ series and 500+ colors
  4. Free sample swatches supply
  5. Flexible OEM & ODM design
  6. Quality control and stability
  7. Reasonable price and fast delivery
  8. Premium customer service

Our Happy Customer

what our clients have to say

Please Leave Your Information

We would be happy to hear you and learn all about you.

*We respect your confidentiality and all information is protected.

Graphic Cutting Vinyl FAQ

The normal size is 12×12″/ 30.5×30.5CM, 12×60″/30.5x152CM, 0.61x50M/24″x163FT, 1.22x50M/60″x163FT, we can make customize size and brand.

The  SINOVINYL® graphic cutting vinyl with 6 advantages:
1. Removable:

When you stick on the wall, glass or any other smooth surface, you can remove it any time, and without the glue leave on the surface.

2. Friendly materials:

The SINOVINYL® graphic cutting vinyl raw material made by PVC and solvent glue, no smell, no formaldehyde.

3. Long durability:

Use for outdoor 2-3 years, for indoor up to 5 years.

4. Easy to application:

SINOVINYL® graphic cutting vinyl is easy for cricut vinyl cutter plotter, easy to cut and application on the wall, glass or any other smooth surface.

5. Multi colors:

With more than 100+ colors, super gloss and super matte surface.

6. Versatile widely use:

SINOVINYL® graphic cutting vinyl can be use for vinyl cutting plotter, letters and patterns cutting, outdoor and indoor graphic poster sign, wall and glass decoration, home decor, furniture, car decal sticker etc.

Commonly used are drug labels, food labels, shampoo labels, barcodes, battery labels, outer box labels, product labels, semi-finished products labels, temporary labels, home wall decoration labels, wall stickers, furniture labels Stickers, advertising decoration labels, computer lettering labels, outdoor decoration labels, packaging equipment labels, etc.

Film stickers are mainly used for decorative decals on cars and motorcycles, logo characters on shopping malls, reflective films on highways, and markings on containers.

The common signs at the entrance of stores, road signs, and advertisements posted on the street in our lives are all instant stickers, which are characterized by their own adhesive on the back, which can be pasted or used with transfer film after uncovering the back paper.

The transfer film is an intermediate carrier that carries the printed or printed pattern. After the lettering is made, a layer of transfer film will be attached. A layer of chemical elastic film transferred to the printed article is used. Simple In other words, tear off the backing paper and transfer the pattern with transfer film to something, such as a glass door, and then tear off the transfer film to make the cutting vinyl neat and standard in the glass door, and the pattern will never be crooked or twisted. Unfair imagination.

How to correct use of vinyl transfer film:

1. Before starting to paste, please prepare some tools: scissors, knives, cards or bank cards. At first cut the excess vacancies around the pattern with scissors, so that you can compare and paste them.

2. Stick the transfer film on the pattern, and use a card or bank card to repeatedly scrape the transfer film back and forth to make the pattern and the transfer film stick together better, and there will be no bubbles after sticking to the wall;

3. If the wall powder falls off or the transfer film will be stuck together with the wall paint when the transfer film is torn off, please fix it before applying the wall sticker; peel off the transfer film with the pattern slightly from the bottom paper of the pattern, if the pattern has the center that is not stuck to the transfer film can be assisted with a knife. Before proceeding to step 4, first filter the leftover material cut from the transfer film to the wall of the corner to test the function of the wall, and then paste it after making sure that the wall is ok. When attaching a pattern with a large contrast area, the pattern can be reversed, and the bottom paper of the pattern can be peeled away from the transfer film and the pattern;

4. When you paste the pattern, you can first glue a corner of the transfer film to the wall, paste it on the selected position, and use a scratch card to smooth out the air bubbles between the wall sticker and the wall;

5. When tearing the transfer film away from the wall, try to be as slow as possible. You can tear off the transfer film while pressing the pattern, and definitely don’t tear off the pattern together.

How to use the vinyl transfer tape?

1. Why we need to choose the good quality cricut cutting diy craft vinyl of the release paper?

We use the cricut vinyl cutter plotter, the backing bood one side is with glue, we need to choose the release paper, avoid sticking to the pad.

How to choose the good quality self adhesive DIY craft vinyl on cricut plotter machine?


On the market has 3 types of the release paper,  PET release paper, double PE release paper, normal release paper.

Double PE release paper is similar as PET release paper, now we show you the difference of the Double PE and normal.

How to choose the good quality self adhesive DIY craft vinyl on cricut plotter machine?

So we need to choose the Double PE coating release paper cricut cutting diy craft vinyl.


2. How to differentiate the cricut cutting diy craft vinyl double PE coating release paper and the normal?

The Double PE coating release paper it feels smooth when touched by hand and shiny under light.
How to choose the good quality self adhesive DIY craft vinyl on cricut plotter machine?


3. How to choose the good quality of the cricut cutting diy craft vinyl?

To test with pure color pvc vinyl, you can stretch the cricut cutting vinyl by hand. Good quality vinyl has a certain degree of stretchability(the left of the picture). If it can easily break or become white after stretching, the quality of vinyl is not good(the right of the picture).


Now we know how to choose the right quality of the cricut diy craft cutting vinyl.

The price for diy craft vinyl is based on the vinyl types, for our diy craft vinyl items, the size 12×60″/0.305×1.52m, the price is from US2-US6 per roll.

Please contact us to get detaile offers.

How to use graphic cutting vinyl?

Computer designed images are loaded onto the vinyl cutter via cords or over wifi depending on the model. Then the vinyl is loaded into the machine where it is automatically fed through and cut to follow the set design.

The vinyl cutter uses a small knife to precisely cut the outline of figures into a sheet or piece of vinyl, but not the release liner. The knife moves side to side and turns, while the vinyl is moved beneath the knife. The results from the cut process is an image cut into the material.

  1. The material is then ‘weeded’ where the excess parts of the figures are removed from the release liner. It is possible to remove the positive parts, which would give a negative sticker, or remove the negative parts, giving a positive sticker. Removing the figure would be like removing the positive, giving a negative image of the figures.

A sheet of transfer tape with an adhesive backing is laid on the weeded vinyl. A roller is applied to the tape, causing it to adhere to the vinyl. The transfer tape and the weeded vinyl is pulled off the release liner, and applied to a substrate, such as a sheet of aluminium. This results in an aluminium sign with vinyl figures.

Get Started With SINOVINYL Now

Welcome to get adhesive vinyl materials offer and to be the distributor of SINOVINYL.

small_c_popup-1-1.png

Ask for Sample Now

small_c_popup-1.png

Ask for Quote Now

We Would Be Happy To Assist You

small_c_popup.png

Download Our Full Catalog

We Would Be Happy To Assist You