How does removable self-adhesive vinyl film work?
Removable self-adhesive vinyl film works by utilizing a special adhesive backing that allows it to adhere to various surfaces without leaving behind residue or damaging the underlying material. Here’s how it typically works:
1. Adhesive Backing
Removable self-adhesive vinyl film comes with a backing that is coated with a removable adhesive. This adhesive is designed to provide a strong bond with the surface while still allowing for easy removal later on.
2. Surface Preparation
Before applying the vinyl film, it’s important to ensure that the surface is clean, dry, and free from any dust or debris. This helps to create a smooth and even application.
3. Application
Once the surface is prepared, the vinyl film can be carefully applied. Start by peeling back a small portion of the backing and aligning the film with the desired area. Gradually peel off the backing while pressing the film onto the surface, using a squeegee or your hand to smooth out any air bubbles or wrinkles.
4. Repositioning and Removal
One of the key advantages of removable self-adhesive vinyl film is its ability to be repositioned during application. If you need to adjust the positioning, gently lift the film and reapply it as desired. Once the film is in place, it will adhere securely to the surface.
5. Durability and Removal
Removable self-adhesive vinyl film is designed to be durable and long-lasting. It can withstand normal wear and tear, including light cleaning with a damp cloth. When it comes time to remove the film, simply start at one corner and peel it off slowly and evenly. The adhesive is formulated to come off cleanly, leaving little to no residue behind. However, it’s always a good idea to test a small, inconspicuous area before applying the film to ensure compatibility with the specific surface.
It’s important to note that the specific instructions for applying and removing removable self-adhesive vinyl film may vary depending on the manufacturer and product. Always refer to the manufacturer’s guidelines and follow the recommended steps for the best results.


Exploring different patterns and designs available in removable self-adhesive vinyl film
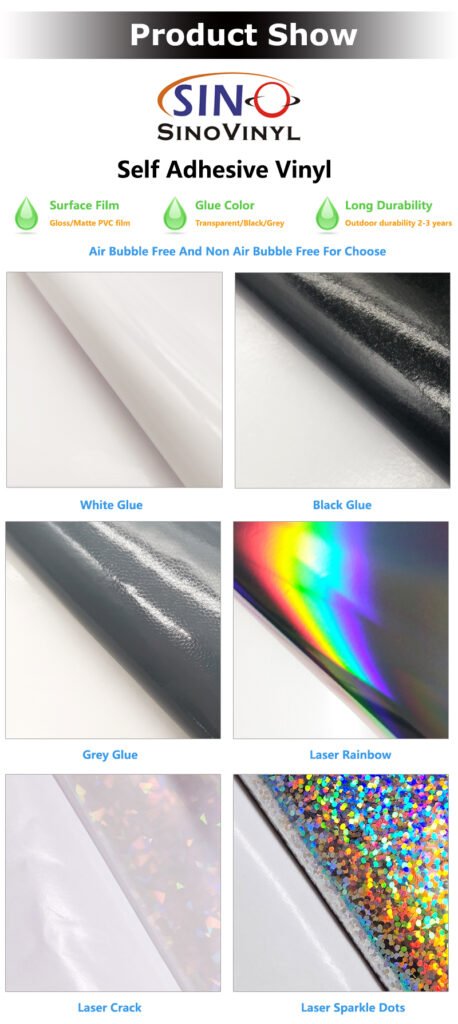
Removable self-adhesive vinyl film offers a wide range of patterns and designs to suit various aesthetics and design preferences. Here are some different patterns and designs you can find in removable self-adhesive vinyl film:
1. Wood Grain
Mimicking the natural beauty of wood, this pattern provides a warm and rustic look to surfaces like furniture, cabinets, or walls.
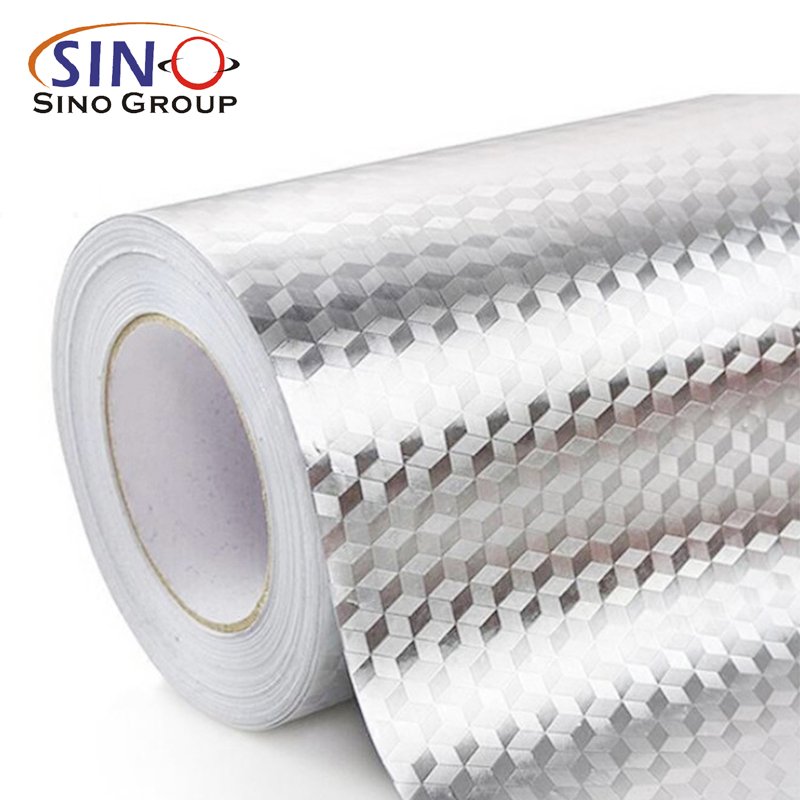
2. Geometric Shapes
From triangles and hexagons to intricate geometric patterns, these designs add a modern and contemporary touch to any space.
3. Floral Prints
Delicate flowers, botanical motifs, or bold floral patterns can bring a touch of nature and freshness to your decor.
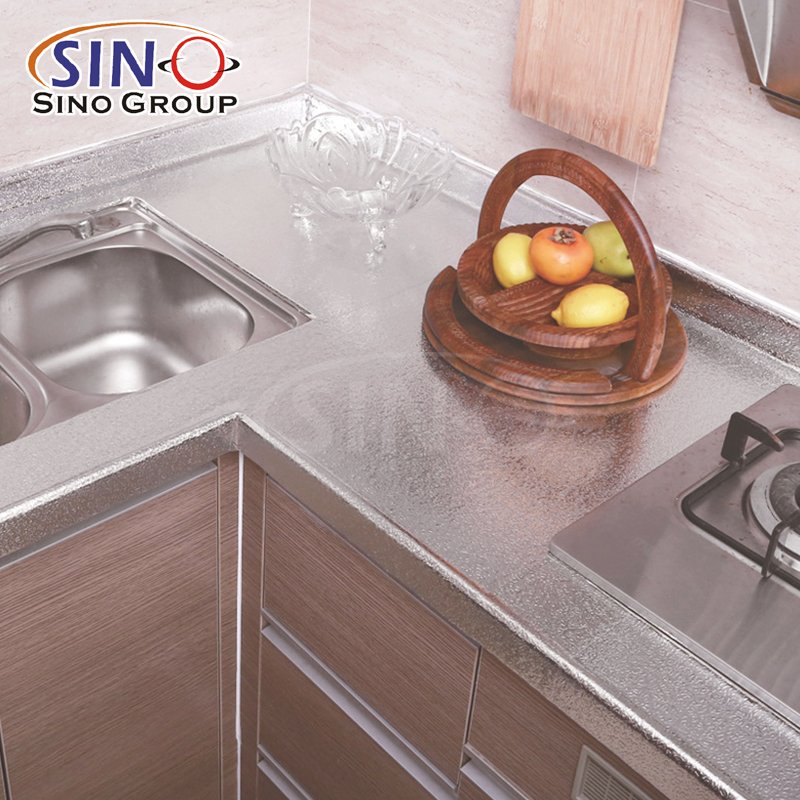
4. Marble Effect
With its elegant and timeless appeal, marble-patterned vinyl film creates a luxurious and sophisticated look on surfaces like countertops or tabletops.
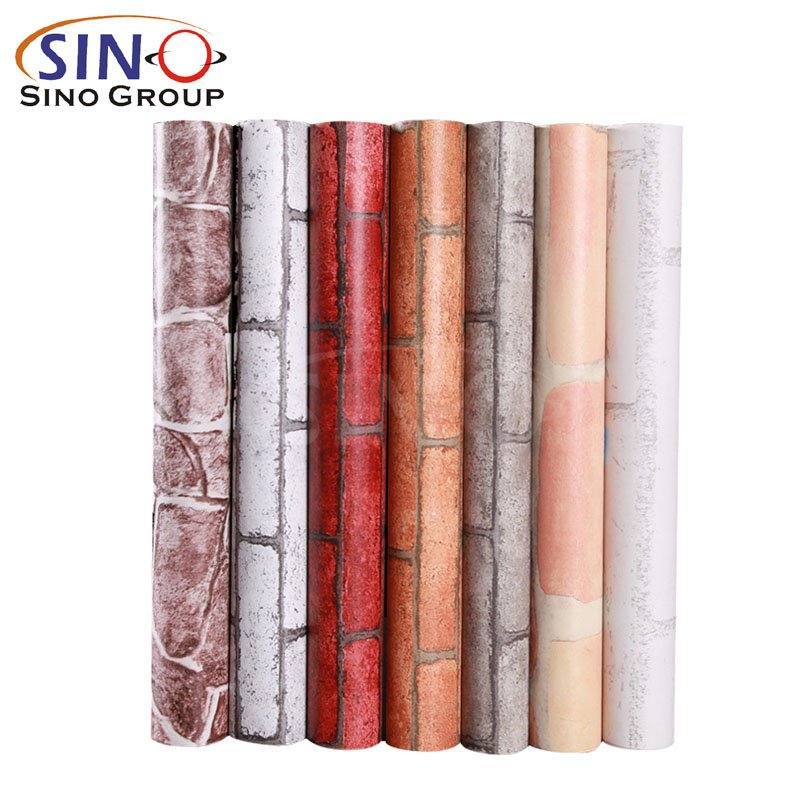
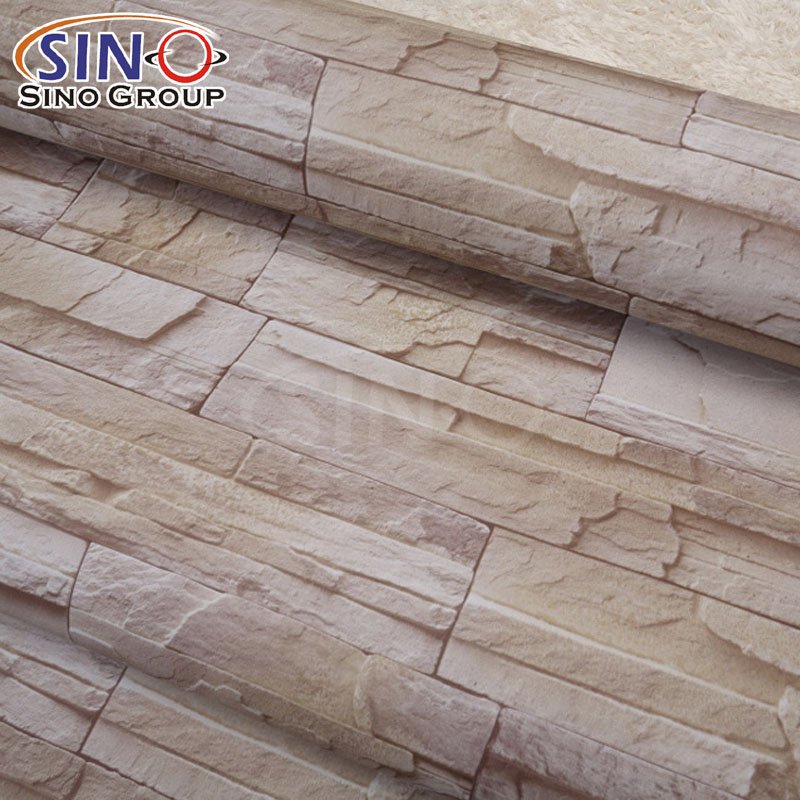
5. Brick Wall
This design imitates the look of exposed brick, adding an industrial or urban vibe to your space without the need for actual masonry work.
6. Stripes
Whether you prefer classic pinstripes or bold, vibrant lines, striped vinyl film can create a visually dynamic and stylish effect on walls or furniture.
7. Mosaic Tiles
Get the look of intricate mosaic tiles without the hassle of installing them individually. Mosaic-patterned vinyl film adds a vibrant and artistic touch to various surfaces.
8. Animal Prints
Bring a touch of the wild side into your space with animal prints such as zebra stripes, leopard spots, or snakeskin patterns.
9. Chalkboard
Ideal for kitchens, offices, or children’s rooms, chalkboard-style vinyl film allows you to write or draw on the surface, adding a functional and creative element.
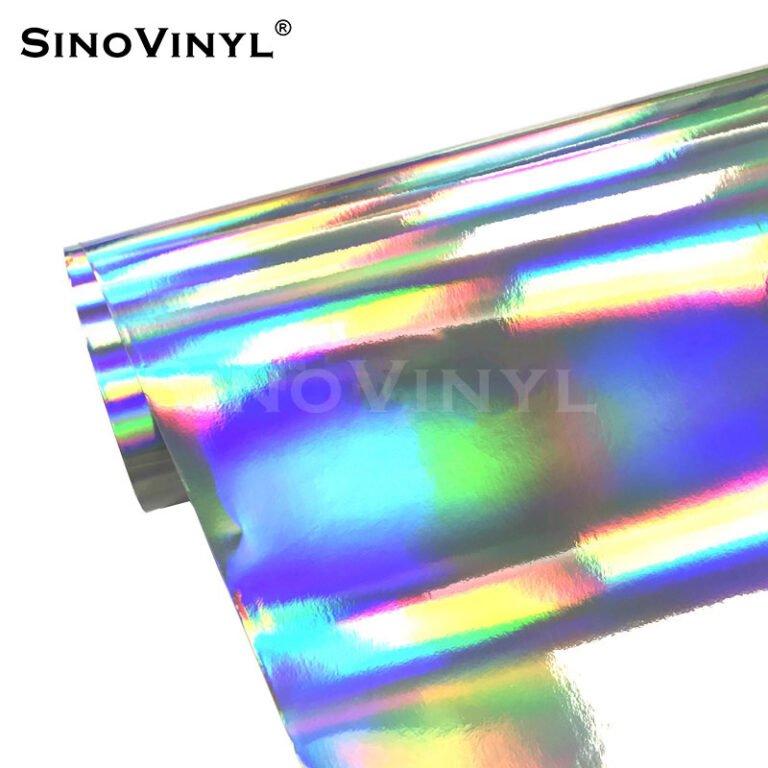
10. Metallic Finishes
From brushed silver to shiny gold, metallic vinyl film can transform surfaces with a sleek and glamorous appearance.
These are just a few examples of the diverse patterns and designs available in removable self-adhesive vinyl film. Whether you’re looking for something bold, subtle, or unique, there’s a design out there to suit your personal style and elevate your space.


Step-by-step guide to applying removable self-adhesive vinyl film.
Here’s a step-by-step guide to applying removable self-adhesive vinyl film:
Step 1: Gather the necessary materials
- Removable self-adhesive vinyl film
- Measuring tape or ruler
- Scissors or craft knife
- Squeegee or credit card
- Cleaning solution and cloth
- Heat gun or hairdryer (optional)
Step 2: Prepare the surface
- Clean the surface where you’ll be applying the vinyl film. Ensure it’s free from dust, grease, and other debris.
- If necessary, use a cleaning solution and cloth to wipe down the surface and let it dry completely.
Step 3: Measure and cut the vinyl film
- Measure the area where you want to apply the vinyl film, adding a few extra inches for margin.
- Using a measuring tape or ruler, mark the measurements on the back of the vinyl film.
- Carefully cut the vinyl film along the marked lines using scissors or a craft knife.
Step 4: Peel off the backing and position the film
- Peel off a small portion of the backing from the top edge of the vinyl film.
- Align the top edge of the film with the desired position on the surface.
- Slowly peel off more of the backing while smoothing the film onto the surface with your hand.
Step 5: Smooth out the film
- Use a squeegee or credit card to press the vinyl film onto the surface, starting from the center and moving outward.
- Smooth out any air bubbles or wrinkles as you go along. Applying firm and even pressure helps to ensure a smooth finish.
Step 6: Continue applying the film
- Gradually peel off the backing while smoothing the film onto the surface, working your way down from the top to the bottom.
- Take your time and make sure the film is aligned and applied evenly.
Step 7: Trim any excess film
- Once the vinyl film is fully applied, use scissors or a craft knife to trim any excess film along the edges.
- Be careful not to damage the surface or cut too close to the edges.
Step 8: Optional: Heat and secure the film
- If there are any stubborn air bubbles or wrinkles, you can use a heat gun or hairdryer on a low setting to gently warm the vinyl film.
- Apply heat while using the squeegee to smooth out the film and adhere it securely to the surface.
Step 9: Final touches
- Double-check for any remaining air bubbles or imperfections. If necessary, use the squeegee to smooth them out.
Congratulations! You have successfully applied removable self-adhesive vinyl film to your desired surface. Remember that following manufacturer instructions and practicing patience and precision will ensure the best results.

Creative ways to use removable self-adhesive vinyl film in your space
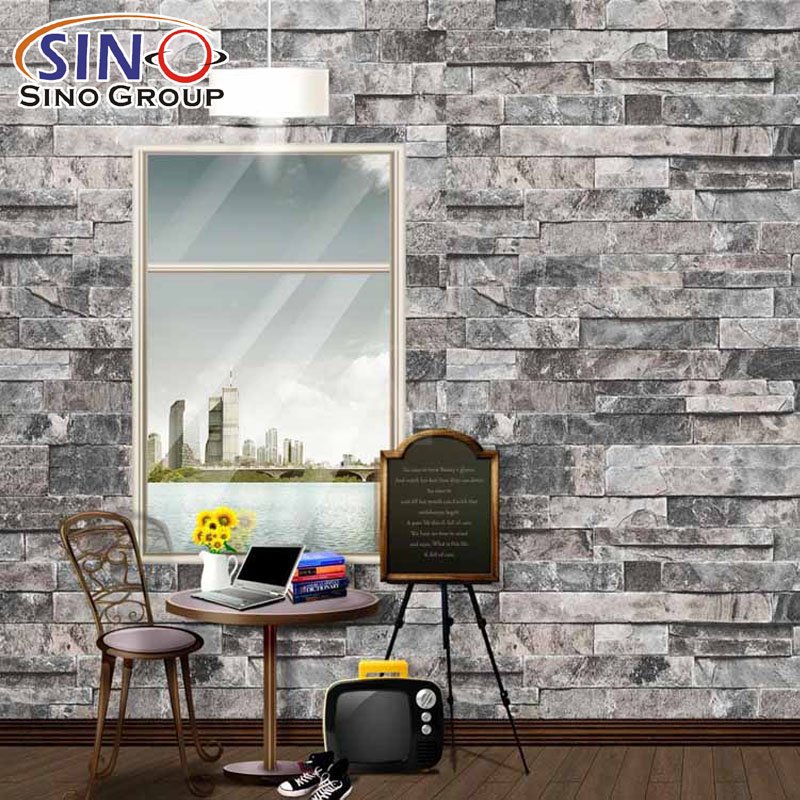
1. Accent Wall
Create a stunning accent wall by covering it with removable self-adhesive vinyl film in a bold pattern or vibrant color. It instantly adds visual interest and can transform the entire room.
2. Furniture Makeover
Give a new look to your old furniture by applying removable self-adhesive vinyl film to surfaces such as tabletops, cabinet doors, or drawer fronts. Choose a pattern or texture that complements your existing decor.
3. Backsplash Upgrade
Use removable self-adhesive vinyl film as a temporary backsplash in your kitchen or bathroom. It’s a budget-friendly option that allows you to experiment with different designs and colors without committing to a permanent solution.
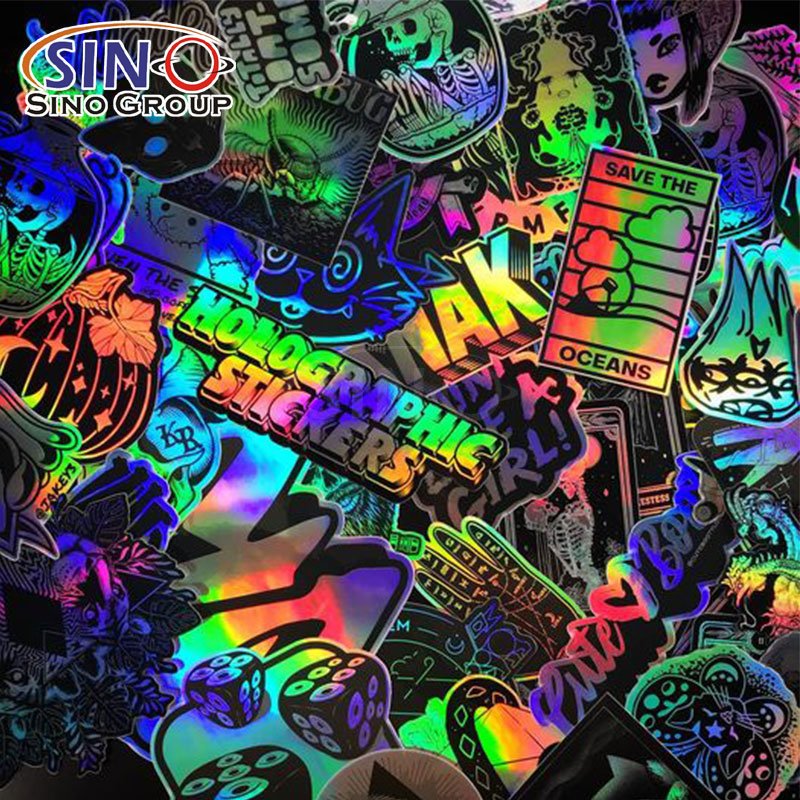
4. Creative Decals
Cut out custom shapes or designs from removable self-adhesive vinyl film to create unique wall decals. They can be easily applied and removed, making it a fun way to personalize your space.
5. Window Privacy
Add privacy to your windows by applying frosted or patterned removable self-adhesive vinyl film. It allows natural light to filter through while providing privacy and a decorative touch.
6. Floor Stickers
Create a whimsical and eye-catching floor design by using removable self-adhesive vinyl film as floor stickers. They can be applied in patterns or used to mimic the look of tiles or rugs.
7. Customized Electronics
Give your electronics a personalized touch by covering them with removable self-adhesive vinyl film. Laptops, tablets, and game consoles can be transformed with a unique design or color.
8. Creative Labels
Use removable self-adhesive vinyl film to create custom labels for organizing containers, pantry items, or office supplies. It adds a stylish and organized touch to your space.
9. Temporary Art Gallery
Transform a blank wall into a temporary art gallery by framing pieces of removable self-adhesive vinyl film with different patterns or artworks. It allows you to change and update the display easily.
10. Seasonal Decorations
Celebrate holidays and seasons by using removable self-adhesive vinyl film to create temporary decorations. Cut out shapes like snowflakes, hearts, or pumpkins and apply them to windows, walls, or mirrors.
Remember, the possibilities are endless when it comes to using removable self-adhesive vinyl film creatively. Let your imagination guide you and have fun experimenting with different ideas in your space!

(Click the picture to learn more)
Final Words
In conclusion, the creative potential of removable self-adhesive vinyl film knows no bounds. With its versatility, ease of application, and ability to transform various surfaces, this remarkable material opens up a world of possibilities for your space. Whether you’re looking to revitalize your walls, breathe new life into furniture, or add a personal touch to your decor, removable self-adhesive vinyl film offers an accessible and temporary solution. From accent walls to customized electronics, from floor stickers to window privacy, the opportunities to express your unique style are limitless. Embrace the creative journey, explore the vast array of patterns and designs, and let your imagination run wild. With removable self-adhesive vinyl film, you have the power to make your space truly extraordinary. Step into this world of possibilities and unlock a realm of creativity that will leave a lasting impression on your surroundings.


