
Essential Tools and Materials for Self-Adhesive Vinyl Printing
When it comes to self-adhesive vinyl printing, having the right tools and materials is crucial for achieving high-quality results. Here are the essential tools and materials you’ll need:
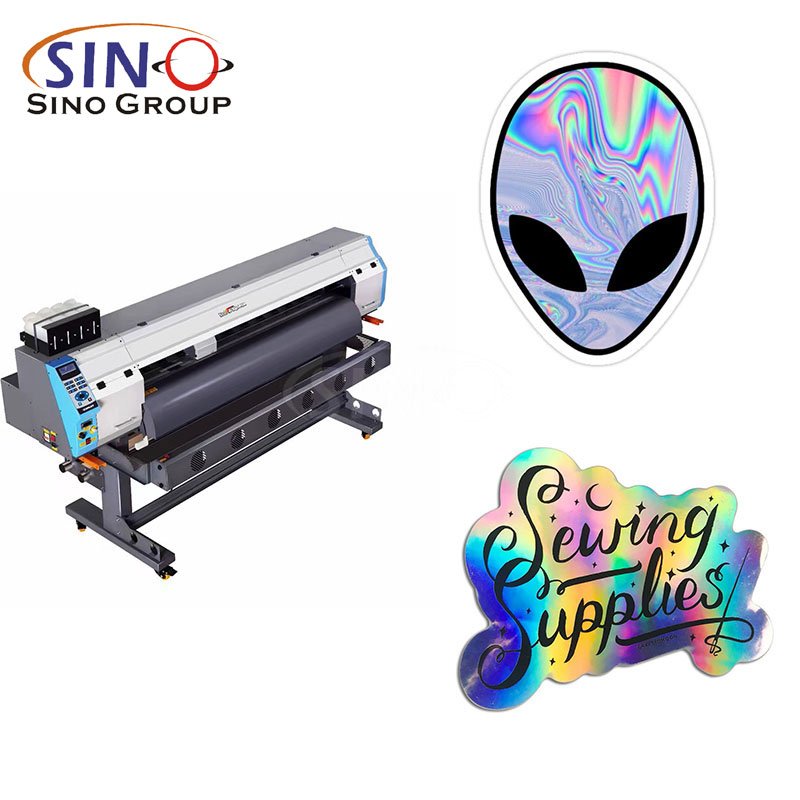
1. Vinyl Printer
Invest in a high-quality printer capable of printing on self-adhesive vinyl. Look for a printer that offers good resolution and color accuracy.
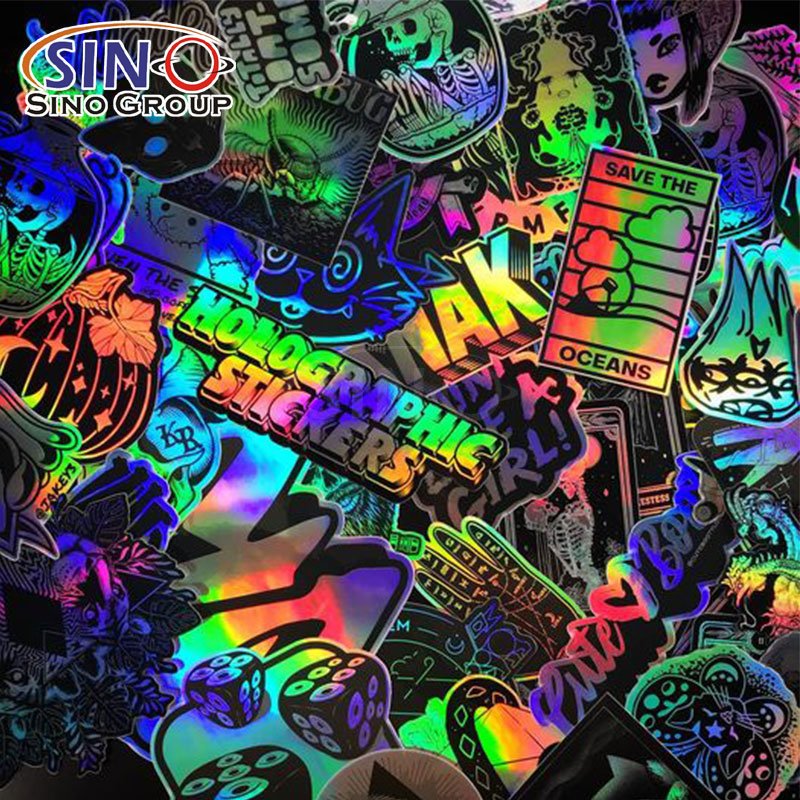
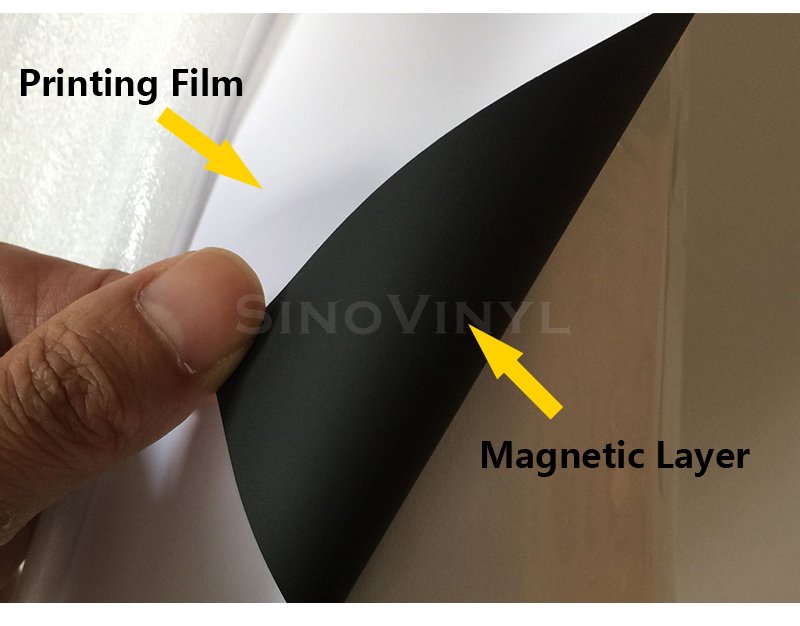
2. Self-Adhesive Vinyl Sheets or Rolls
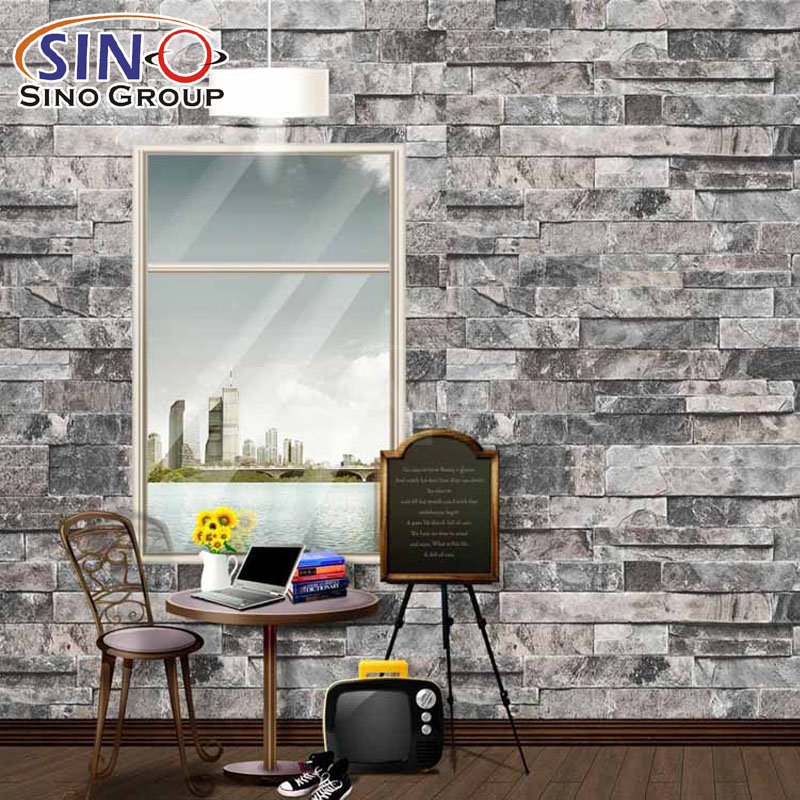
Purchase self-adhesive vinyl specifically designed for printing. You can find a variety of vinyl types, such as glossy, matte, or textured finishes, depending on your desired outcome.
3. Cutting Mat or Cutting Table
A cutting mat or table with marked measurements provides a stable surface for accurately cutting the printed vinyl.
4. Cutting Tool
Use a precision cutting tool such as a craft knife or a vinyl cutter to trim the self-adhesive vinyl sheets or rolls to your desired size and shape.
5. Weeders
Weeders are specialized tools used to remove excess vinyl material from the printed design. They help you achieve clean and precise cuts.
6. Application Tape or Transfer Paper
Application tape or transfer paper allows you to transfer the printed vinyl design from the backing to the desired surface without damaging the adhesive or distorting the design.
7. Squeegee
A squeegee helps smooth out the vinyl and remove any air bubbles during the application process. Opt for a soft-edged squeegee to prevent scratches on the vinyl surface.
8. Cleaning Solution
Use a mild cleaning solution or isopropyl alcohol to clean the surface where you’ll be applying the self-adhesive vinyl. This ensures proper adhesion and a clean finish.
9. Lint-Free Cloth
A lint-free cloth is ideal for wiping down surfaces and removing any dust particles or debris that can interfere with the adhesion of the vinyl.
10. Heat Gun or Hairdryer (optional)
While not always necessary, a heat gun or hairdryer can be used to apply gentle heat to the vinyl during the application process. This helps the vinyl conform better to curved or uneven surfaces.
11. Protective Gloves
It’s advisable to wear protective gloves, especially when handling the printed vinyl sheets, to prevent fingerprints or smudges.
Remember, the specific tools and materials required may vary based on your project and the equipment you use. It’s always a good idea to read the manufacturer’s instructions and recommendations for the self-adhesive vinyl and printing equipment you have.


Step-by-Step Guide to Printing Self-Adhesive Vinyl
1. Gather Your Materials
You will need a computer, a design software (such as Adobe Illustrator or CorelDRAW), a printer compatible with self-adhesive vinyl, self-adhesive vinyl sheets or rolls, a cutting tool (such as a craft knife or vinyl cutter), and application tape.
2. Prepare Your Design
Use the design software to create or import your desired design. Ensure that the dimensions match the size of your self-adhesive vinyl sheet or roll.
3. Set Up the Printer
Make sure your printer is properly connected to your computer and turned on. Adjust the printer settings to match the type and size of the self-adhesive vinyl you are using. Consult the printer’s user manual for specific instructions.
4. Load the Self-Adhesive Vinyl
If you have self-adhesive vinyl sheets, feed a sheet into the printer according to the manufacturer’s instructions. If you have a roll, cut a piece of vinyl from the roll to fit the dimensions of your design.
5. Print a Test Page
Before printing your final design, it’s a good idea to print a test page on a regular sheet of paper to check the colors, alignment, and sizing. Make any necessary adjustments to your design or printer settings.
6. Print the Design on Self-Adhesive Vinyl
Once you are satisfied with the test print, proceed to print your design onto the self-adhesive vinyl. Ensure that the vinyl is properly aligned with the printer to avoid any misprints.
7. Allow the Ink to Dry
After printing, give the ink some time to dry completely. This duration may vary depending on the type of printer and ink being used. Refer to the printer’s instructions for approximate drying times.
8. Cut the Vinyl
If your design requires specific shapes or dimensions, use a cutting tool (such as a craft knife or vinyl cutter) to carefully cut out the desired shapes from the printed self-adhesive vinyl. Take your time to ensure precise and accurate cuts.
9. Weed the Excess Vinyl
Once the vinyl is cut, use a weeding tool or tweezers to remove the excess vinyl material around your design. This process is called “weeding” and helps create clean and defined edges.
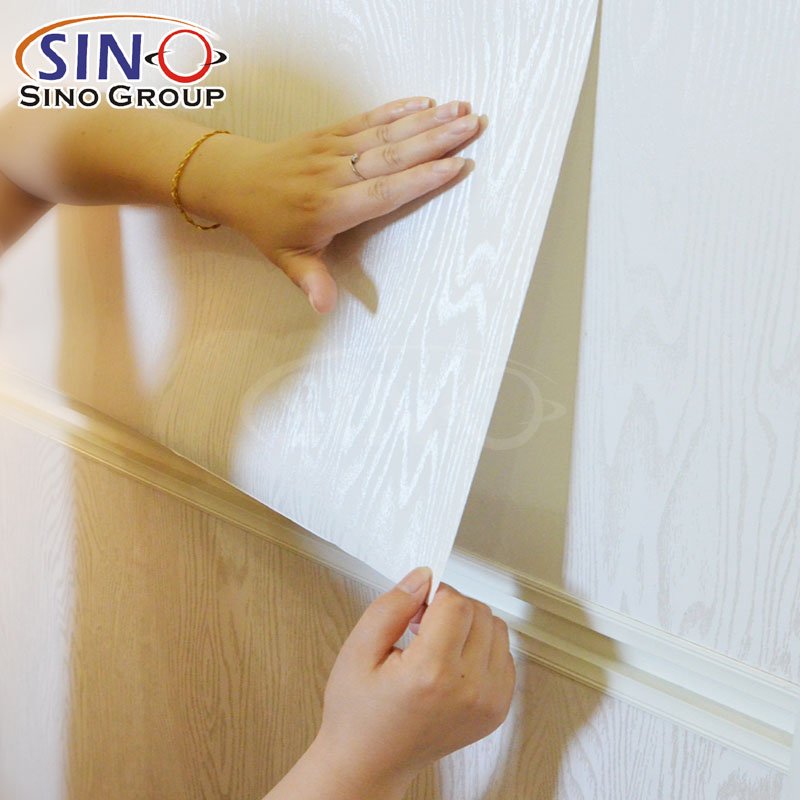
10. Apply Application Tape
Cut a piece of application tape slightly larger than your vinyl design. Carefully apply the application tape over the design, ensuring it sticks firmly. Smooth out any air bubbles or wrinkles using a squeegee or a flat-edge tool.
11. Transfer the Design
Slowly peel off the backing of the self-adhesive vinyl, starting from one corner. As you peel, the design should stick to the application tape. Continue peeling until the entire design is transferred onto the application tape.
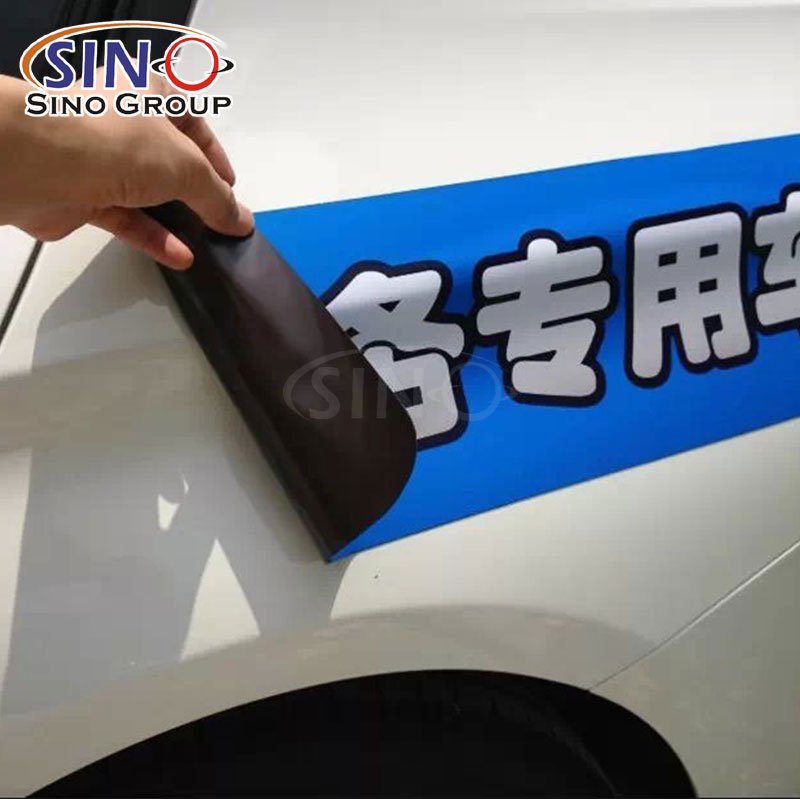
12. Position and Apply the Design
Choose the desired surface for your self-adhesive vinyl design. Clean and dry the surface thoroughly. Position the design using the application tape as a guide, and gently press it onto the surface. Smooth out any air bubbles or wrinkles using a squeegee or a flat-edge tool.
13. Remove the Application Tape
Once the design is securely applied, slowly peel off the application tape at a 45-degree angle, starting from one corner. Take care not to lift the vinyl design while removing the application tape.
14. Press and Secure the Design
After removing the application tape, firmly press down on the vinyl design with a squeegee or your hands to ensure proper adhesion. Pay extra attention to the edges and corners.
15. Allow the Vinyl to Set
Give the vinyl design some time to set and adhere to the surface. Avoid touching or disturbing the design for the recommended duration mentioned by the vinyl manufacturer.
Following these steps will help you successfully print and apply self-adhesive vinyl designs. Remember to consult the specific instructions provided by your printer and vinyl manufacturer for best results.


Exploring Different Printing Techniques for Self-Adhesive Vinyl
When it comes to printing on self-adhesive vinyl, there are several techniques you can employ to achieve different effects and results. Here are some common printing techniques for self-adhesive vinyl:
1. Direct Printing
This technique involves printing directly onto the self-adhesive vinyl using a specialized printer. It offers precise color reproduction and is suitable for intricate designs.
2. Digital Printing
Digital printing utilizes inkjet technology to transfer ink onto the vinyl surface. It provides excellent color vibrancy and allows for quick turnaround times, making it ideal for small to medium-sized print runs.
3. Screen Printing
Screen printing involves using a mesh screen to apply ink onto the vinyl surface. It is often used for larger quantities and offers durability and vibrant colors. This technique is suitable for simple designs with fewer colors.
4. Flexographic Printing
Flexographic printing utilizes flexible relief plates to transfer ink onto the vinyl. It is commonly used for high-volume production and can achieve excellent print quality and consistent results.
5. Thermal Transfer Printing
This technique involves transferring ink onto the vinyl using heat. It is commonly used for printing text, barcodes, or simple graphics and is often seen in label printing applications.
6. Offset Printing
Offset printing involves transferring ink from a plate to a rubber blanket and then onto the vinyl. It is a high-quality printing method suitable for large-scale production runs.
7. UV Printing
UV printing utilizes ultraviolet light to cure the ink instantly, resulting in vibrant colors and excellent durability. It is commonly used for outdoor signage and displays.
8. Dye Sublimation Printing
Dye sublimation printing uses heat to transfer dye onto the vinyl, resulting in long-lasting and vibrant prints. It is often employed for customized apparel, signage, and promotional items.
9. Latex Printing
Latex printing utilizes water-based latex inks that are cured using heat. This technique offers environmental advantages and produces prints with good color saturation and durability.
Each printing technique has its own advantages and considerations, so choosing the right one for your self-adhesive vinyl project depends on factors such as budget, desired print quality, volume, and specific application requirements.


Tips for Achieving High-Quality Prints on Self-Adhesive Vinyl
Here are some tips for achieving high-quality prints on self-adhesive vinyl:
1. Use High-Resolution Images
Ensure that your artwork or images have a high resolution, preferably 300 DPI (dots per inch) or higher. This will result in sharper and more detailed prints on the vinyl.
2. Calibrate Your Printer
Properly calibrate your printer to ensure accurate color reproduction. Consult your printer’s manual or settings to adjust color profiles, saturation, and other parameters for optimal print quality.
3. Test Print and Color Proof
Before printing a large batch, always perform test prints on a small piece of self-adhesive vinyl. This allows you to verify the colors, sharpness, and overall quality before committing to a full print run.
4. Use High-Quality Inks
Invest in high-quality, pigment-based inks that are specifically designed for the type of printer you are using. These inks offer better color vibrancy, longevity, and adhesion to the vinyl surface.
5. Choose the Right Vinyl Type
Different self-adhesive vinyl types have varying properties, such as matte or glossy finishes. Consider the desired look and feel of your print and select a vinyl type that suits your needs.
6. Clean and Prepare the Vinyl Surface
Ensure the surface of the vinyl is clean and free from dust, dirt, and debris before printing. This helps to avoid imperfections and ensure optimal adhesion of the ink to the vinyl.
7. Allow Sufficient Drying Time
Once the print is completed, allow the ink to dry completely before handling or applying any protective coatings. Follow the manufacturer’s recommendations for drying times to prevent smudging or smearing.
8. Use Proper Printing Settings
Adjust the printer settings to match the type of self-adhesive vinyl being used. Pay attention to print speed, temperature, and other settings recommended by the vinyl manufacturer for optimal results.
9. Consider Overlapping Colors
If your design involves overlapping colors, ensure that they are properly aligned to avoid any unintended effects or misregistration. This can be achieved by using registration marks or guides during the printing process.
10. Protect and Laminate the Prints
To enhance the longevity and durability of your self-adhesive vinyl prints, consider applying a protective laminate film over the printed surface. This helps to guard against scratches, UV fading, and general wear and tear.
Remember, practice and experimentation are key to achieving the best results with self-adhesive vinyl printing. Don’t be afraid to try different techniques, settings, and materials to find the approach that works best for your specific requirements.


Final Words
In conclusion, mastering the art of self-adhesive vinyl printing opens up a world of creative possibilities. By following the ultimate guide we’ve provided, you now have the knowledge and tips to achieve high-quality prints that leave a lasting impression. From selecting the right materials and printer to understanding printing techniques and troubleshooting, you are equipped to embark on your self-adhesive vinyl printing journey. Whether you’re looking to enhance your business branding, add a personal touch to your home decor, or explore the limitless potential of craft projects, self-adhesive vinyl printing empowers you to bring your ideas to life. So go ahead, print, peel, stick, and let your imagination soar with self-adhesive vinyl printing. Unleash your creativity and transform any surface into a stunning work of art.


