
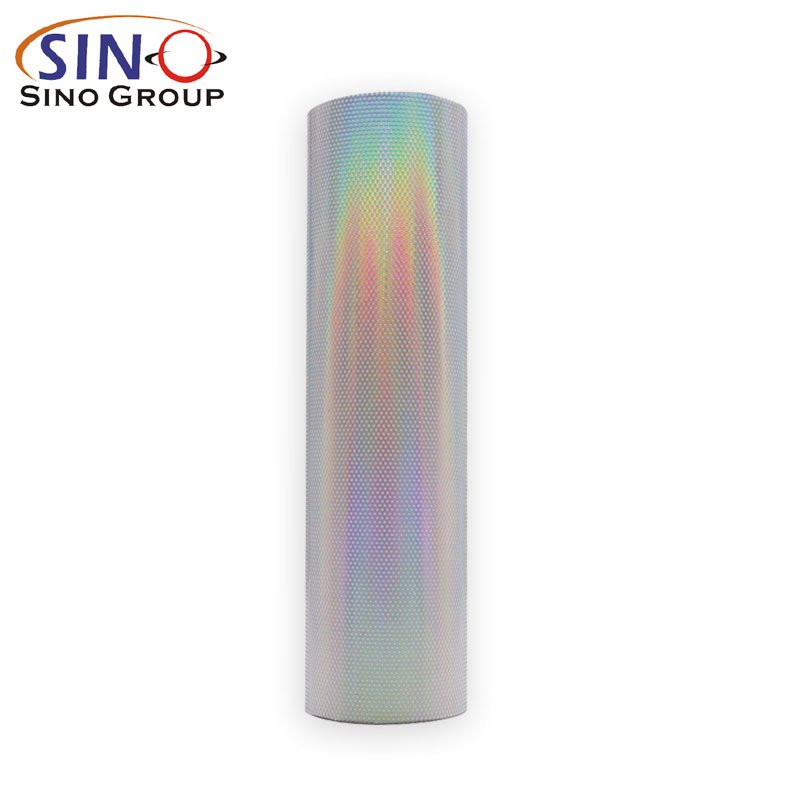
Understanding the Basics of Laser Self Adhesive Vinyl
Laser self-adhesive vinyl is a versatile material that is commonly used in crafting, signage, and graphic design projects. It is a type of vinyl that has a pressure-sensitive adhesive backing, allowing it to stick to various surfaces when applied with pressure.
Here are the basics of laser self-adhesive vinyl:
1. Material Composition
Laser self-adhesive vinyl is typically made of PVC (polyvinyl chloride) or vinyl material. It is engineered to be durable, flexible, and resistant to fading, making it suitable for both indoor and outdoor applications.
2. Adhesive Backing
The vinyl sheet has a layer of adhesive on one side, protected by a backing paper or liner. When the backing paper is peeled off, the adhesive is exposed, allowing the vinyl to adhere to surfaces.
3. Compatibility with Laser Cutters
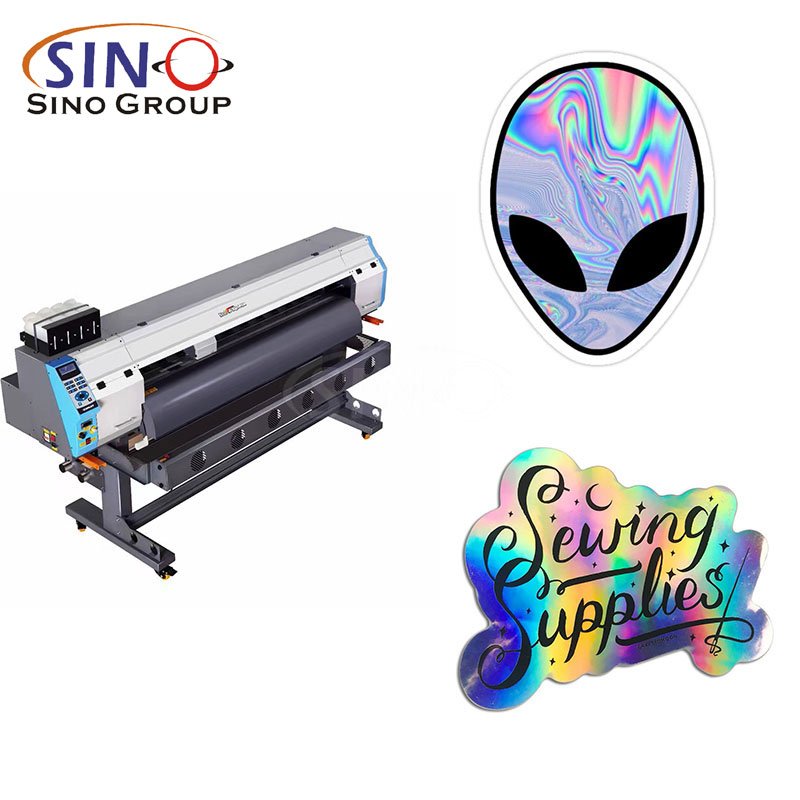
Laser self-adhesive vinyl is specifically designed to be compatible with laser cutting machines. These machines use a laser beam to precisely cut and shape the vinyl, allowing for intricate designs and details.
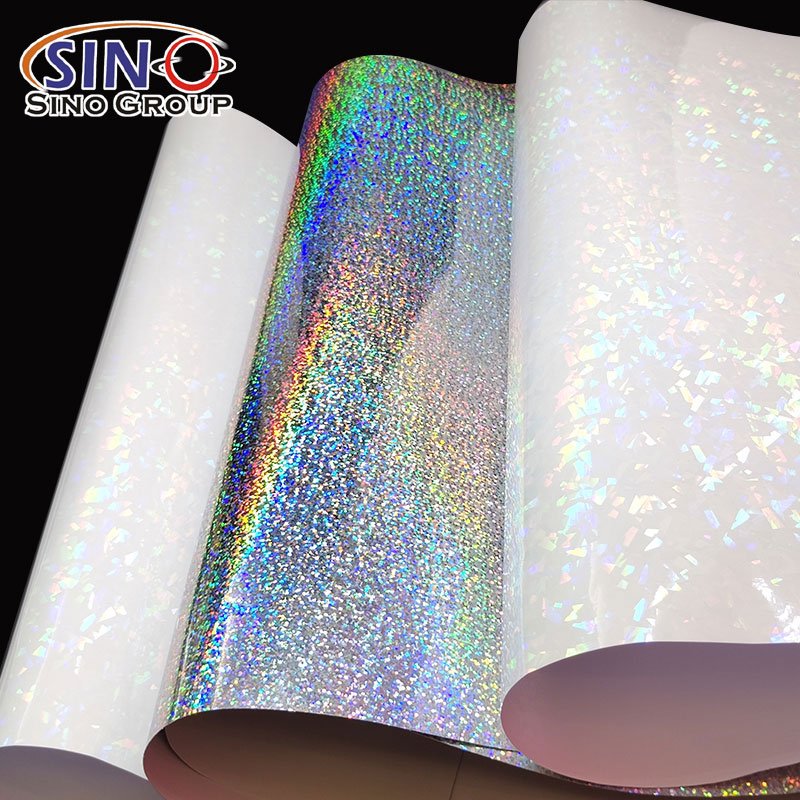
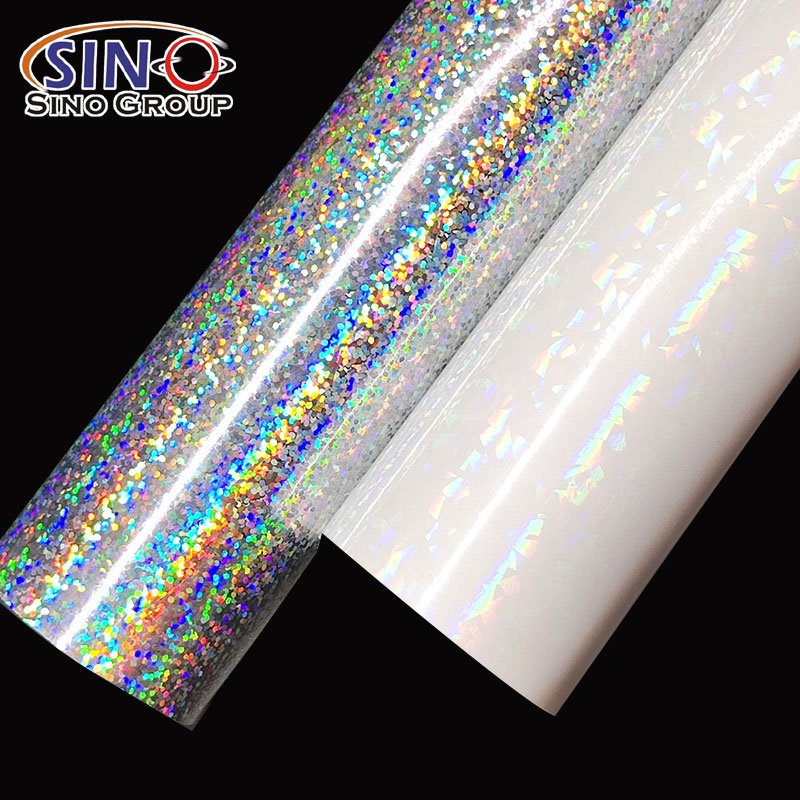
4.Colors and Finishes
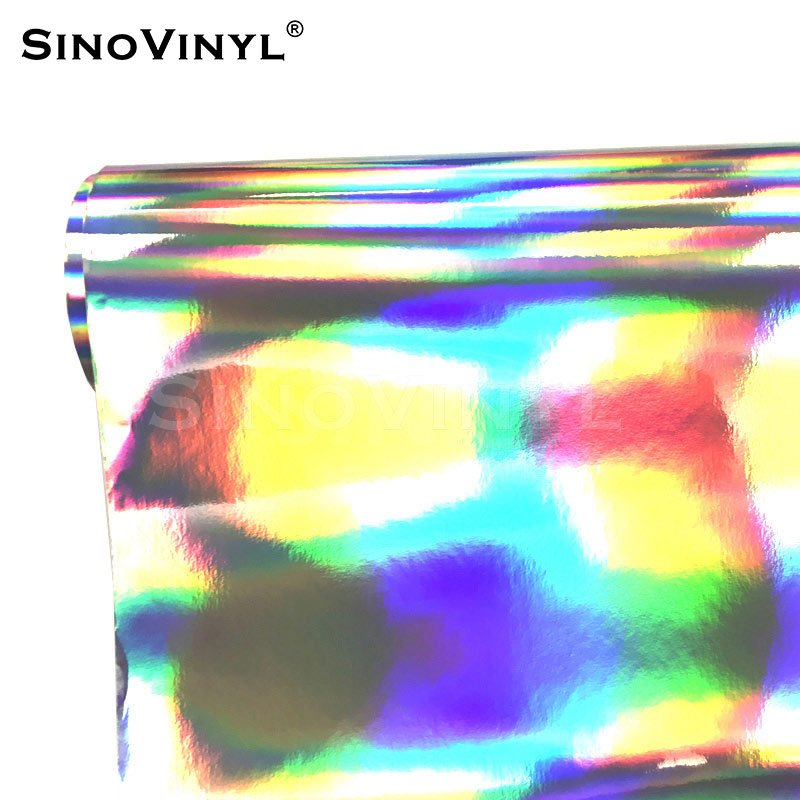
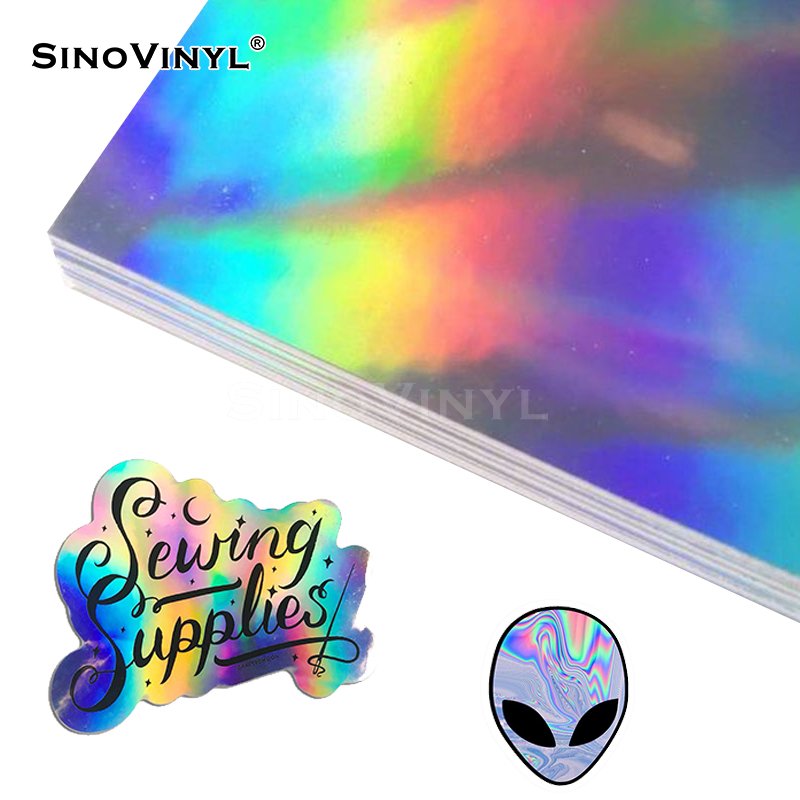
Laser self-adhesive vinyl is available in a wide range of colors, including solid colors, metallics, and special finishes like matte or glossy. This variety allows for creativity and customization in design projects.
5. Application Surfaces
Laser self-adhesive vinyl can be applied to a variety of surfaces, including but not limited to glass, plastic, metal, wood, and painted surfaces. It adheres well to smooth and clean surfaces, ensuring a strong bond.
6. Indoor and Outdoor Use
Depending on the specific vinyl type and manufacturer, laser self-adhesive vinyl can be suitable for both indoor and outdoor applications. Some vinyl options are designed to withstand weather conditions, UV exposure, and moisture.
7. Removability
While laser self-adhesive vinyl is generally designed to provide a strong and long-lasting bond, certain vinyl types offer removability without leaving residue or damaging the surface. This can be useful for temporary applications or when repositioning is desired.
8. Versatility
Laser self-adhesive vinyl is versatile and can be used for a wide range of projects, such as creating signage, decals, stickers, labels, home decor items, personalized gifts, and more. Its flexibility and ease of customization make it a popular choice among crafters and designers.
Remember to always refer to the specific manufacturer’s instructions and recommendations when working with laser self-adhesive vinyl to ensure optimal results and longevity.
Exploring Different Applications of Laser Self Adhesive Vinyl
Laser self adhesive vinyl has a wide range of applications across various industries and creative endeavors. Here are some different applications of laser self adhesive vinyl:
1. Signage and Graphics
Laser self adhesive vinyl is commonly used for creating eye-catching signs, banners, and posters. It allows for precise lettering, intricate designs, and vibrant colors, making it ideal for both indoor and outdoor advertising.
2. Vehicle Wraps and Decals
Many businesses and individuals use laser self adhesive vinyl to wrap vehicles with custom designs, logos, and advertisements. It provides a cost-effective alternative to paint and can be easily removed or replaced.
3. Home Decor
Laser self adhesive vinyl offers endless possibilities for home decor projects. It can be used to create wall decals, decorative window films, personalized laptop skins, furniture accents, and more. It allows homeowners to add a personal touch to their living spaces.
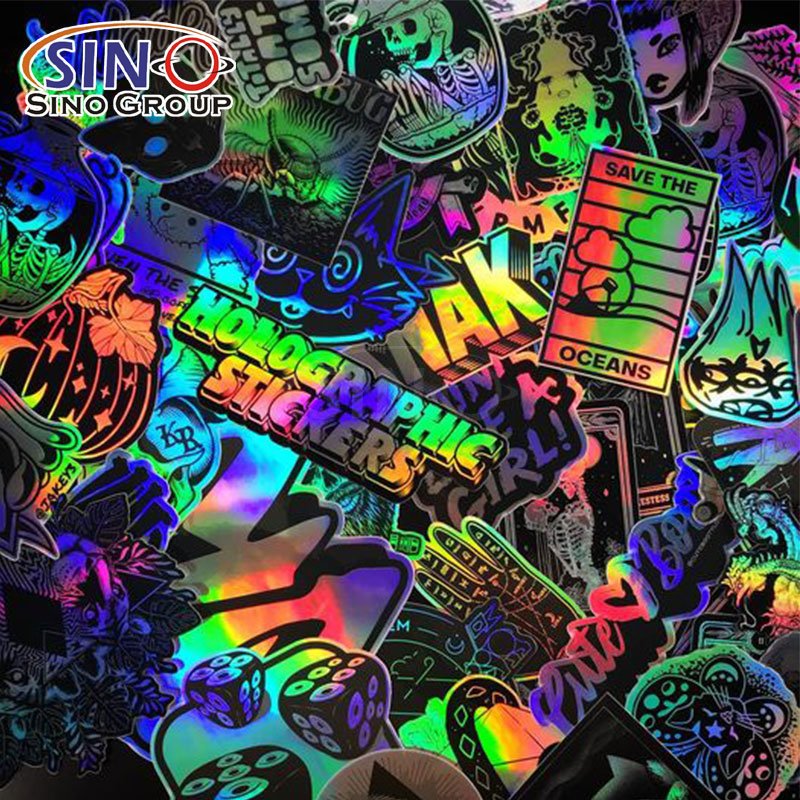
4. Craft and Hobby Projects
Crafters and DIY enthusiasts use laser self adhesive vinyl for a wide range of projects. It can be used to personalize items such as mugs, tumblers, phone cases, notebooks, and scrapbooks. It’s also popular for creating stickers, labels, and custom decals.
5. Custom Apparel
Laser self adhesive vinyl is widely used in the garment industry for creating customized apparel. It can be used to make heat transfer designs for t-shirts, hats, bags, and other fabric items. It offers a durable and professional-looking finish.
6. Window Displays
Retail stores often use laser self adhesive vinyl to create attractive window displays. It allows for the display of intricate designs, patterns, and messages, which can be easily changed or removed.
7. Interior Design
Interior designers use laser self adhesive vinyl to transform spaces. It can be used to add patterns, textures, or a faux finish to walls, floors, cabinets, and furniture. It provides a cost-effective way to update the look of a room.
8. Packaging and Branding
Laser self adhesive vinyl is used in packaging to create labels, logos, and branding elements. It adds a professional and polished look to products and helps businesses establish a strong brand identity.
9. Event Decorations
Laser self adhesive vinyl is commonly used in event planning and decorations. It can be used to create personalized party favors, banners, backdrops, and signage for weddings, birthdays, and other special occasions.
10. Industrial Applications
Laser self adhesive vinyl is also used in industrial settings for safety signage, equipment labeling, and identification purposes. Its durability and resistance to various conditions make it suitable for industrial environments.
These are just a few examples of the different applications of laser self adhesive vinyl. Its versatility and ease of use make it a popular choice in many creative and practical projects.


Tips and Techniques for Weeding Laser Self Adhesive Vinyl
Here are some tips and techniques for weeding laser self adhesive vinyl:
1. Use a Bright Light Source
Proper lighting is essential for easy and accurate weeding. Position a bright light source, such as a desk lamp or lightbox, to illuminate the vinyl and make it easier to identify the cut lines and weed out the excess material.
2. Weed in a Clean and Clutter-Free Area
Ensure that your work surface is clean and free of debris. This will prevent any small particles from sticking to the adhesive or interfering with the weeding process.
3. Use the Right Tools
Invest in a set of reliable weeding tools designed specifically for vinyl. The basic tools include a weeding hook or dental pick, tweezers, and a scraper. These tools will help you navigate intricate designs and remove unwanted vinyl with precision.
4. Start with the Outside Edges
Begin by weeding the outer edges of your design. This will create a clear boundary and make it easier to identify and remove the excess vinyl.
5. Weed Away from the Design
When weeding, pull the excess vinyl away from the design rather than towards it. This minimizes the risk of accidentally lifting or damaging any intricate parts of your design.
6. Take Your Time
Weeding can be a delicate and time-consuming process, especially for intricate designs. Be patient and work slowly to avoid any mistakes or accidental removal of desired parts of the design.
7. Use Reverse Weeding for Complex Designs
Reverse weeding is a technique used for intricate designs with small and delicate elements. Instead of weeding the excess vinyl, you weed away the background material, leaving the design intact. This technique can be particularly useful for preserving fine details.
8. Test Cut and Adjust Settings
Before weeding a large or complex design, perform a test cut on a small piece of vinyl. This will allow you to fine-tune your cutting settings to ensure that the vinyl is cut cleanly, making weeding easier.
9. Weed on a Flat Surface
Place the weeded vinyl on a flat surface to prevent it from sticking to itself or getting tangled. This will make it easier to handle and apply the vinyl later.
10. Practice and Experiment
Weeding skills improve with practice, so don’t be discouraged if you encounter challenges initially. Experiment with different techniques and find what works best for you and your specific design.
Remember, weeding can be a meticulous process, but with the right tools, techniques, and patience, you’ll achieve clean and professional results with your laser self adhesive vinyl projects.

Best Practices for Applying Laser Self Adhesive Vinyl
1. Clean and Prepare the Surface
Ensure that the surface you are applying the vinyl to is clean and free from any dust, dirt, or grease. Use a mild detergent or surface cleaner to thoroughly clean the area and allow it to dry completely before applying the vinyl.
2. Measure and Plan
Take accurate measurements of the surface area where you will be applying the vinyl. Plan your design and layout beforehand to ensure proper placement and alignment. Use masking tape or a pencil to mark reference points on the surface for guidance.
3. Use Transfer Tape
Transfer tape is a helpful tool for applying the vinyl smoothly and accurately. Apply the transfer tape over the vinyl design and use a squeegee or credit card to firmly press the tape onto the vinyl, ensuring good adhesion. This will allow you to transfer the vinyl design onto the surface easily.
4. Apply the Vinyl in Sections
For larger designs, it is often easier to apply the vinyl in sections rather than all at once. Start with one corner or edge and gradually peel off the backing paper while applying the vinyl to the surface. Use a squeegee or your fingers to smooth out any bubbles or wrinkles as you go.
5. Apply Even Pressure
When applying the vinyl, ensure that you apply even pressure across the entire design. This will help to ensure proper adhesion and prevent air bubbles from forming. Use a squeegee or your fingers to gently press down on the vinyl, starting from the center and working your way out towards the edges.
6. Remove the Transfer Tape Carefully
Once the vinyl is applied to the surface, slowly and carefully remove the transfer tape at a 45-degree angle. Pull the tape back over itself rather than lifting it straight up to avoid lifting the vinyl along with it. Take your time to ensure that the vinyl is properly adhered to the surface before removing the transfer tape completely.
7. Allow Sufficient Drying Time
After applying the vinyl, allow it to dry and set for the recommended time specified by the manufacturer. Avoid touching or manipulating the vinyl during this time to ensure proper adhesion.
By following these best practices, you can achieve smooth and professional-looking results when applying laser self adhesive vinyl. Remember to always refer to the manufacturer’s instructions for specific recommendations and guidelines related to the vinyl you are using.


Final Words
In conclusion, unlocking the magic of laser self adhesive vinyl opens up a world of creative possibilities. Armed with the knowledge gained from this comprehensive guide, you are now equipped to embark on exciting DIY projects, personalized gifts, and stunning home decor. Remember to choose the right vinyl for your specific needs, follow the best practices for application, and let your imagination run wild. Whether you’re a novice or a seasoned crafter, laser self adhesive vinyl offers a versatile and transformative medium to bring your designs to life. So, embrace the magic, explore new techniques, and watch as laser self adhesive vinyl elevates your creative endeavors to extraordinary heights. Get ready to unleash your artistic potential and witness the mesmerizing results of this captivating material. Happy crafting!


