
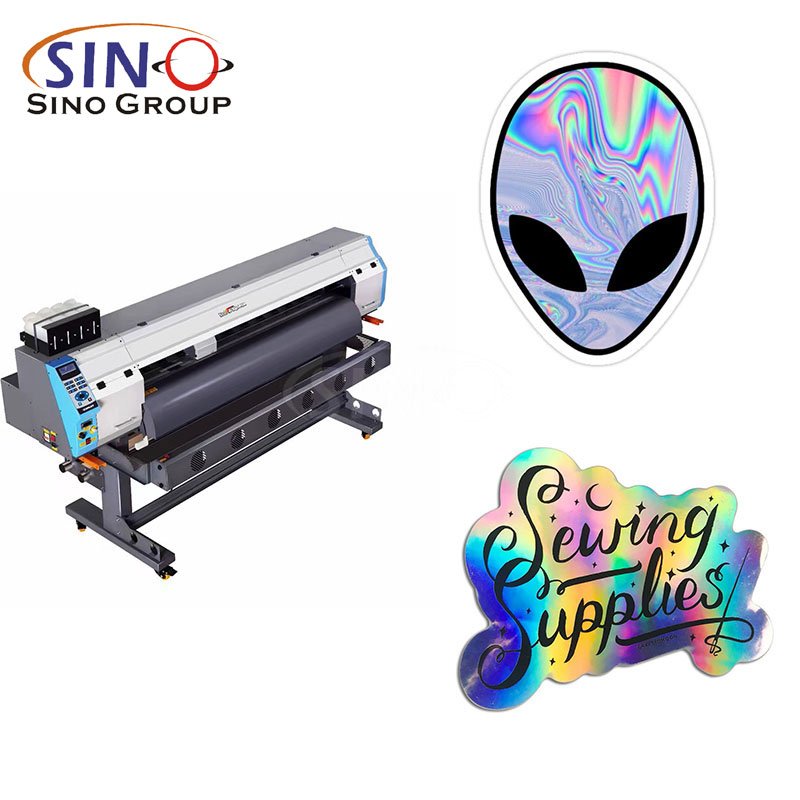
Exploring Different Types of Inkjet Self-Adhesive Vinyl Stickers
There are several different types of inkjet self-adhesive vinyl stickers available in the market, each offering unique features and suitability for various applications. Here are some popular types:
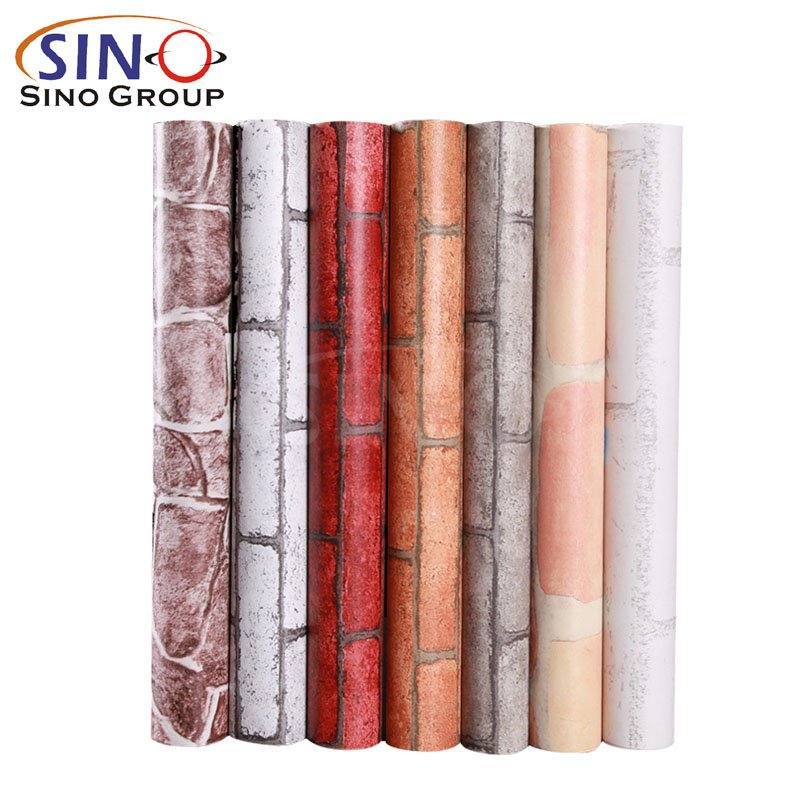
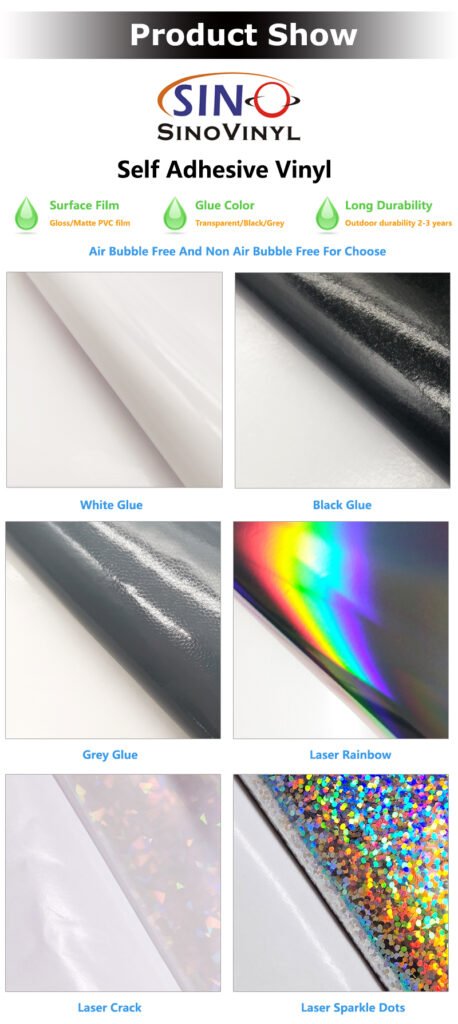
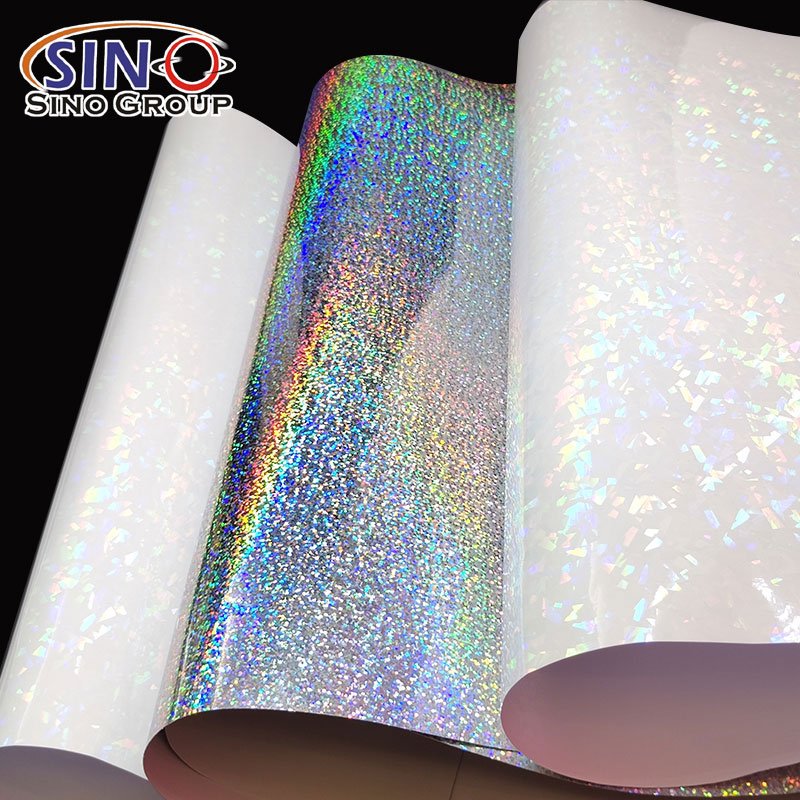
1. Glossy Vinyl Stickers
These stickers have a shiny, reflective surface that enhances the vibrancy of colors and provides a professional, polished look. They are commonly used for branding, product labeling, and promotional materials.
2. Matte Vinyl Stickers
Matte stickers have a non-glossy, smooth finish that offers a more subtle and sophisticated appearance. They are ideal for applications where you want a refined look without any glare, such as packaging or elegant product labels.
3. Clear Vinyl Stickers
Clear stickers are transparent and allow the background to show through the design. They are popular for creating a “no-label” appearance on products, glass surfaces, or any application where you want the design to seamlessly blend with the background.
4. White Vinyl Stickers
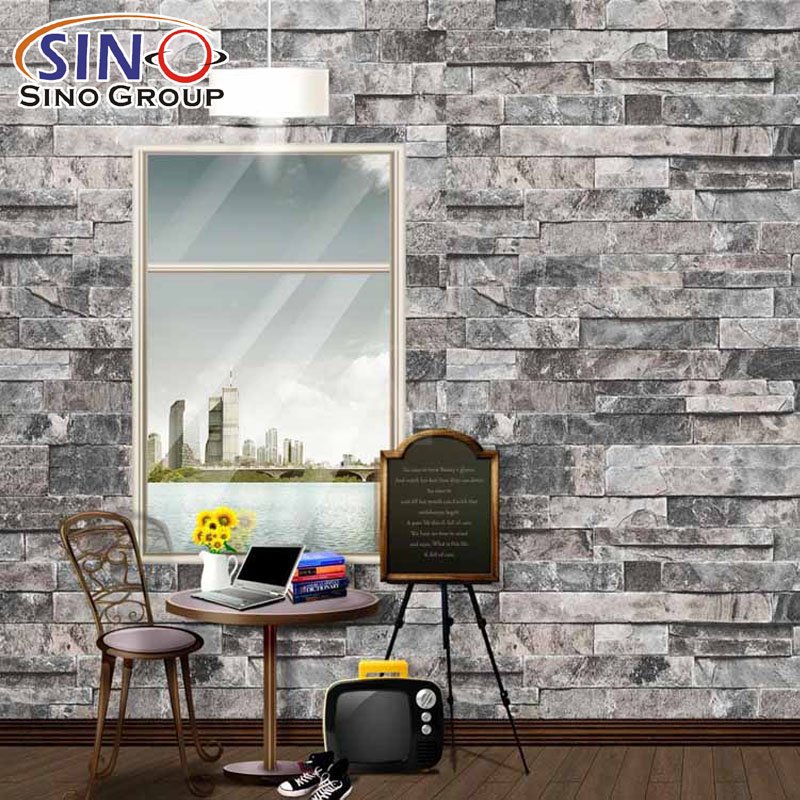
White vinyl stickers have a solid white background, making them versatile for various designs and surfaces. They are commonly used for signage, window displays, or any application where a solid background is desired.
5. Removable Vinyl Stickers
These stickers are designed to be easily removable without leaving any residue or damaging the surface. They are great for temporary signage, seasonal decorations, or any application where you need flexibility and easy removal.
6. Waterproof Vinyl Stickers
As the name suggests, waterproof stickers are resistant to water, making them suitable for outdoor applications or products that may come into contact with moisture. They are commonly used for labeling outdoor equipment, water bottles, or vehicles.
7. High-Tack Vinyl Stickers
High-tack stickers have a stronger adhesive backing, ensuring a firm and long-lasting bond with the surface. They are ideal for applications that require extra adhesion, such as rough or textured surfaces, or items that experience frequent handling.
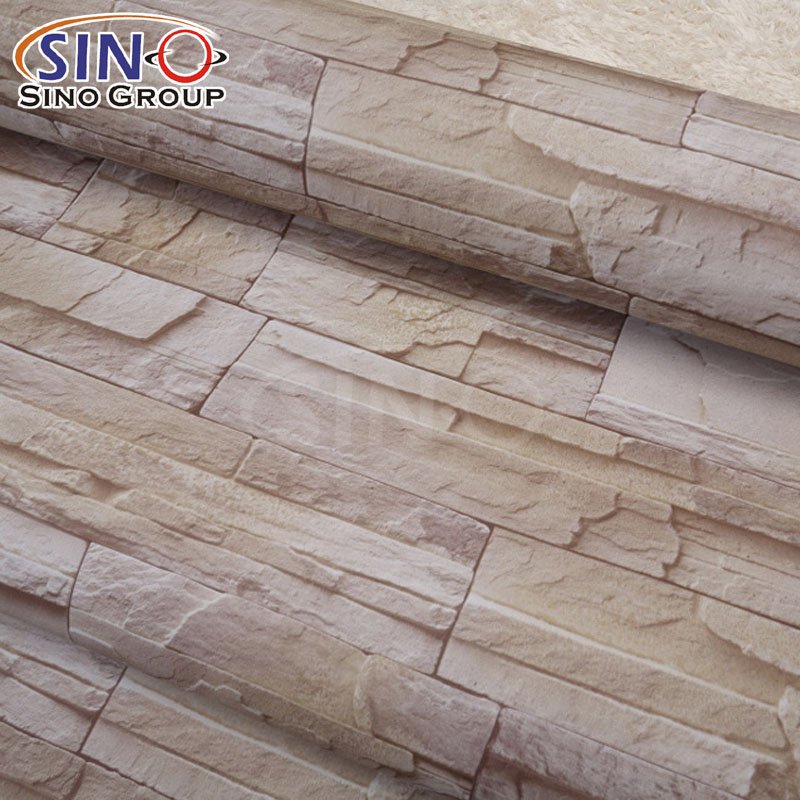
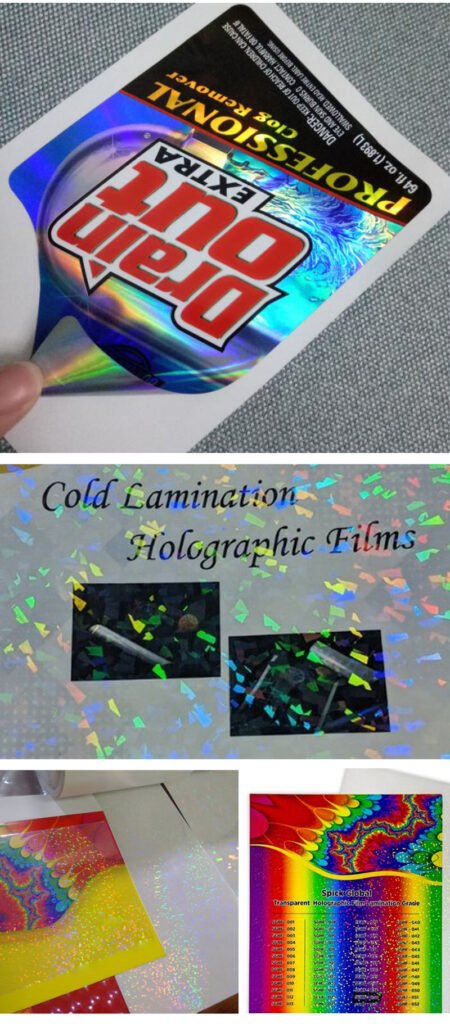
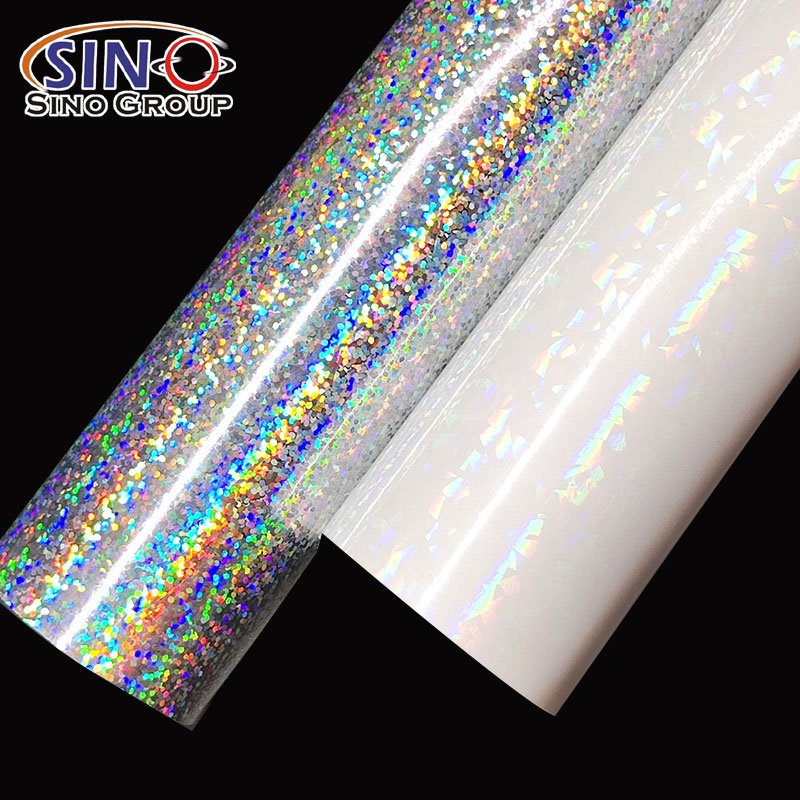
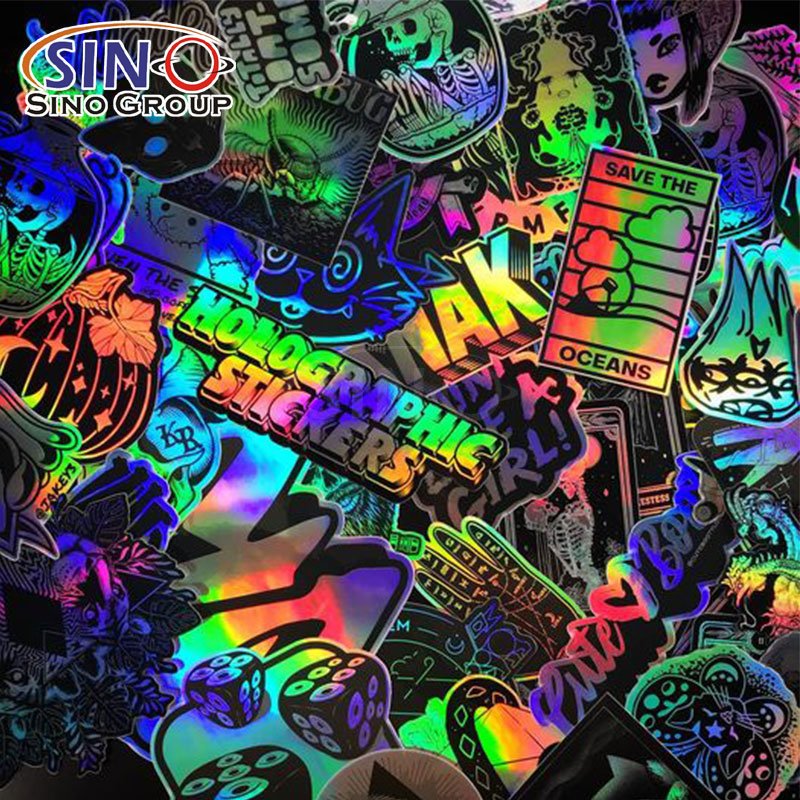
8. Die-Cut Vinyl Stickers
Die-cut stickers are custom-shaped stickers that are cut to the exact shape of the design or logo. They offer a clean, professional look and are commonly used for branding, promotional materials, or decorative purposes.
These are just a few examples of the different types of inkjet self-adhesive vinyl stickers available. Each type offers distinct characteristics, so it’s important to choose the one that best suits your specific application and design requirements.


Step-by-Step Guide to Designing Personalized Inkjet Self-Adhesive Vinyl Stickers
Here’s a step-by-step guide to designing personalized inkjet self-adhesive vinyl stickers:
Step 1: Gather Your Materials
- Inkjet printer: Make sure it’s compatible with vinyl sticker printing.
- Inkjet self-adhesive vinyl sheets: Choose the appropriate size and finish for your stickers.
- Design software: Use graphic design software like Adobe Photoshop or Illustrator.
Step 2: Prepare Your Design
- Open your design software and create a new document with the dimensions matching your vinyl sheet.
- Set the resolution to a minimum of 300 DPI for high-quality printing.
- Consider the shape, colors, and elements that you want to include in your sticker design.
- Keep in mind the intended purpose or theme of the stickers.
Step 3: Design Your Sticker
- Use the design tools in your software to create your personalized sticker. Be creative and let your imagination flow!
- Incorporate text, images, graphics, or any other elements that suit your design concept.
- Ensure that your design fits within the dimensions of your vinyl sheet to avoid any cropping or resizing issues during printing.
Step 4: Test Print
- Before printing on the actual vinyl sheet, do a test print on regular paper to check the colors, alignment, and overall appearance of your design.
- Make any necessary adjustments to your design or printer settings based on the test print results.
Step 5: Load the Vinyl Sheet
- Follow the instructions provided by the manufacturer to load the inkjet self-adhesive vinyl sheet into your printer.
- Ensure that the printable side of the vinyl sheet is facing the correct direction.
Step 6: Adjust Printer Settings
- Open the printer settings on your computer and select the appropriate media type (e.g., glossy or matte vinyl) to ensure optimal print quality.
- Adjust other settings like print quality and color management based on your printer and preferences.
Step 7: Print Your Stickers
- Click the “Print” button and wait for the printer to complete the printing process.
- Allow the printed vinyl sheet to dry completely before handling to prevent smudging or smearing.
Step 8: Cut and Trim
- Once the ink is dry, carefully cut out each sticker using a pair of scissors or a craft knife.
- Trim any excess vinyl around the edges of your design to create clean and polished stickers.
Step 9: Peel and Stick
- Peel off the backing paper from each sticker, revealing the adhesive side.
- Carefully place your personalized vinyl sticker onto the desired surface, pressing it firmly to ensure proper adhesion.
Step 10: Enjoy and Share
- Admire your personalized inkjet self-adhesive vinyl stickers and share them with friends, family, or use them for your creative projects.
- Store any unused vinyl sheets in a cool and dry place to maintain their quality for future use.
Remember to always follow the specific instructions provided by the manufacturer of your inkjet self-adhesive vinyl sheets and printer for the best results. Happy designing!


Printing Techniques for Inkjet Self-Adhesive Vinyl Stickers
When it comes to printing inkjet self-adhesive vinyl stickers, there are a few different techniques you can use. Here are some common printing techniques for achieving high-quality results:
1. Inkjet Printing
Inkjet printers are the most commonly used method for printing inkjet self-adhesive vinyl stickers. These printers use small droplets of ink to create the desired image on the vinyl surface. They are versatile and offer a wide range of color options.
2. Color Calibration
Proper color calibration is crucial for achieving accurate and vibrant colors in your vinyl sticker prints. This involves adjusting the printer settings, such as color profiles and saturation levels, to ensure the colors appear as intended.
3. High-Resolution Printing
To ensure sharp and clear details in your vinyl sticker designs, it’s important to print at a high resolution. Higher resolutions result in more precise and defined images, making your stickers look professional and visually appealing.
4. Print Quality Settings
Adjusting the print quality settings on your printer can also have an impact on the final output. Depending on your specific requirements, you may choose between standard, high, or photo-quality settings to achieve the desired level of detail and clarity.
5. Print Test Sheets
Before printing a large batch of vinyl stickers, it’s advisable to perform test prints on regular paper to check the colors, alignment, and overall quality. This allows you to make any necessary adjustments before using the vinyl material.
6. Print and Cut Registration
If your design includes intricate shapes or requires precise cutting, consider utilizing a print and cut registration feature. This feature ensures that the printer aligns with a cutting machine, enabling accurate contour cutting for your vinyl stickers.
7. Drying Time
After printing, give your inkjet self-adhesive vinyl stickers ample time to dry before handling or applying them. This prevents smudging or damaging the printed surface.
Remember, it’s essential to follow the manufacturer’s guidelines and recommendations specific to your inkjet printer and the vinyl sticker material you are using. This will help you achieve the best possible printing results and ensure the longevity of your inkjet self-adhesive vinyl stickers.


Customizing Inkjet Self-Adhesive Vinyl Stickers for Special Events
Customizing Inkjet Self-Adhesive VinylBy customizing inkjet self-adhesive vinyl stickers for special events, you can create a cohesive and personalized atmosphere that leaves a lasting impression on guests. It’s an excellent way to add that extra touch of creativity and attention to detail, making the event truly memorable for everyone involved.Stickers for special events opens up a world of possibilities for creating memorable and personalized experiences. Whether it’s a wedding, birthday party, corporate gathering, or any other special occasion, these stickers can add a unique touch that sets the event apart.
One of the key advantages of inkjet self-adhesive vinyl stickers is their versatility. They can be easily customized to match the theme, color scheme, or branding of the event. With the ability to print high-quality graphics, text, and even photographs, you have the freedom to design stickers that truly reflect the event’s style and purpose.
Final Words
In conclusion, the power of personalization shines through when it comes to inkjet self-adhesive vinyl stickers. These versatile and customizable stickers allow you to unleash your creativity and make a statement for every occasion. Whether you’re adding a touch of elegance to a wedding, celebrating a milestone birthday, or promoting your brand at a corporate event, inkjet self-adhesive vinyl stickers offer endless possibilities. From designing unique graphics to printing vibrant colors and applying them seamlessly, these stickers can transform ordinary items into extraordinary ones. Embrace the power of personalization with inkjet self-adhesive vinyl stickers and elevate your events, crafts, and marketing endeavors to new heights. Let your imagination run wild and create lasting impressions that leave a mark in the hearts and minds of all who encounter them.


