Beginner’s Guide: Installing Self-Adhesive Vinyl with Confidence
Introduction
If you’re looking to add a touch of creativity to your space without the hassle of traditional adhesives, self-adhesive vinyl is the perfect solution! This step-by-step guide will walk you through the process of installing self-adhesive vinyl like a pro, even if you’re a complete beginner. Get ready to transform your surfaces and unleash your DIY skills!
Materials Needed
1. Self-adhesive vinyl sheets or rolls
2. Measuring tape
3. Utility knife or scissors
4. Squeegee or credit card
5. Cleaning supplies (soap and water or rubbing alcohol)
6. Level (optional, but recommended)
7. Pencil or chalk (for marking)


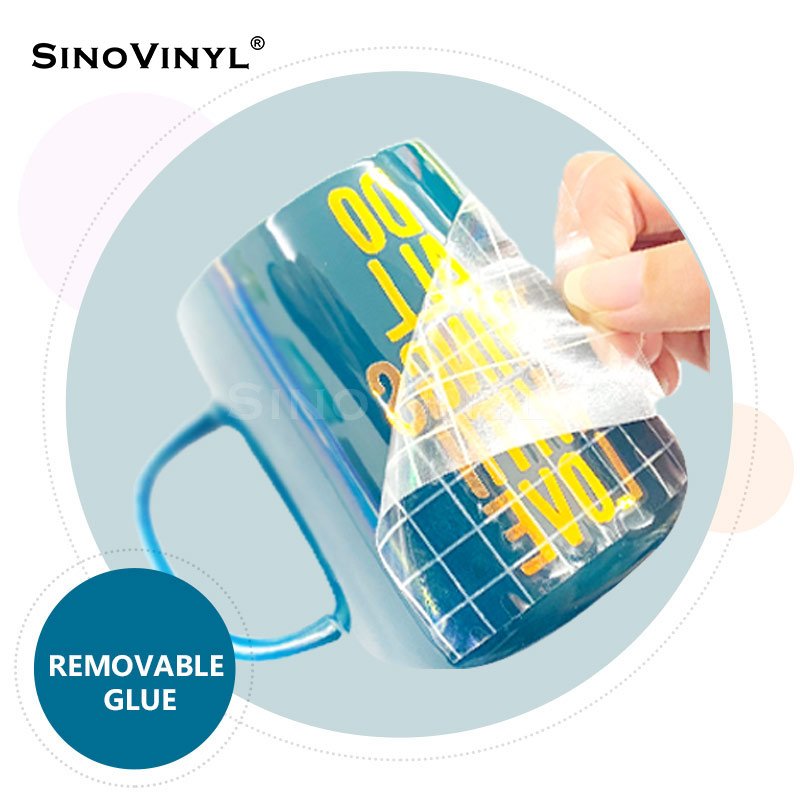
Step-by-Step Installation
1. Prepare Your Surface
Start by thoroughly cleaning the surface where you plan to apply the self-adhesive vinyl. Remove any dirt, dust, or grease using soap and water or rubbing alcohol. Ensure the surface is completely dry before proceeding.
2. Measure and Cut
Measure the area you want to cover with the self-adhesive vinyl. Add a few inches to each side to allow for slight adjustments during installation. Use a utility knife or scissors to cut the vinyl sheet or roll to the desired size, following your measurements.
3. Peel Off the Backing
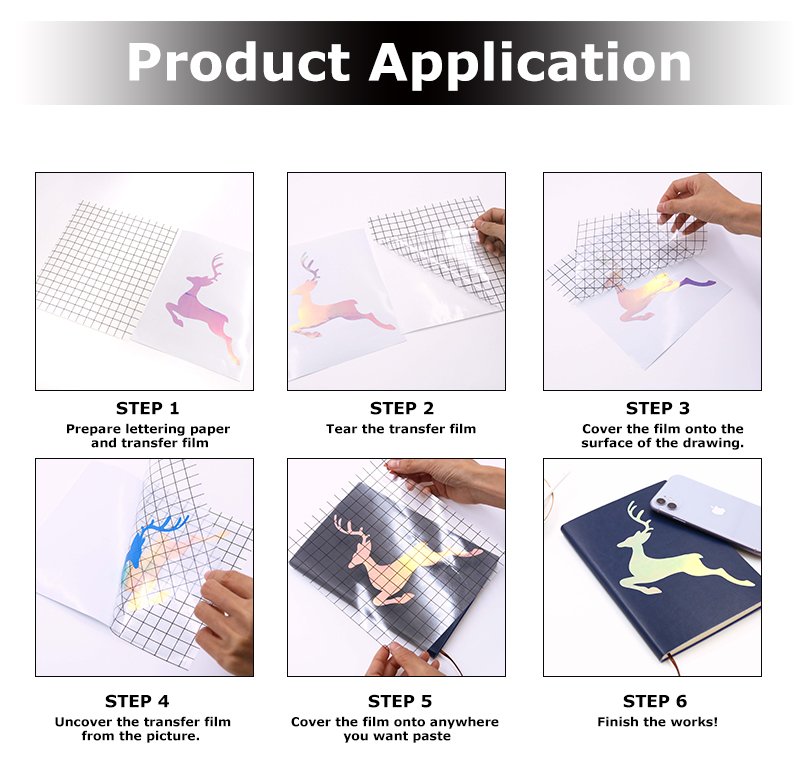
Carefully peel off a small portion of the backing paper from the self-adhesive vinyl, exposing the sticky side. Be cautious not to touch the adhesive with your fingers to keep it clean and free from oils.
4. Align and Apply
Position the exposed edge of the vinyl on the top or side of your surface, depending on your preference. Slowly align the vinyl with the surface, making sure it is straight and level. Gently press down on the exposed section, adhering it to the surface.
5. Peel and Stick
As you continue to align the vinyl with the surface, gradually peel off the backing paper while using a squeegee or credit card to smooth out the vinyl. Work from the center outwards to avoid air bubbles.
6. Smooth Out Bubbles
If you encounter any air bubbles during installation, use the squeegee to gently press them towards the nearest edge. This will help release the trapped air and ensure a smooth finish.
7. Trim Excess Vinyl
Once the self-adhesive vinyl is fully applied, use a utility knife or scissors to trim any excess material along the edges. Take your time and make precise cuts for a neat and clean appearance.
8. Check for Adhesion
After installation, run your hand or the squeegee over the entire surface to ensure proper adhesion. Pay extra attention to the edges and corners to make sure they are securely in place.


Conclusion
Congratulations! You’ve successfully installed self-adhesive vinyl like a pro. With this easy and creative method, you can transform various surfaces throughout your home. Remember to take your time, follow the steps carefully, and don’t be afraid to get creative with different colors and patterns. Happy decorating!

