Exploring Different Applications of Fluorescent Self-Adhesive Vinyl
Fluorescent self-adhesive vinyl offers a multitude of exciting and creative applications across various industries and artistic endeavors. Its vivid and radiant colors, combined with its ease of use, make it a popular choice for individuals and businesses looking to make a bold statement. Here are some different applications where fluorescent self-adhesive vinyl truly shines:
1. Signage and Advertising
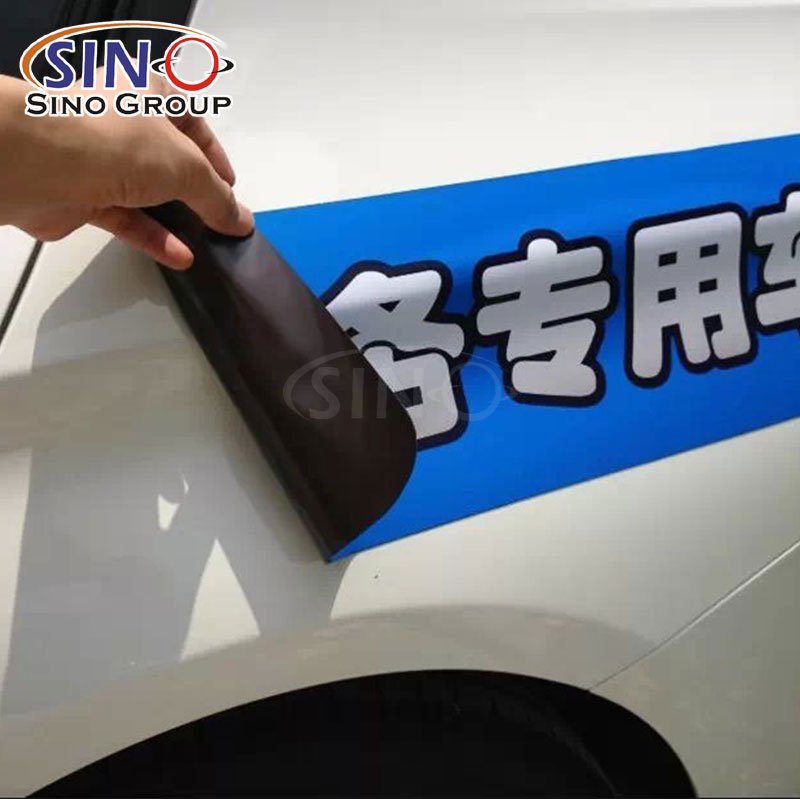
Fluorescent self-adhesive vinyl is perfect for creating attention-grabbing signage and advertising materials. Whether it’s for storefronts, billboards, trade shows, or vehicle graphics, the vibrant colors and high visibility of fluorescent vinyl can help businesses stand out and attract customers.
2. Interior Design
Give your space a unique and energetic vibe by incorporating fluorescent self-adhesive vinyl in interior design projects. From accent walls and furniture accents to personalized decals and wall art, this vinyl can transform any room into a captivating and vibrant environment.
3. Arts and Crafts
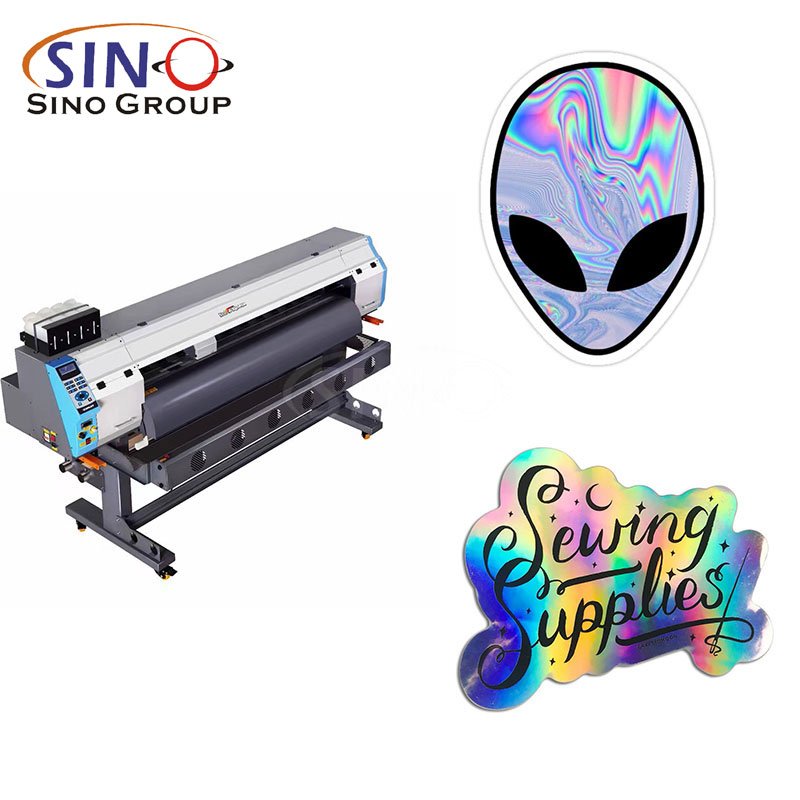
Fluorescent self-adhesive vinyl is a favorite among artists and crafters. It can be used to create stunning designs on canvases, glassware, accessories, and more. Whether you’re into scrapbooking, card-making, or mixed media art, the fluorescent vinyl adds an electrifying touch to your creations.
4. Party Decorations
Add a pop of color and excitement to your parties and events with fluorescent self-adhesive vinyl. Use it to create dazzling backdrops, eye-catching banners, and vibrant cutouts for photo booths. Its glow under UV or blacklight can create a unique and memorable atmosphere.
5. Fashion and Accessories
Make a fashion statement with fluorescent self-adhesive vinyl. Design and cut your own custom patterns to personalize clothing, shoes, bags, and accessories. The bright and fluorescent colors will make you stand out from the crowd.
6. Safety Signage
Fluorescent self-adhesive vinyl is often used for safety purposes due to its high visibility. It can be applied to create caution signs, safety labels, and hazard markings, ensuring that important information is easily noticed and understood.
7. Sports Equipment and Gear
Fluorescent self-adhesive vinyl is commonly used in sports to enhance visibility and aesthetics. It can be applied to helmets, bicycles, skateboards, and other equipment, providing a bold and eye-catching look while also increasing safety during low-light conditions.
8. Window Displays
Retailers can leverage fluorescent self-adhesive vinyl to create captivating and attention-grabbing window displays. The vibrant colors will draw customers’ attention and make your storefront stand out, increasing foot traffic and potential sales.
These are just a few examples of the many applications for fluorescent self-adhesive vinyl. Its versatility, durability, and ability to add a vibrant touch to various surfaces make it a fantastic choice for unleashing your creativity in numerous ways.

Designing Eye-Catching Signage with Fluorescent Self-Adhesive Vinyl
Designing eye-catching signage with fluorescent self-adhesive vinyl can be a fun and creative process. Here are some steps and tips to help you create impactful and visually appealing signage:
1. Determine the Purpose
Start by clarifying the purpose of your signage. Is it for advertising, promotion, information, or decoration? Understanding the goal will help you design the signage more effectively.
2. Select the Right Colors
Fluorescent self-adhesive vinyl comes in a variety of vibrant colors. Choose colors that grab attention and align with your brand or message. Consider using contrasting colors to make the text and graphics pop.
3. Keep it Simple and Clear
Signage should convey its message quickly and easily. Keep the design simple and avoid clutter. Use concise and legible fonts for the text to ensure readability from a distance.
4. Prioritize Hierarchy
Determine the most important message or information that needs to stand out. Establish a visual hierarchy by using different font sizes, weights, and colors to guide the viewer’s attention.
5. Play with Typography
Experiment with different typography styles to add visual interest. Combine bold and playful fonts with clean and modern ones to create a dynamic composition. Ensure that the typography is easy to read from a distance.
6. Incorporate Graphics and Images
Graphics and images can enhance the visual appeal of your signage. Use high-resolution images and relevant graphics that support your message. Ensure they are properly scaled and placed for maximum impact.
7. Utilize Negative Space
Don’t be afraid of empty spaces. Negative space can provide balance and focus, allowing the important elements to stand out. It also makes the signage appear less cluttered and more professional.
8. Add Visual Effects
Fluorescent self-adhesive vinyl can create a striking visual impact. Consider incorporating effects like gradients, shadows, or outlines to make the signage more dynamic and eye-catching.
9. Test for Visibility
Before finalizing your design, test it in different lighting conditions and from various viewing distances. Make sure the signage remains clear and visible, even from a distance or under different lighting conditions.
10. Consider Installation and Placement
Think about where the signage will be placed and how it will be installed. Ensure that the colors and design elements complement the surroundings and attract attention in the intended location.
11. Protect and Maintain
Once your signage is installed, take steps to protect and maintain it. Apply a clear protective laminate over the vinyl to shield it from UV rays, scratches, and weather conditions, ensuring its longevity.
Remember, the key to designing eye-catching signage with fluorescent self-adhesive vinyl is to be creative, bold, and intentional with your design choices. Experiment, iterate, and seek feedback to create impactful and visually stunning signage that effectively communicates your message.


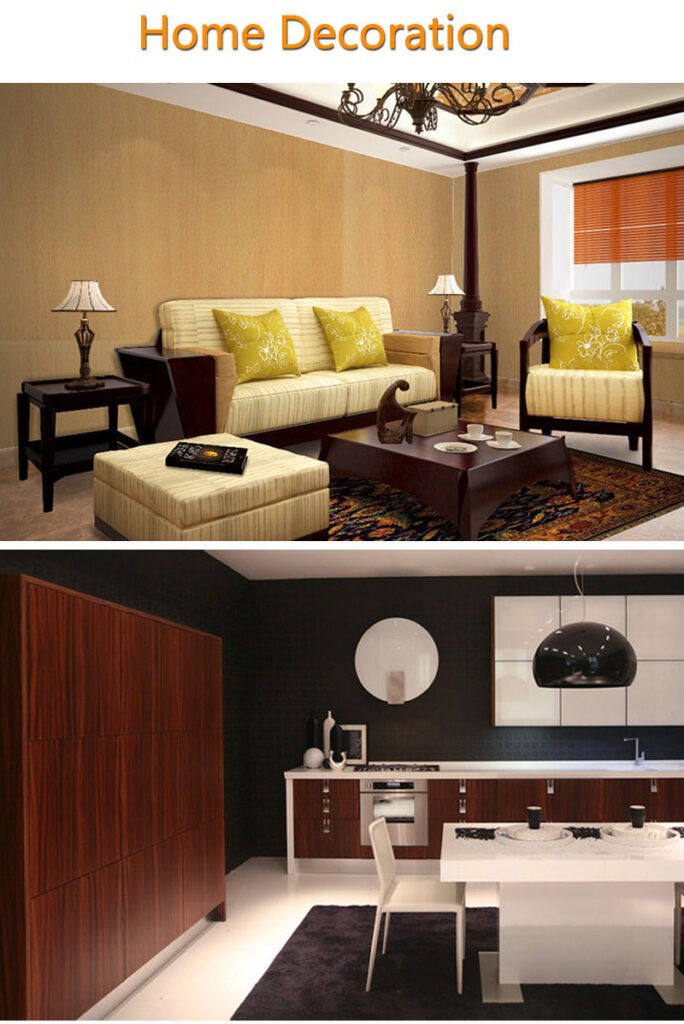
Creative Ways to Incorporate Fluorescent Self-Adhesive Vinyl in Interior Design
1. Accent Wall
Create a stunning focal point in a room by applying fluorescent self-adhesive vinyl to one wall. The vibrant colors will add energy and personality to the space.
2. Furniture Makeover
Give a plain piece of furniture a bold makeover by wrapping parts of it with fluorescent self-adhesive vinyl. It can transform a simple table, chair, or cabinet into a unique and eye-catching statement piece.
3. Custom Artwork
Cut out shapes or designs from fluorescent self-adhesive vinyl and arrange them on a blank canvas or directly on the wall to create custom artwork. The glowing colors will add a dynamic and contemporary touch to your space.
4. Ceiling Accents
Add a touch of whimsy and playfulness by applying fluorescent self-adhesive vinyl accents to the ceiling. You can create patterns, shapes, or even constellations that glow in the dark, creating an enchanting atmosphere at night.
5. Staircase Risers
Give your staircase a vibrant makeover by applying fluorescent self-adhesive vinyl to the risers. Each step will become a colorful surprise, making the staircase a focal point and adding visual interest to the area.
6. Kids’ Room Delight
Use fluorescent self-adhesive vinyl to create a fun and interactive space in a children’s room. Cut out shapes like stars, planets, or animals and apply them to walls, furniture, or even the ceiling. The glowing effect will make bedtime more exciting.
7. Backsplash Drama
Instead of traditional tiles, use fluorescent self-adhesive vinyl as a backsplash in the kitchen or bathroom. The bright and luminous colors will add a modern and artistic touch to the space.
8. Window Decals
Cut out intricate patterns or designs from fluorescent self-adhesive vinyl and apply them to windows or glass surfaces. When sunlight streams through, the vibrant colors will create a mesmerizing play of light and shadows.
9. Room Dividers
Create a unique and contemporary room divider by using fluorescent self-adhesive vinyl on a screen or a panel. The translucent effect of the vinyl will allow light to pass through, creating a visually striking separation between spaces.
10. Mirror Magic
Apply fluorescent self-adhesive vinyl around the edges or frame of a mirror to give it a dazzling makeover. The glowing colors will reflect off the mirror’s surface, adding an element of magic and intrigue to your reflection.


DIY Craft Ideas with Fluorescent Self-Adhesive Vinyl
Here are some DIY craft ideas that you can try with fluorescent self-adhesive vinyl:
1. Customized Laptop or Phone Skin
Cut out vibrant shapes or patterns from the fluorescent self-adhesive vinyl and create a unique skin for your laptop or phone.
2. Glow-in-the-Dark Wall Decals
Design and cut out various shapes or silhouettes from the fluorescent self-adhesive vinyl to create glow-in-the-dark wall decals. Stick them on your bedroom walls for a fun and whimsical effect.
3. Personalized Drinkware
Cut out names, initials, or intricate designs from fluorescent self-adhesive vinyl and apply them to plain water bottles, mugs, or tumblers to add a pop of color and personalization.
4. Party Decorations
Create eye-catching party decorations like banners, cupcake toppers, and wall art using fluorescent self-adhesive vinyl. The glowing effect will add an extra element of excitement to your celebrations.
5. Fashion Accessories
Make your own unique earrings, bracelets, or hair accessories by cutting out geometric shapes or intricate designs from fluorescent self-adhesive vinyl and attaching them to jewelry findings.
6. Stickers and Labels
Cut out fun shapes, symbols, or labels from fluorescent self-adhesive vinyl and use them to decorate notebooks, journals, storage boxes, or even your car bumper.
7. Light Switch Covers
Transform plain light switch covers into vibrant focal points by covering them with fluorescent self-adhesive vinyl and cutting out holes for the switches.
8. Party Favor Bags
Cut out personalized names or themed shapes from fluorescent self-adhesive vinyl and apply them to plain party favor bags to create unique and memorable giveaways.
9. Kids’ Room Decor
Create a glowing constellation mural or stick fluorescent self-adhesive vinyl stars and moon shapes on the ceiling to give your child’s room a dreamy and magical ambiance.
10. Seasonal Decorations
Design and cut out festive shapes like pumpkins, bats, or snowflakes from fluorescent self-adhesive vinyl and use them to decorate windows, walls, or table settings during holidays.
Remember to experiment with different shapes, colors, and combinations to unleash your creativity and make your DIY crafts truly unique and eye-catching.


Enhancing Retail Displays with Fluorescent Self-Adhesive Vinyl
Enhancing retail displays with fluorescent self-adhesive vinyl can add a vibrant and attention-grabbing element to your store. Here’s a step-by-step guide on how to achieve this:
1. Set Clear Goals
Determine what you want to achieve with your retail display. Do you want to highlight a specific product, create a focal point, or promote a sale? Clarify your objectives to guide your design process.
2. Select the Right Vinyl
Choose fluorescent self-adhesive vinyl in colors that complement your brand and align with the desired mood or theme of your display. Consider the lighting conditions in your store to ensure the vinyl will stand out effectively.
3. Plan the Design
Sketch out your display design and consider where the vinyl will be applied. Identify key areas such as walls, shelves, or window displays where the vinyl will have the most impact. Be creative and think about how you can incorporate the vinyl to enhance the overall aesthetics.
4. Prepare the Surface
Ensure that the surfaces where you’ll apply the vinyl are clean, smooth, and dry. Remove any dust, dirt, or debris. This will help the vinyl adhere properly and prevent any imperfections.
5. Measure and Cut
Measure the dimensions of the areas where you want to apply the vinyl and cut the sheets accordingly. Use a sharp cutting tool to ensure clean and precise cuts.
6. Apply the Vinyl
Start with a corner or edge of the vinyl and carefully peel off the backing paper. Align the vinyl with the desired area and gradually apply it, smoothing out any air bubbles or wrinkles as you go. Use a squeegee or a flat-edged tool to ensure a smooth and even application.
7. Experiment with Layering
Consider layering different colors or shapes of fluorescent vinyl to create visual interest and depth in your display. Experiment with different arrangements and combinations to find the most appealing result.
8. Add Lighting Effects
Fluorescent self-adhesive vinyl reacts exceptionally well to lighting. Strategically place spotlights or backlighting to further enhance the vibrant colors and make them truly shine. Experiment with different lighting angles and intensities to achieve the desired effect.
9. Regular Maintenance
Keep an eye on the vinyl to ensure it remains in optimal condition. Clean it regularly with a mild, non-abrasive cleaner to remove any dust or smudges. Replace any damaged or worn-out vinyl promptly to maintain the overall impact of your display.
10. Analyze and Adapt
Observe the response of your customers to the enhanced retail display. Monitor foot traffic, customer engagement, and sales to assess the effectiveness of the fluorescent self-adhesive vinyl. Make adjustments as needed to continuously improve and optimize your displays.
By following these steps, you can enhance your retail displays using fluorescent self-adhesive vinyl to create visually striking and memorable experiences for your customers.

Final Words
In conclusion, fluorescent self-adhesive vinyl is a powerful tool for unleashing your creative potential and making your projects shine bright. Whether you’re a designer, marketer, or DIY enthusiast, this versatile material offers endless possibilities to captivate attention and leave a lasting impact. By exploring its vibrant colors, easy application, and compatibility with various surfaces, you can transform ordinary spaces into extraordinary showcases. From retail displays to interior design and signage, fluorescent self-adhesive vinyl enables you to truly stand out from the crowd. Embrace its brilliance, experiment with innovative designs, and let your creativity illuminate the world with this remarkable medium. Let fluorescent self-adhesive vinyl be the catalyst for your imagination to soar and create unforgettable experiences that leave an indelible impression. Shine bright, and let your creative journey with fluorescent self-adhesive vinyl begin!


