Getting Started: Essential Tools for DIY Self-Adhesive Vinyl Projects
1. Measuring Tape
A measuring tape is crucial for accurately measuring the dimensions of the surfaces you’ll be applying the self-adhesive vinyl to.
2. Cutting Mat
A cutting mat provides a safe and precise surface for cutting the self-adhesive vinyl without damaging your working area.
3. Utility Knife or Craft Knife
A sharp utility knife or craft knife is necessary for cutting the self-adhesive vinyl to the desired shapes and sizes.
4. Squeegee or Application Tool
A squeegee or application tool helps in smoothing out the self-adhesive vinyl and removing air bubbles during the application process.
5. Scissors
Besides the utility knife, a pair of scissors can be handy for trimming smaller pieces or making intricate cuts.
6. Level
A level ensures that your self-adhesive vinyl is applied straight and even, especially when working on larger surfaces like walls or floors.
7. Pencil or Marker
These are useful for marking measurements, guidelines, or any necessary adjustments before applying the self-adhesive vinyl.
8. Heat Gun or Hairdryer
In some cases, using heat can help activate the adhesive and make the self-adhesive vinyl more pliable for better conforming to curved or uneven surfaces.
9. Surface Cleaner
It’s important to clean the surface thoroughly before applying self-adhesive vinyl to ensure proper adhesion. Use a mild surface cleaner and a clean cloth.
10. Lint-Free Cloth
A lint-free cloth or microfiber cloth is ideal for wiping down the surface and removing any dust or debris before applying the self-adhesive vinyl.
Remember, depending on the specific project, you may need additional tools or materials such as a ruler, masking tape, or a primer for certain surfaces. Always refer to the instructions provided by the self-adhesive vinyl manufacturer for any specific tool or material recommendations.
Step-by-Step Guide to Applying Self-Adhesive Vinyl to Walls
Step 1: Gather your materials
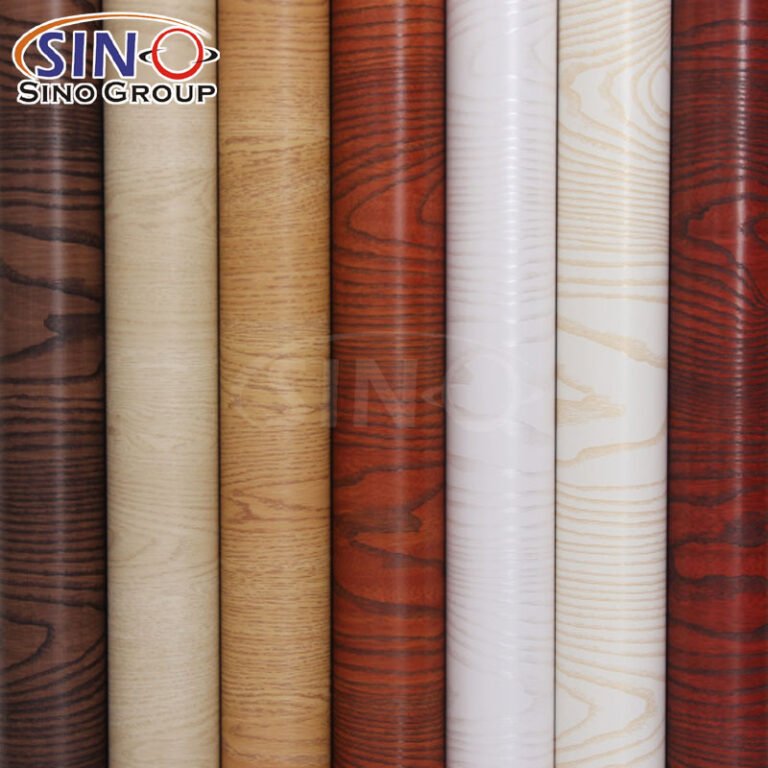
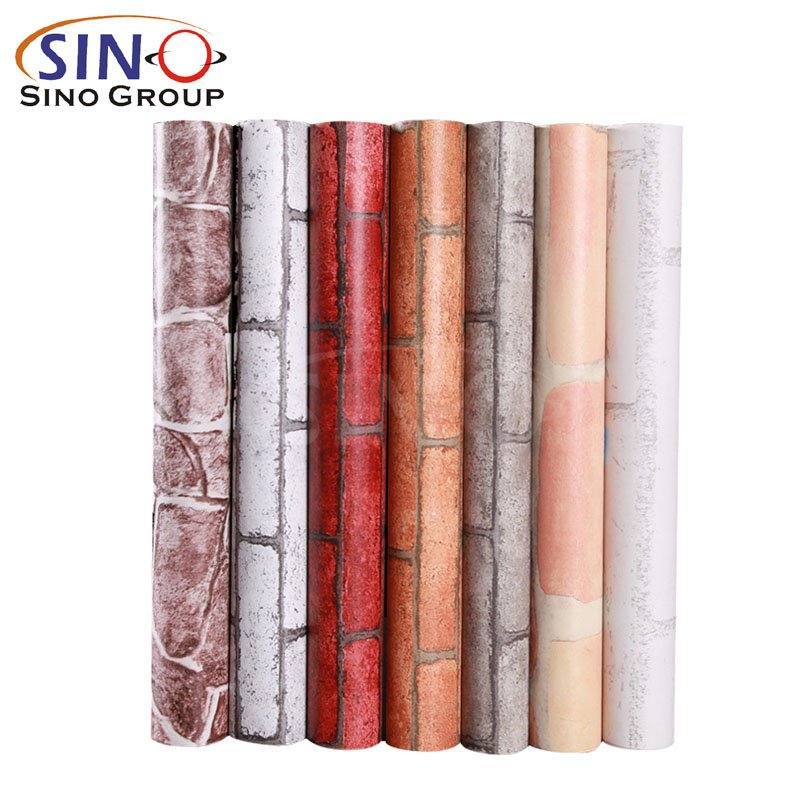
- Self-adhesive vinyl roll
- Measuring tape
- Level
- Utility knife or scissors
- Squeegee or credit card
- Cleaning supplies (mild soap, water, and a cloth)
Step 2: Prepare the surface
- Ensure that the wall surface is clean, dry, and free from dust or debris.
- If needed, wash the wall with mild soap and water, then wipe it dry.
Step 3: Measure and cut the vinyl
- Measure the dimensions of the wall you wish to cover with the self-adhesive vinyl.
- Using those measurements, mark and cut the vinyl roll accordingly, adding a few extra inches for margin.
Step 4: Peel off the backing
- Start at one corner of the vinyl sheet and slowly peel off the backing paper, exposing the adhesive side.
Step 5: Position and apply the vinyl
- Carefully position the exposed adhesive side of the vinyl onto the wall, starting from the top and aligning it with the edges.
- Use a level to ensure the vinyl is straight.
- Slowly press the vinyl onto the wall, using a squeegee or credit card to smooth out any air bubbles or wrinkles as you go.
- Work your way down the wall, continuing to press and smooth the vinyl until the entire wall is covered.
Step 6: Trim the excess vinyl
- Once the vinyl is fully applied, use a utility knife or scissors to trim any excess vinyl along the edges or around fixtures such as outlets or switches.
- Take your time and make precise cuts for a clean finish.
Step 7: Final touches
- After trimming, go over the entire vinyl surface again with a squeegee or credit card, applying firm pressure to ensure the adhesive bonds well with the wall.
- Inspect the wall for any remaining air bubbles or imperfections, and smooth them out as necessary.
That’s it! By following these steps, you can successfully apply self-adhesive vinyl to your walls and transform your space with a personalized touch. Remember to take your time, work carefully, and refer to any additional instructions provided by the specific brand or type of self-adhesive vinyl you’re using.


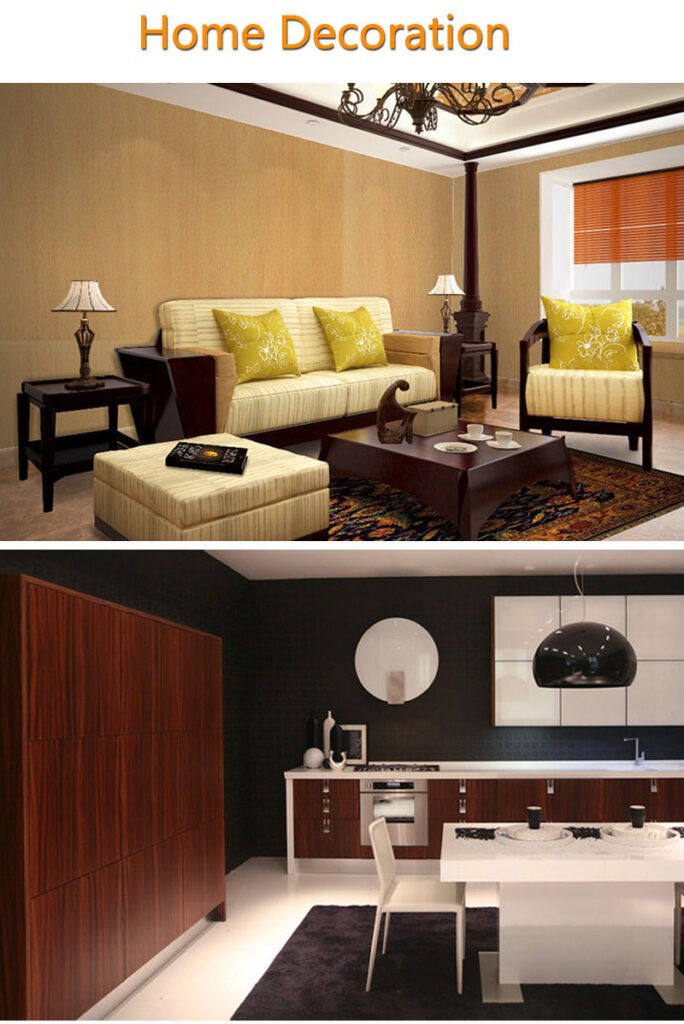
Creative Ways to Use Self-Adhesive Vinyl in Home Decor
1. Patterned Wall Accents
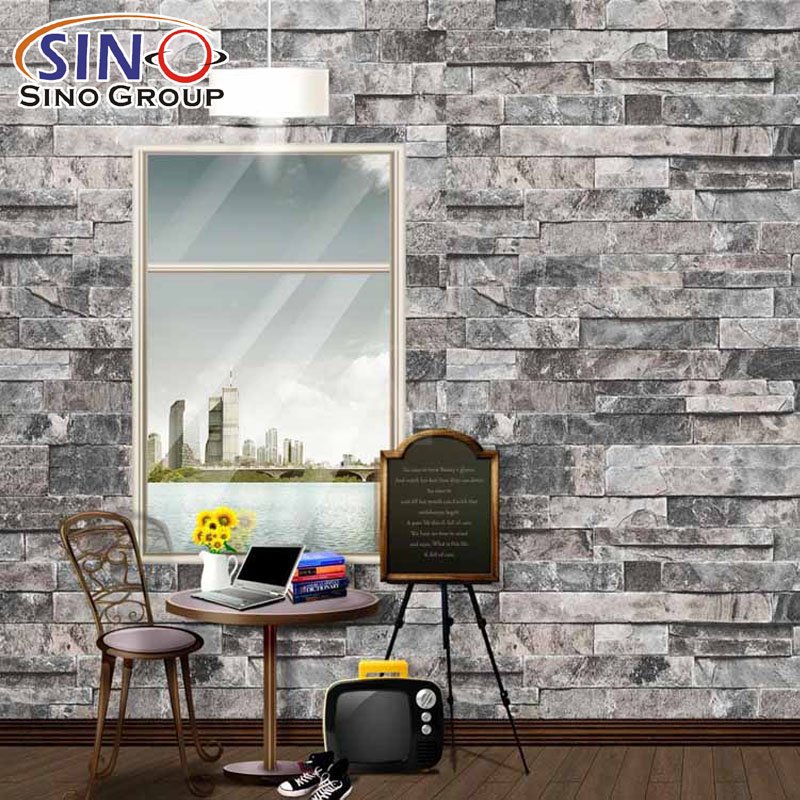
Cut self-adhesive vinyl into intricate patterns or geometric shapes and apply them to a feature wall for a unique and eye-catching accent.
2. Faux Tile Backsplash
Create the look of expensive tiles by using self-adhesive vinyl in a tile pattern. Apply it to your kitchen or bathroom backsplash for an affordable and easy-to-clean alternative.
3. Furniture Makeovers
Give old furniture a fresh new look by covering surfaces such as tabletops, drawer fronts, or cabinet doors with self-adhesive vinyl. Choose patterns or solid colors that match your decor style.
4. Custom Wall Decals
Design and cut out personalized wall decals using self-adhesive vinyl. Create inspiring quotes, family names, or intricate designs to adorn your walls and add a personal touch.
5. Window Privacy
Cut self-adhesive vinyl into decorative patterns or frosted designs and apply them to windows for added privacy while still allowing natural light to filter through.
6. Stair Risers
Transform your staircase by applying self-adhesive vinyl to the risers. Choose a pattern, solid color, or even create a unique design to add visual interest and personality.
7. Decorative Tray or Placemats
Cut self-adhesive vinyl into the desired shape and size to create custom trays or placemats. It’s an excellent way to protect surfaces while adding a stylish touch to your table settings.
8. Customized Mirrors
Use self-adhesive vinyl to create unique borders or frames around mirrors. Experiment with different patterns, shapes, or even combine multiple colors for a striking effect.
9. Decorative Switch Plate Covers
Give your light switches and outlets a makeover by covering plain switch plate covers with self-adhesive vinyl. Coordinate them with your decor theme or create fun designs.
10. Personalized Wall Clocks
Customize a plain wall clock by applying self-adhesive vinyl to the clock face. Use numbers, symbols, or patterns to create a one-of-a-kind timepiece.
Remember to consider the surface you’re applying the self-adhesive vinyl to and choose the appropriate type of vinyl that suits the purpose. Have fun exploring these creative ideas to elevate your home decor using self-adhesive vinyl!

Tips for Removing and Replacing DIY Self-Adhesive Vinyl without Damaging Surfaces
Here are some tips for removing and replacing DIY self-adhesive vinyl without damaging surfaces:
1. Heat the Vinyl
Use a hairdryer or heat gun to warm up the self-adhesive vinyl. The heat softens the adhesive, making it easier to peel off without leaving residue or causing damage.
2. Start from the Edges
Begin removing the vinyl from the edges rather than the center. Gently lift a corner or edge of the vinyl with a plastic scraper or your fingernail.
3. Peel Slowly and Carefully
Slowly peel the vinyl back at a 45-degree angle, applying even pressure. Pulling too quickly or forcefully can cause the vinyl to tear or leave adhesive residue behind.
4. Use a Plastic Scraper
If necessary, use a plastic scraper to help lift the vinyl and separate it from the surface. Be cautious not to scratch or gouge the underlying material.
5. Apply Heat as Needed
If the vinyl is resistant or leaves behind adhesive residue, apply heat again to soften the adhesive and make it easier to remove. Repeat the process until all the vinyl is removed.
6. Clean the Surface
Once the vinyl is removed, clean the surface with a mild detergent or adhesive remover to eliminate any remaining adhesive residue. Test the cleaning solution on a small, inconspicuous area first to ensure it doesn’t damage the surface.
7. Assess the Surface Condition
Inspect the surface for any damage, such as scratches or discoloration. Depending on the material, you may need to repair or refinish the surface before applying new self-adhesive vinyl.
8. Measure and Cut Precisely
When replacing the self-adhesive vinyl, measure the area accurately and cut the new vinyl to the correct size and shape before applying. Use a straight edge and a sharp utility knife for precise cuts.
9. Apply Evenly and Smooth Out Air Bubbles
Carefully position the new self-adhesive vinyl onto the surface, starting from one edge and working your way across. Use a plastic scraper or squeegee to smooth out any air bubbles or wrinkles as you go.
10. Secure the Edges
Ensure that the edges of the self-adhesive vinyl are firmly secured and properly aligned. Press down firmly along the edges to create a tight bond.
By following these tips, you can remove and replace DIY self-adhesive vinyl effectively without causing damage to the underlying surfaces.

(Click the picture to learn more)
Final Words
In conclusion, DIY self-adhesive vinyl truly is the secret weapon for creating a personalized and stylish space. With its versatility and ease of application, you have the power to transform walls, furniture, and even floors with endless possibilities. Whether you’re looking to revamp your kitchen, add a unique touch to your bathroom, or unleash your creativity in any room, self-adhesive vinyl offers a budget-friendly solution that doesn’t compromise on style. Just remember to choose the right vinyl for your project, follow the proper installation techniques, and utilize the tips for removal and replacement without damaging surfaces. So go ahead and embark on your DIY journey, unlock your inner designer, and let DIY self-adhesive vinyl be the catalyst for a personalized space that truly reflects your taste and vision. Get ready to impress yourself and others with your creativity and transform your home into a haven of personalized style!


