Craft DIY self-adhesive Cutting Vinyl Film
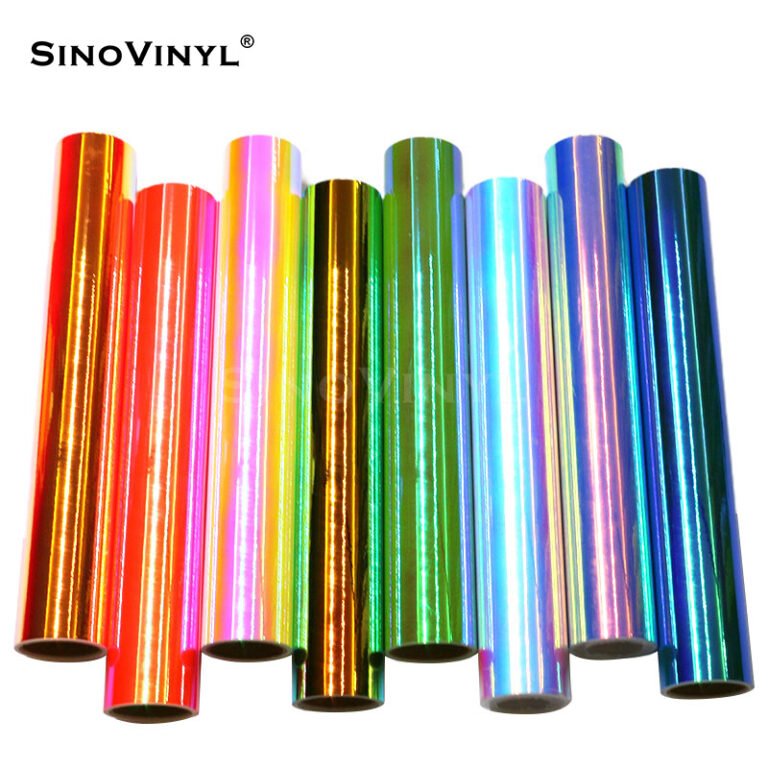
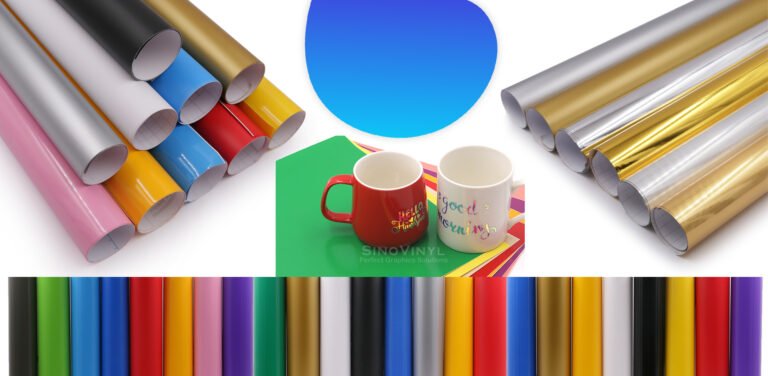
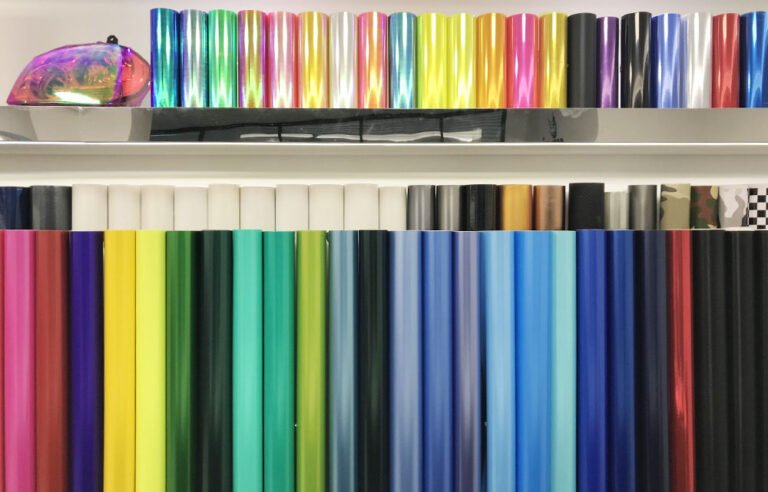
Craft DIY self-adhesive cutting vinyl film has become increasingly popular among DIY enthusiasts, artists, and crafters. Cutting vinyl film is a type of vinyl that can be cut into various shapes and sizes, making it a versatile material for many craft projects. The film comes in various colors, patterns, and textures, and it can be applied to different surfaces, such as glass, wood, metal, and plastic. In this article, we will explore the benefits of using cutting vinyl film for craft projects and how to work with it effectively.
Benefits of Cutting Vinyl Film
- Easy to Work With Cutting vinyl film is a user-friendly material, even for beginners. It can be cut with scissors or a cutting machine, and it can be easily applied to surfaces using a transfer tape. The self-adhesive feature of the film ensures that it stays in place without any mess or fuss.
- Durable and Long-lasting Cutting vinyl film is a durable and long-lasting material that can withstand various weather conditions. It is resistant to water, UV rays, and heat, making it ideal for both indoor and outdoor use. It is also easy to clean and maintain, ensuring that your craft projects remain in good condition for a long time.
- Versatile Cutting vinyl film can be used for various craft projects, such as customizing t-shirts, creating wall art, decorating glassware, and much more. The film comes in various colors, patterns, and textures, making it easy to create unique designs that suit your style.
How to Work with Cutting Vinyl Film
- Choose the Right Tools To work with cutting vinyl film, you will need a cutting machine or scissors, transfer tape, and a weeding tool. A cutting machine is recommended for precise and intricate designs, while scissors are suitable for simple shapes and sizes.
- Prepare the Surface Before applying cutting vinyl film to a surface, ensure that the surface is clean and dry. Wipe it down with a damp cloth to remove any dirt or debris, and allow it to dry completely.
- Cut the Vinyl Cut the vinyl using a cutting machine or scissors, ensuring that the design is the correct size and shape. If you are using a cutting machine, make sure to adjust the settings according to the vinyl thickness.
- Weed the Vinyl Weeding refers to the process of removing the excess vinyl from the design. Use a weeding tool to remove the excess vinyl, ensuring that the design is intact.
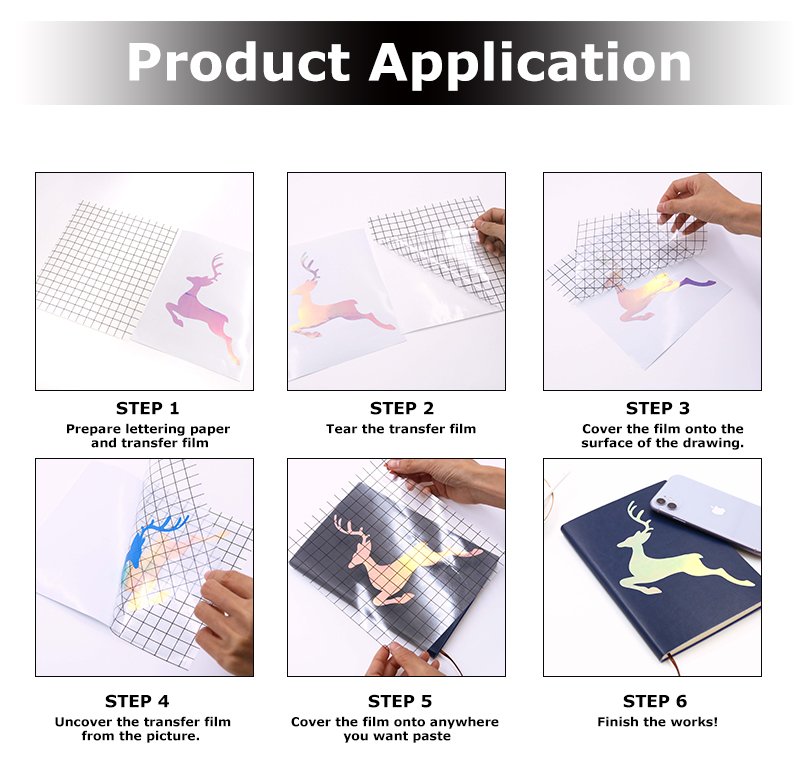
- Apply the Transfer Tape Apply the transfer tape to the vinyl design, ensuring that it covers the entire design. Use a squeegee to press the transfer tape firmly onto the vinyl, ensuring that there are no air bubbles.
- Apply the Vinyl to the Surface Peel off the backing paper from the vinyl, ensuring that the vinyl design remains on the transfer tape. Place the transfer tape onto the surface, ensuring that it is aligned correctly. Use a squeegee to press the vinyl firmly onto the surface, ensuring that there are no air bubbles.
In conclusion, cutting vinyl film is a versatile material that can be used for various craft projects. It is easy to work with, durable, and long-lasting, making it a popular choice among DIY enthusiasts and crafters. By following the above steps, you can create unique designs that suit your style and preferences. So, why not try using cutting vinyl film for your next craft project and see the results for yourself?


