
Creative Home Decor Ideas Using Self-Adhesive Vinyl
Here are some creative home decor ideas using self-adhesive vinyl:
1. Accent Wall
Create a stunning focal point in any room by applying self-adhesive vinyl to one wall. Choose a bold pattern or a unique design to add personality and style.
2. Furniture Makeover
Give old furniture a fresh new look by applying self-adhesive vinyl to surfaces such as tabletops, cabinet doors, or drawer fronts. Experiment with different colors and patterns to match your decor theme.
3. Backsplash Upgrade
Transform your kitchen or bathroom by using self-adhesive vinyl as a backsplash. It’s a cost-effective alternative to traditional tiles and offers endless design possibilities.
4. Customized Wall Decals
Personalize your space by designing and cutting custom wall decals using self-adhesive vinyl. Create inspirational quotes, geometric shapes, or intricate designs to add a touch of uniqueness to your walls.
5. Stair Risers
Add visual interest to your staircase by applying self-adhesive vinyl to the stair risers. Choose patterns, textures, or vibrant colors to create a striking and eye-catching effect.
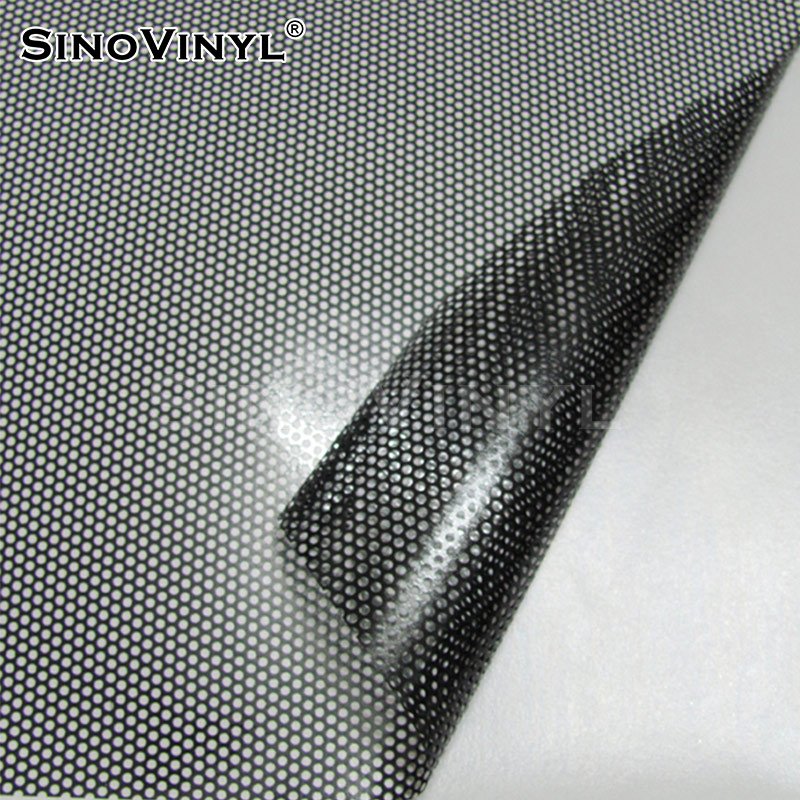
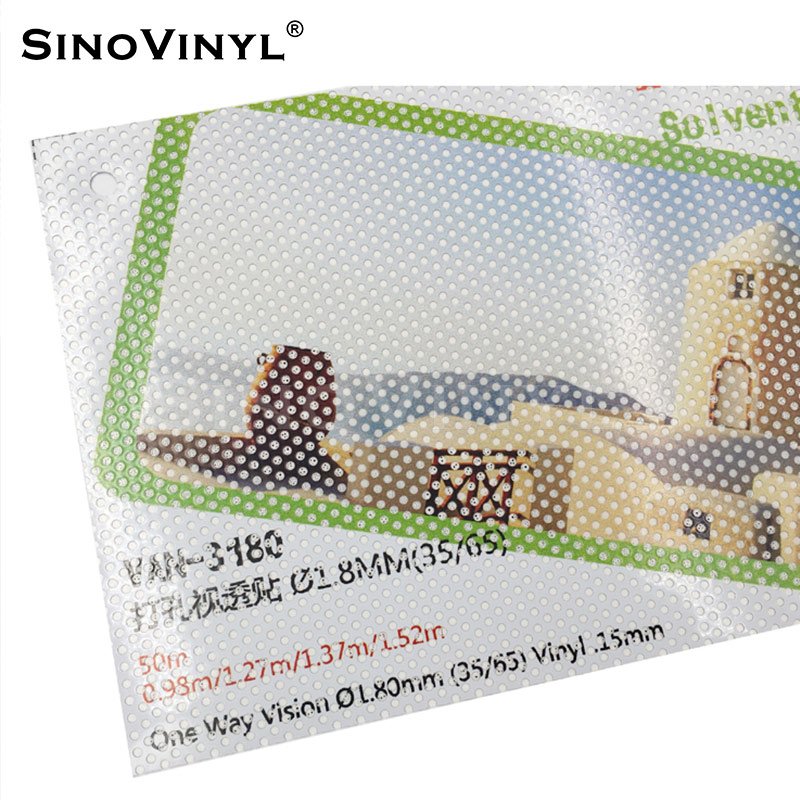
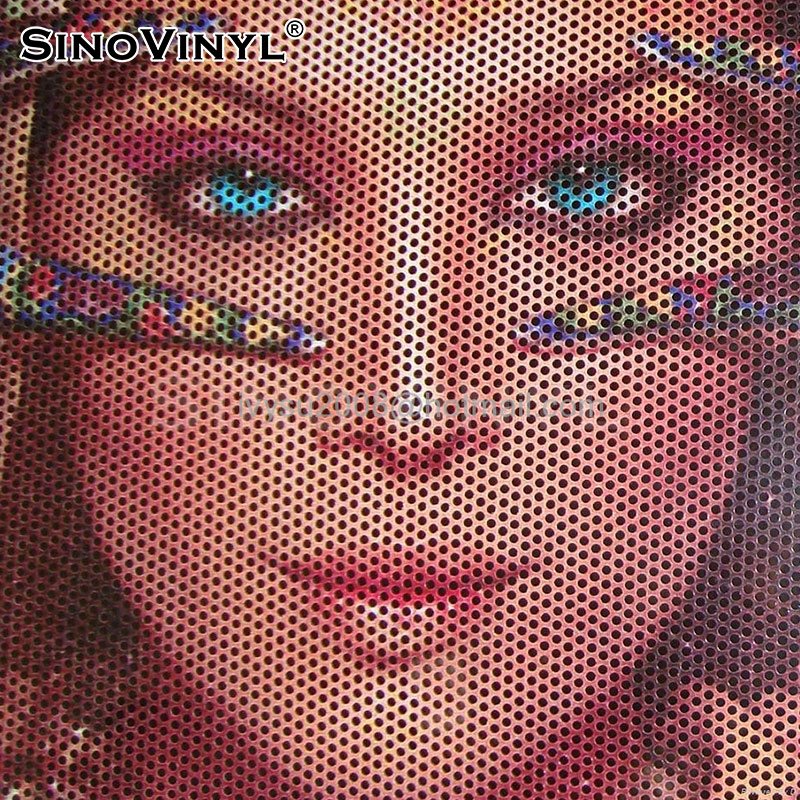
6. Window Privacy
Use frosted or patterned self-adhesive vinyl to create privacy on windows while still allowing natural light to filter through. It’s an excellent option for bathrooms or street-facing windows.
7. Door Makeover
Give plain doors a makeover by covering them with self-adhesive vinyl. You can achieve the look of wood, metal, or other textures without the cost and hassle of replacing the entire door.
8. Creative Headboard
Create a unique headboard by applying self-adhesive vinyl directly to the wall behind your bed. Choose a design that complements your bedroom decor and adds a touch of elegance.
9. Personalized Mirror Frames
Update plain mirrors by adding self-adhesive vinyl around the edges to create custom frames. Experiment with different colors and patterns to match your personal style.
10. Switch Plate Covers
Enhance your light switches and electrical outlets by covering them with self-adhesive vinyl. Choose coordinating patterns or colors that complement your room’s decor.
Remember to properly prepare the surfaces and follow the manufacturer’s instructions for applying and removing self-adhesive vinyl to ensure the best results. Get creative and have fun exploring the endless possibilities self-adhesive vinyl offers for home decor!


DIY Crafts with Self-Adhesive Vinyl: Easy and Fun Projects to Try
Here are some examples of DIY crafts with self-adhesive vinyl that are easy and fun to try:
1. Customized Water Bottles
Use self-adhesive vinyl to create unique designs or personalized labels for your water bottles. Add names, inspirational quotes, or decorative elements to make them stand out.
2. Laptop or Tablet Decals
Cut out fun shapes, patterns, or designs from self-adhesive vinyl and apply them to your laptop or tablet for a stylish and personalized look.
3. Decorative Mason Jars
Transform ordinary mason jars into charming decorative pieces by wrapping them with self-adhesive vinyl in different colors and patterns. Use them as vases, pen holders, or storage containers.
4. Wall Decals
Create your own wall decals using self-adhesive vinyl. Cut out inspiring quotes, nature elements, or geometric shapes, and apply them to your walls for an instant decor upgrade.
5. Personalized Phone Cases
Give your phone a unique touch by designing and cutting self-adhesive vinyl to fit your phone case. Add initials, patterns, or motifs that reflect your style.
6. Kitchen Canister Labels
Use self-adhesive vinyl to create labels for your kitchen canisters. Organize your pantry by labeling containers for flour, sugar, coffee, and other staples.
7. Customized Tote Bags
Jazz up plain tote bags by applying self-adhesive vinyl designs. Create monograms, patterns, or images to make your tote bags one-of-a-kind.
8. Decorative Picture Frames
Enhance the look of your picture frames by adding self-adhesive vinyl accents. Cut out decorative borders, shapes, or words to create a unique frame design.
9. Personalized Drink Coasters
Protect your tabletops in style with personalized drink coasters. Cut out self-adhesive vinyl shapes or designs and apply them to cork or wooden coasters.
10. Glass Jar Lanterns
Turn glass jars into enchanting lanterns by wrapping them with self-adhesive vinyl cutouts in intricate patterns or silhouettes. Place tea lights inside for a cozy ambiance.
Remember to have fun and let your creativity shine when working on these DIY crafts with self-adhesive vinyl. Feel free to adapt and modify the projects to suit your preferences and design aesthetics.


Customizing Personal Items with Self-Adhesive Vinyl: From Gadgets to Accessories
1. Phone or Tablet Skins
Personalize your devices by creating custom skins using self-adhesive vinyl. Add your favorite patterns, designs, or even your initials for a unique touch.
2. Laptop Decals
Give your laptop a makeover by applying self-adhesive vinyl decals. From minimalist designs to vibrant artwork, there are endless possibilities to express your style.
3. Keychain Creations
Design and cut out self-adhesive vinyl shapes to create personalized keychains. Add names, quotes, or symbols that hold special meaning to you.
4. Water Bottle Labels
Make your water bottle stand out in a crowd by applying self-adhesive vinyl labels. Customize it with your name, motivational quotes, or fun patterns.
5. Headphone or Earbud Cases
Keep your headphones or earbuds organized and stylish by covering their cases with self-adhesive vinyl. Choose colors and patterns that reflect your personality.
6. Sunglasses Makeover
Transform a plain pair of sunglasses into a fashion statement with self-adhesive vinyl. Create unique patterns or add interesting accents to the frames.
7. Watch Bands
Give your watch a fresh look by replacing its band with a self-adhesive vinyl strip. Experiment with different colors and textures to match your outfit or mood.
8. Wallet Personalization
Customize your wallet by adding self-adhesive vinyl monograms, symbols, or even small illustrations. It’s a great way to make your wallet truly yours.
9. Shoe Embellishments
Add a touch of creativity to your shoes by applying self-adhesive vinyl accents. From simple shapes to intricate designs, you can create one-of-a-kind footwear.
10. Bag and Backpack Embellishments
Make your bag or backpack unique with self-adhesive vinyl. Cut out shapes, patterns, or even your initials to create eye-catching accents.
Remember to clean and prepare the surface of the item properly before applying self-adhesive vinyl, and use sharp tools for precise cutting. These ideas should inspire you to unleash your creativity and personalize your personal items with self-adhesive vinyl.


Tips for Designing and Cutting Self-Adhesive Vinyl with Precision
1. Use a quality cutting machine
Invest in a reliable cutting machine specifically designed for vinyl cutting, such as a vinyl cutter or plotter. This will ensure clean and accurate cuts.
2. Choose the right blade
Different vinyl materials require different blade settings. Adjust the blade depth according to the thickness and type of vinyl you’re working with to achieve optimal results.
3. Test your design and settings
Before cutting your final design, always perform a test cut on a small piece of vinyl. This allows you to fine-tune your settings and ensure that the blade cuts through the vinyl without damaging the backing.
4. Optimize your design software
Familiarize yourself with the design software you’re using and explore its features for precise vinyl cutting. Learn how to adjust settings such as speed, pressure, and blade offset to achieve the desired results.
5. Use high-quality vector graphics
When designing your artwork, use vector graphics instead of raster images. Vector graphics can be scaled without losing quality, ensuring clean lines and smooth curves when cut.
6. Weed carefully
Weeding is the process of removing the excess vinyl from your design. Take your time and use a weeding tool to carefully remove the unwanted vinyl, leaving only the desired design intact.
7. Use transfer tape
Transfer tape is a helpful tool for transferring your vinyl design from its backing to the desired surface. Apply the transfer tape carefully and use a squeegee or scraper tool to ensure a smooth and bubble-free application.
8. Consider registration marks
For complex designs or multi-color layers, use registration marks in your design software. These marks help align and layer different vinyl pieces accurately, ensuring precise positioning.
9. Maintain a clean work surface
Keep your work area clean and free from dust and debris. Any particles on the surface or under the vinyl can interfere with the cutting process and result in uneven cuts.
10. Practice and patience
Like any skill, designing and cutting self-adhesive vinyl requires practice and patience. Start with simple designs and gradually increase the complexity as you gain more experience.
Remember, precision comes with practice and attention to detail. By following these tips and refining your techniques, you’ll be able to design and cut self-adhesive vinyl with greater accuracy and achieve professional-looking results.


Final Words
In conclusion, self-adhesive vinyl opens up a world of endless possibilities for unleashing your creativity. Whether you’re looking to transform your home decor, embark on exciting DIY projects, or add a personalized touch to your business, self-adhesive vinyl offers a versatile and accessible medium. With the right tools, techniques, and inspiration, you can explore a wide range of applications and create stunning designs with precision. So, embrace the power of self-adhesive vinyl, let your imagination soar, and embark on a journey of self-expression that knows no bounds. Unleash your creativity and discover the limitless potential of self-adhesive vinyl today!


